Getting through the morning rush is a challenge for any student, but finding a look that balances school-appropriate standards with an authentic vintage flair can feel like a feat of engineering. You want something that stays put through back-to-back classes and gym sessions, but you also want to channel the polished silhouettes of the mid-century era. The best vintage styles aren’t just about aesthetic—they are about structure. They rely on clever pinning techniques and long-lasting rolls that actually survive a full day of lecture notes and crowded hallways.
Whether you are aiming for the tight, structured precision of a 1940s victory roll or the effortless, messy elegance of a late-sixties bouffant, the secret is all in the prep. Clean hair is almost always too slippery to hold these gravity-defying shapes, which is why a little grit—often in the form of texture spray or dry shampoo—makes all the difference. When you move beyond the basic ponytail, you start to see how these classic shapes can frame your face and change your entire vibe. Let’s break down the styles that actually work for a busy morning, along with the techniques needed to keep them pristine until the final bell rings.
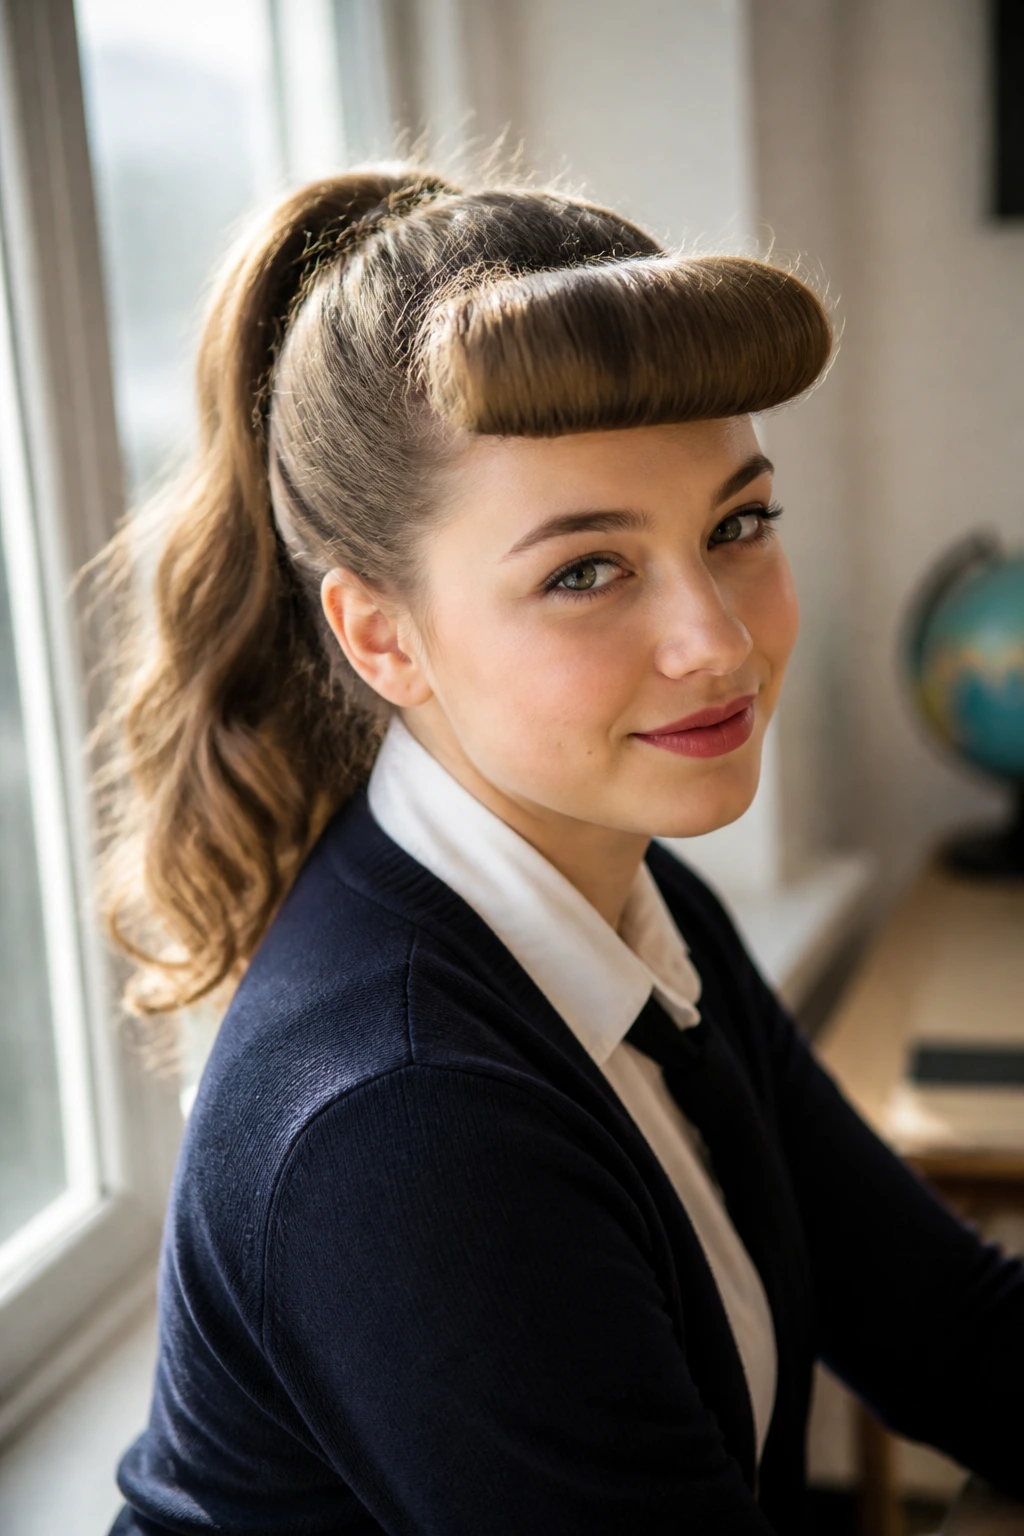
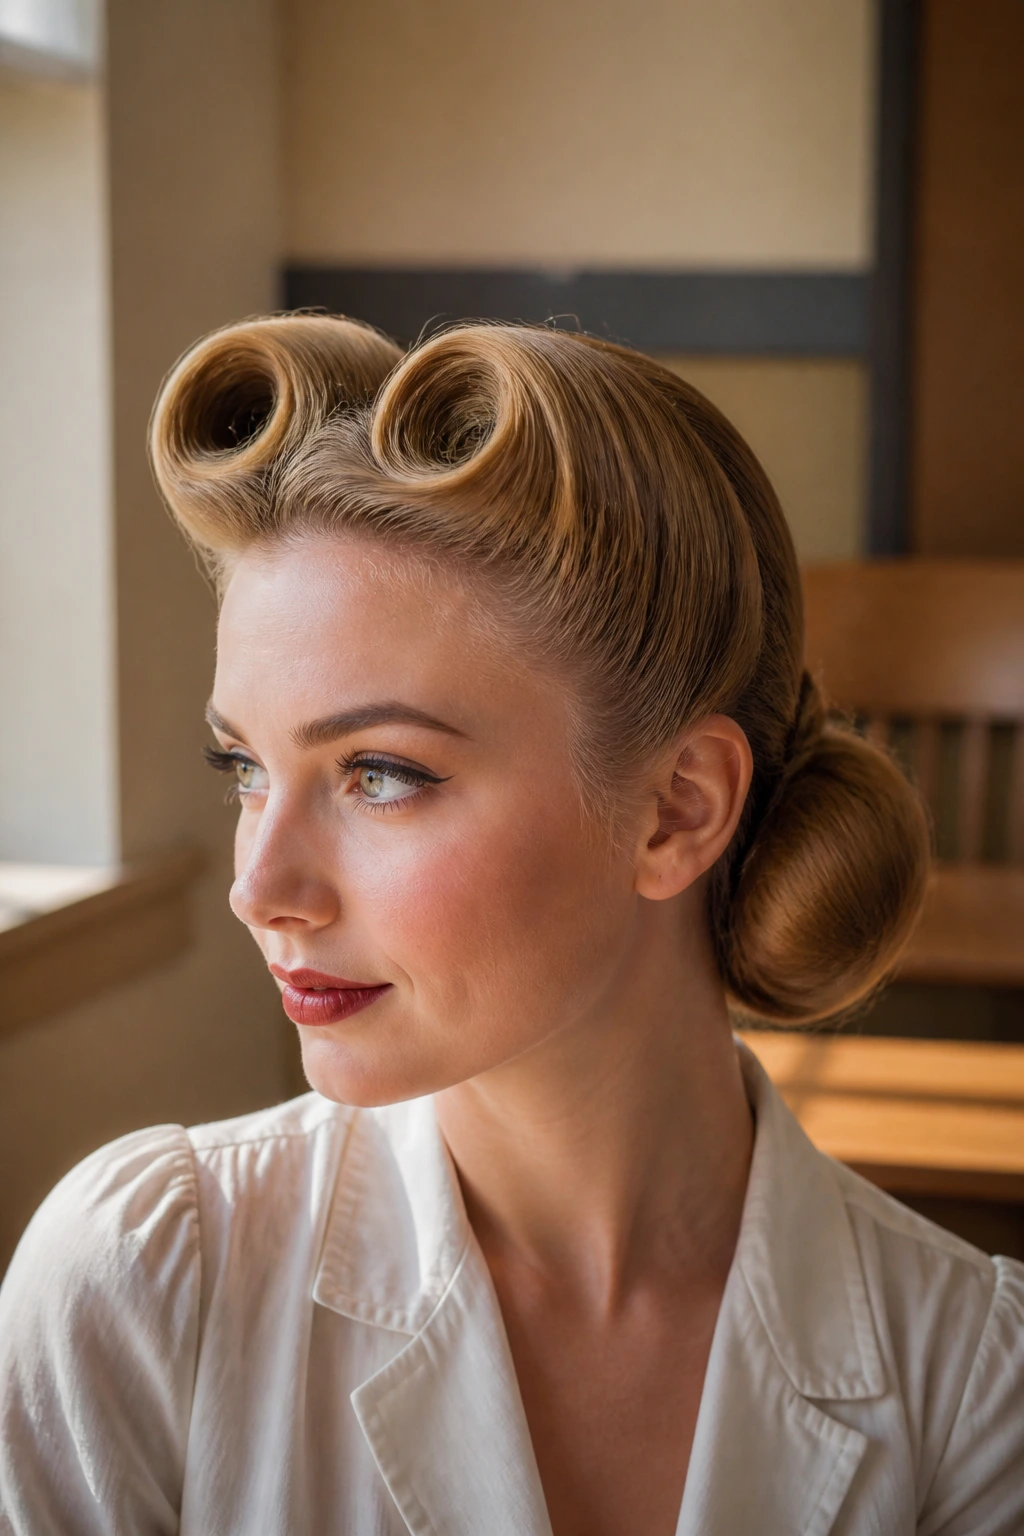
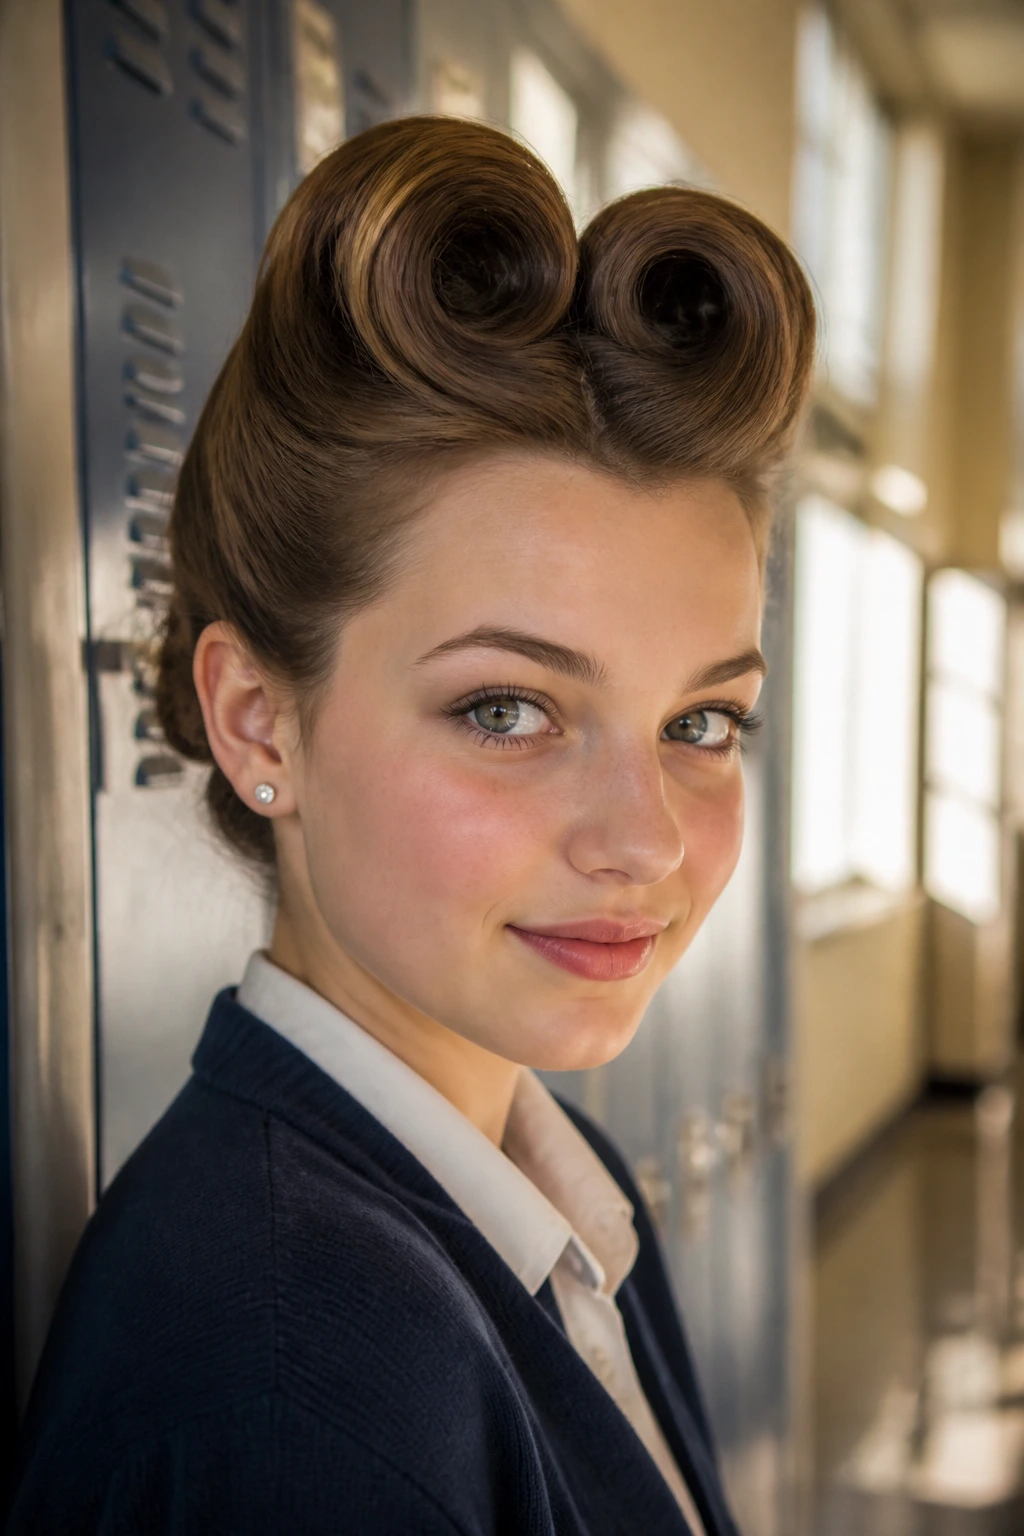
1. The Classic Victory Roll Pomp
This style is iconic for a reason—it creates an instant statement without requiring a total head-to-toe vintage wardrobe. You start by sectioning the front part of your hair into a U-shape at the hairline. Backcomb the underside of these sections lightly to create a cushion that helps the roll hold its shape.
Why It Works for School
Unlike loose waves that tend to drop or get frizzy by lunch, the victory roll keeps your hair off your face entirely. It is a structured, intentional style that looks just as good with a simple school blazer as it does with a patterned blouse.
Achieving the Perfect Tension
- Use a firm-hold hairspray on your brush, not the hair, to ensure the bristles grab every stray strand.
- Roll the hair over two fingers, pulling taut toward the center of your part.
- Secure the base with at least two bobby pins placed in an X-pattern for maximum grip. Pro tip: If you have layers that refuse to stay in the roll, twist them into the base of the roll before pinning; this hides the ends completely.
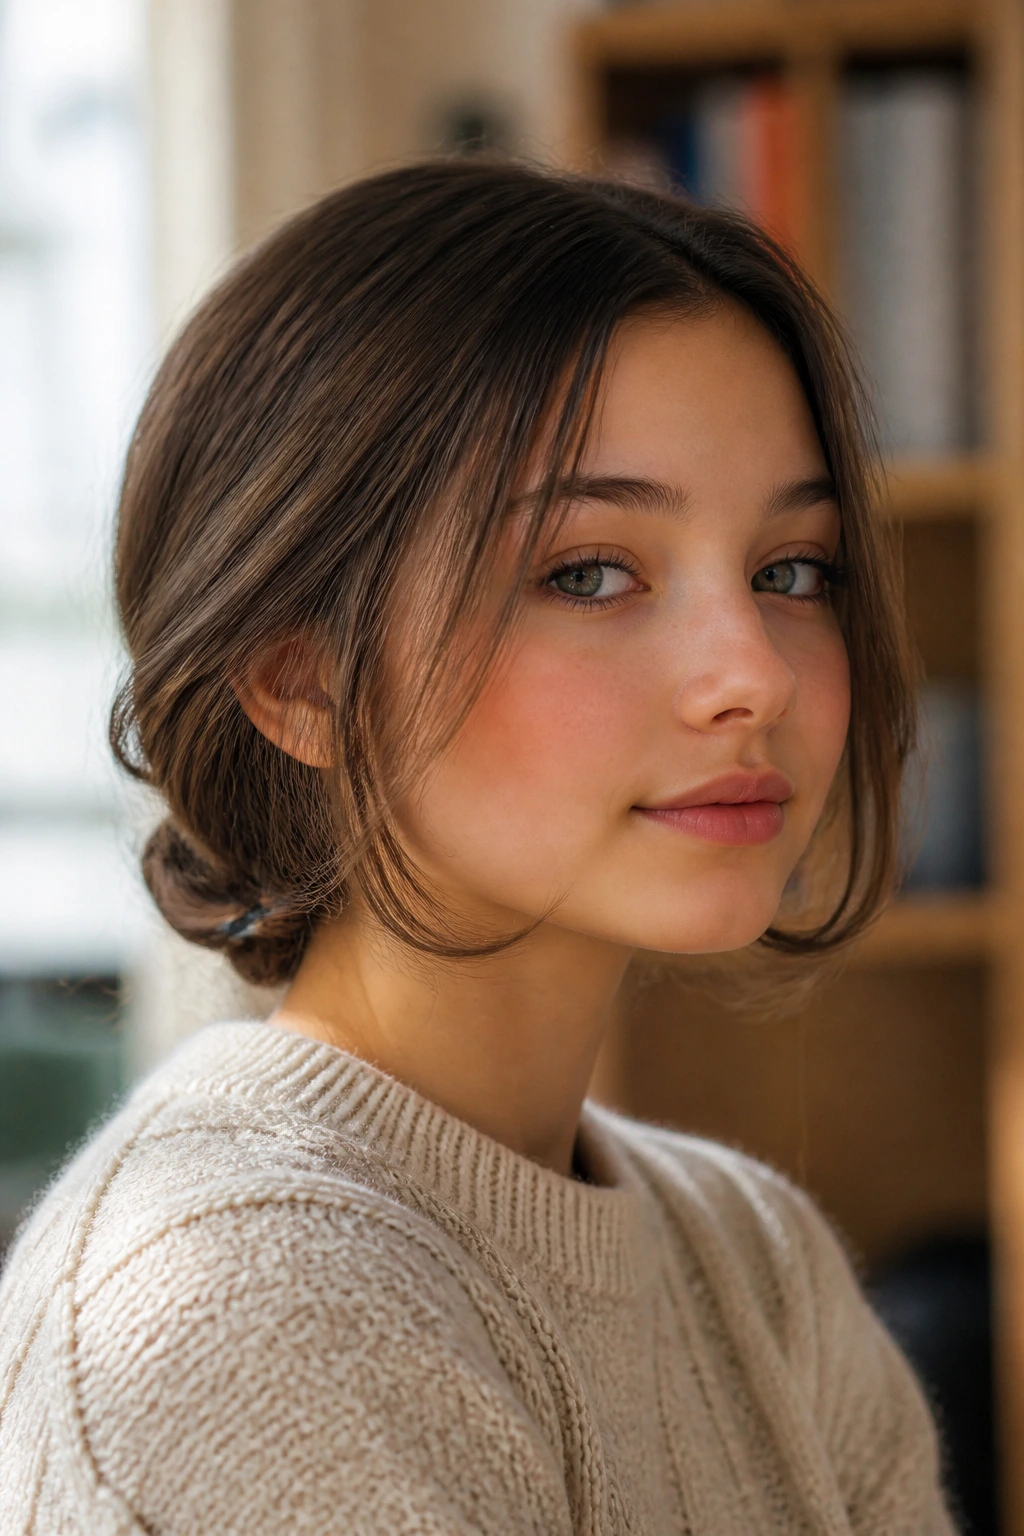
2. The Gibson Tuck Headband
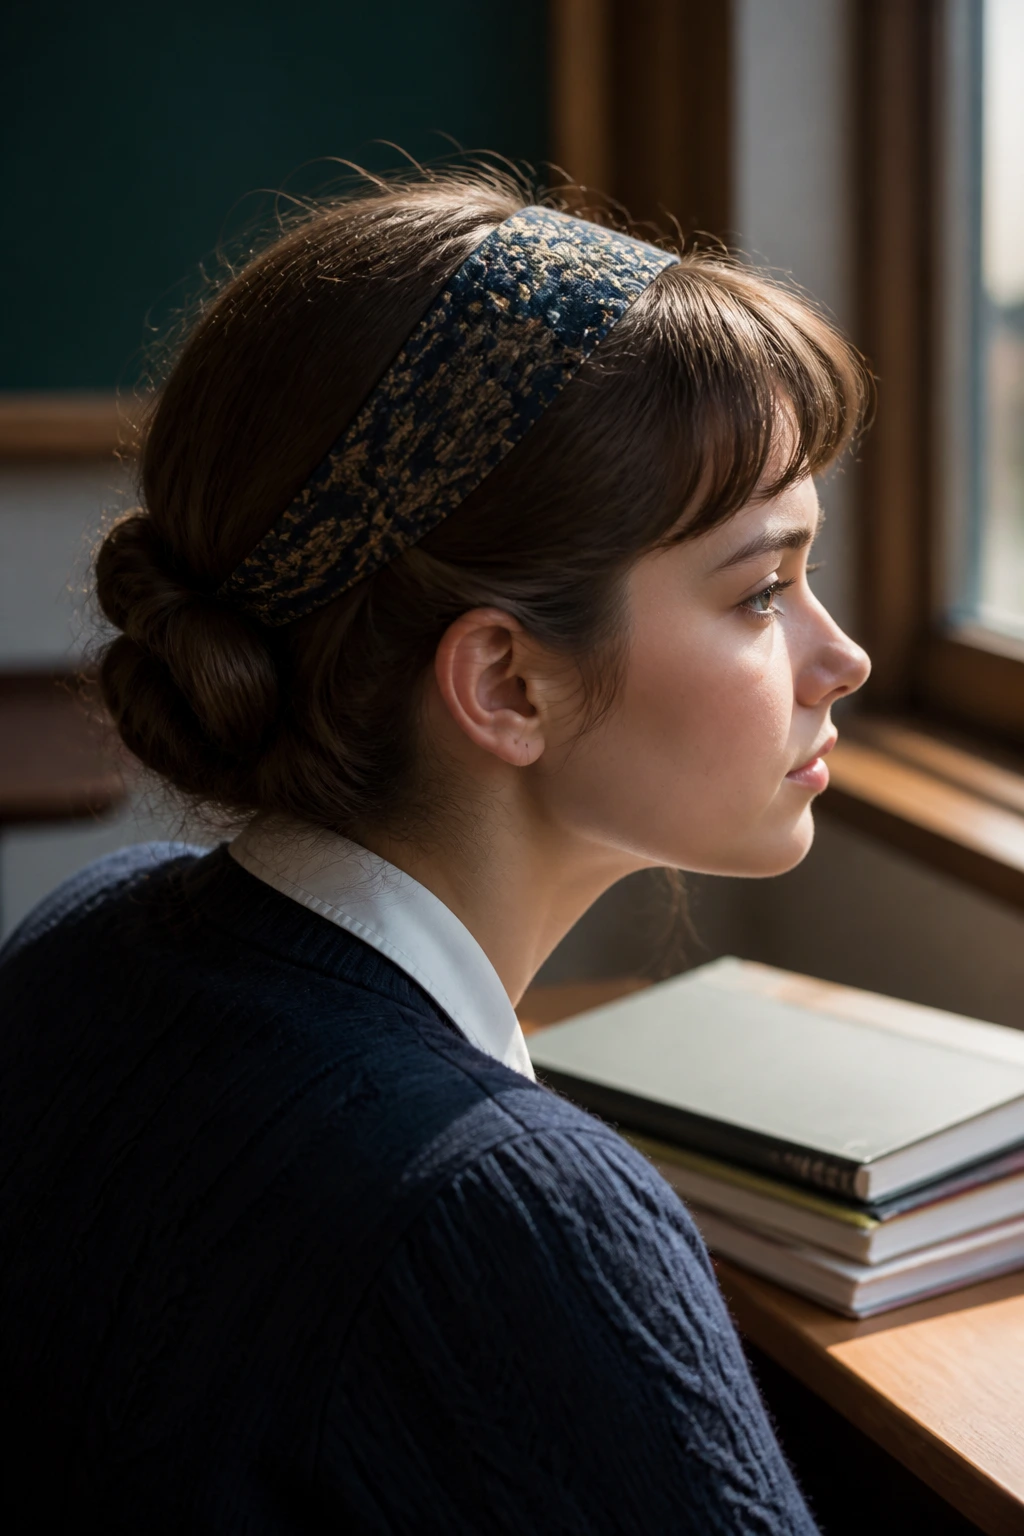
If your hair is medium length, the Gibson tuck is the ultimate low-maintenance savior. It creates the illusion of an intricate updo by rolling the hair toward the nape of the neck. You start by placing a fabric headband over your hair, then tucking pieces of hair into the band until you reach the center.
Mastering the Tuck
The key here is to keep the rolls slightly loose. If you pull too tightly, the style loses that soft, romantic volume that defined the turn-of-the-century look. Use a fine-tooth comb to smooth out the top layer before you begin the tucking process.
Why This Style Lasts
- The fabric headband acts as a structural anchor, keeping the style from sliding down.
- It protects your ends from breakage during the day.
- It works on second-day hair that might be a bit too oily for loose styles.
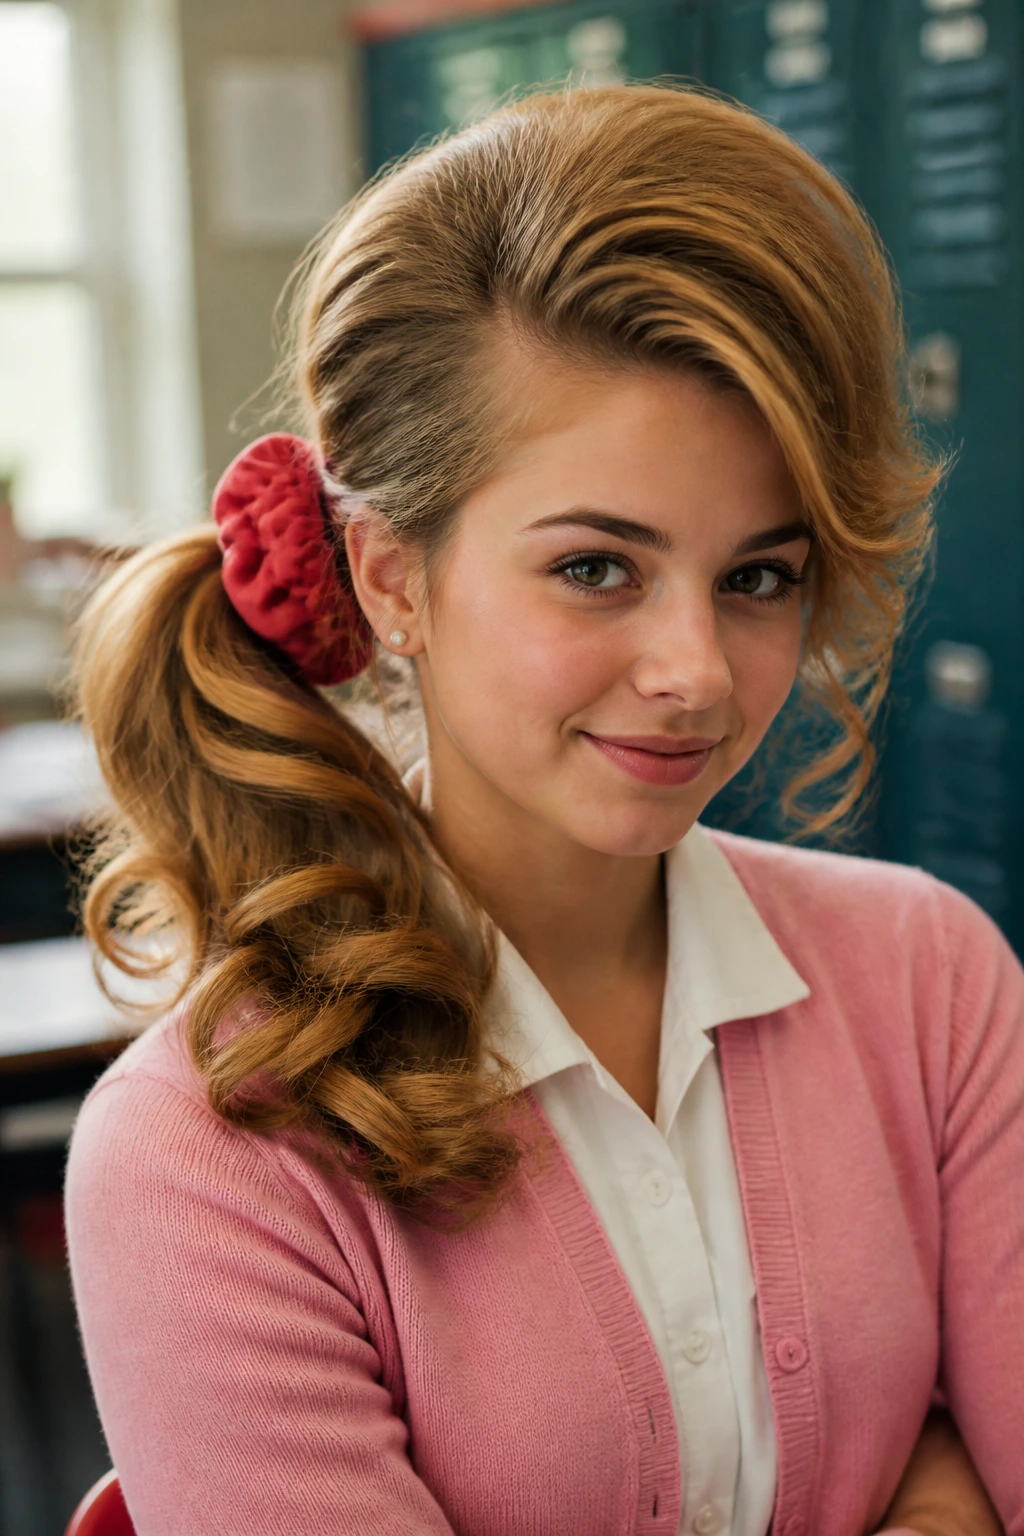
3. High-Pony Beehive Hybrid
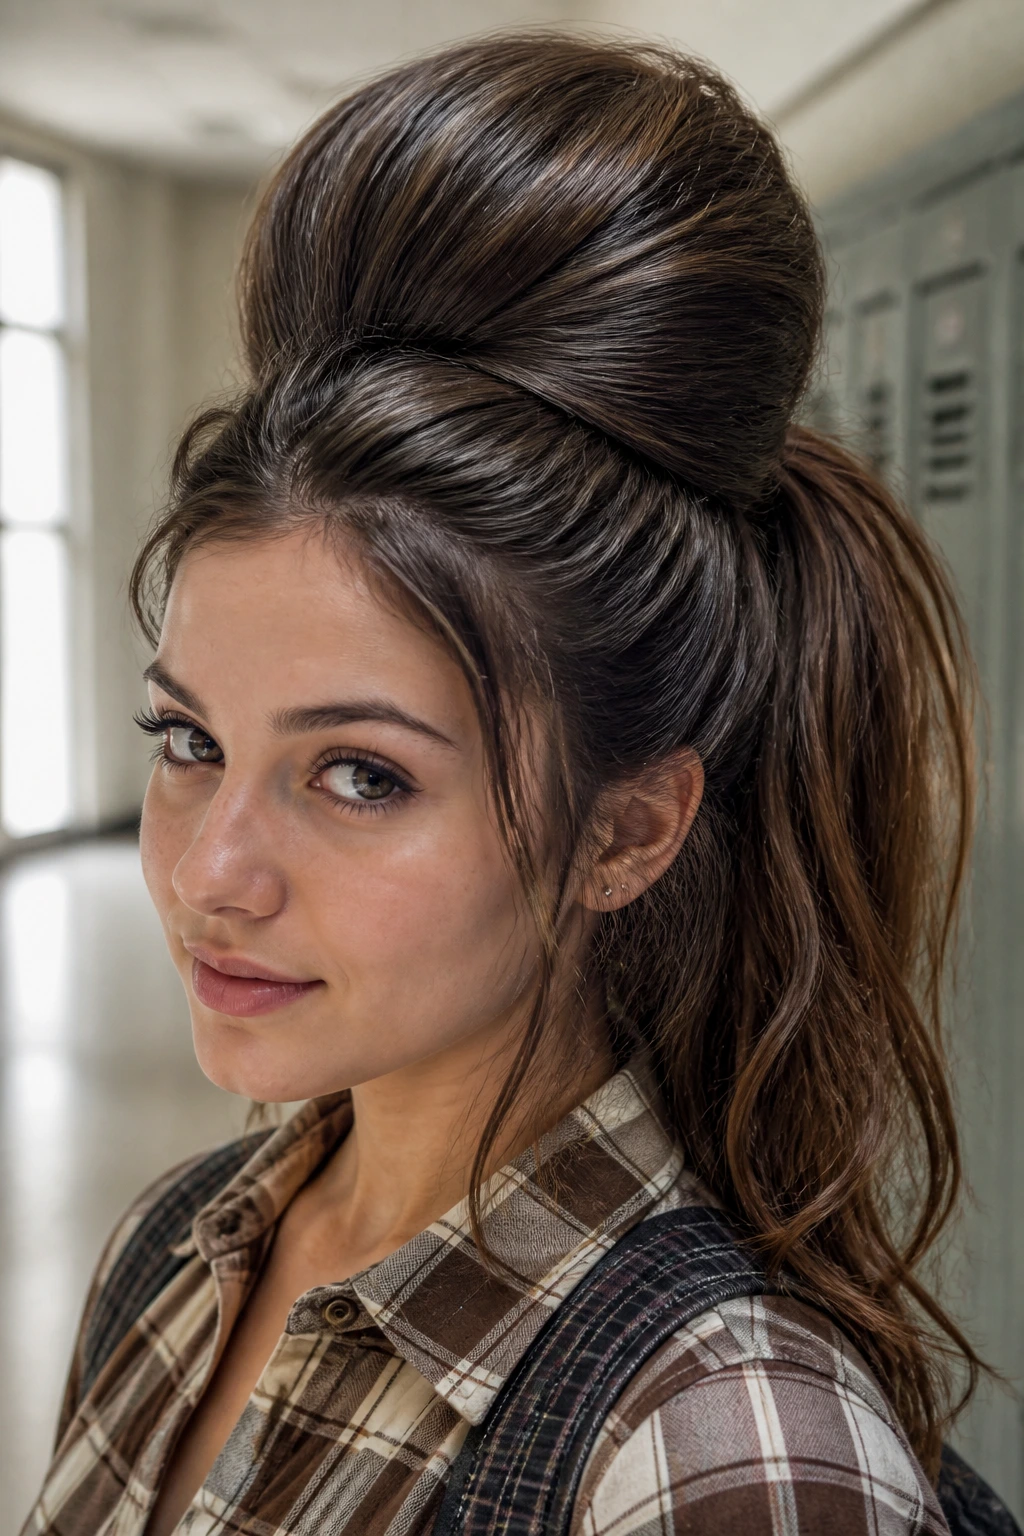
You take the height of a sixties beehive and combine it with the practicality of a high ponytail. Tease the crown aggressively, smoothing the top layer over the cushion to hide the messiness underneath. Gather the rest of your hair into a secure, high-tension ponytail at the top of your head.
The Secret to the Bump
Most people fail at the beehive because they don’t use enough hairspray. You need a flexible-hold spray that allows you to sculpt the bump into a smooth, rounded shape without leaving it crunchy. Aim for a dome that starts just behind your bangs or front hairline.
Everyday Wearability
- Wrap a small piece of hair around your ponytail elastic to keep it looking polished.
- Use a silk ribbon instead of a plastic hair tie to avoid creases.
- The height helps balance round face shapes, adding visual length.
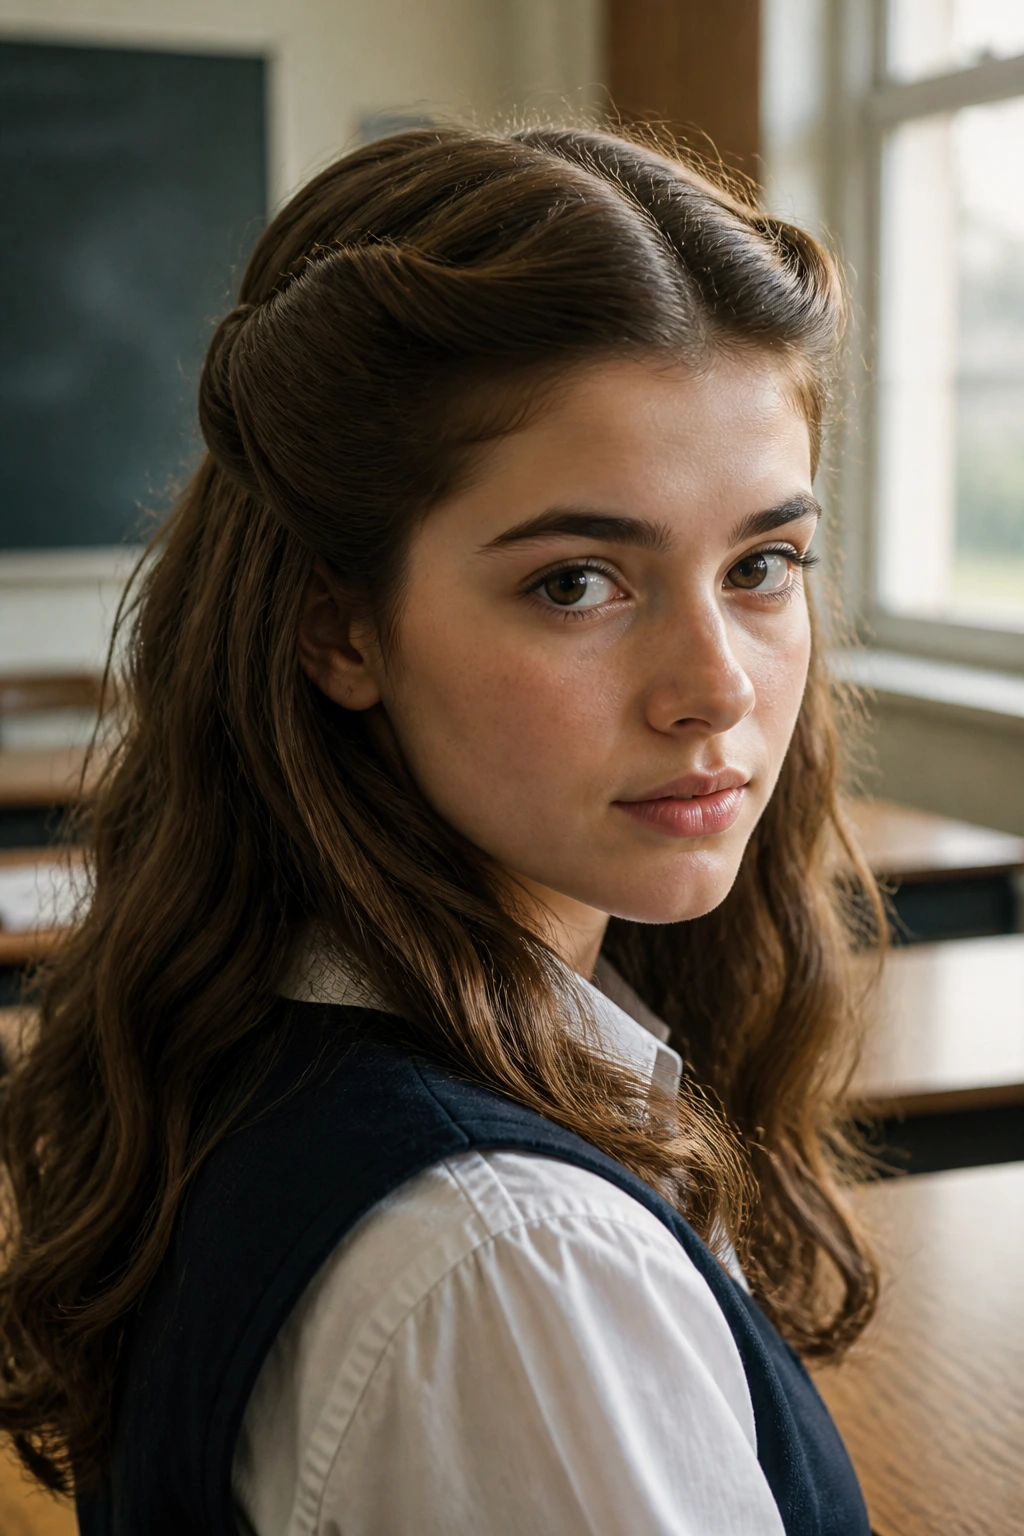
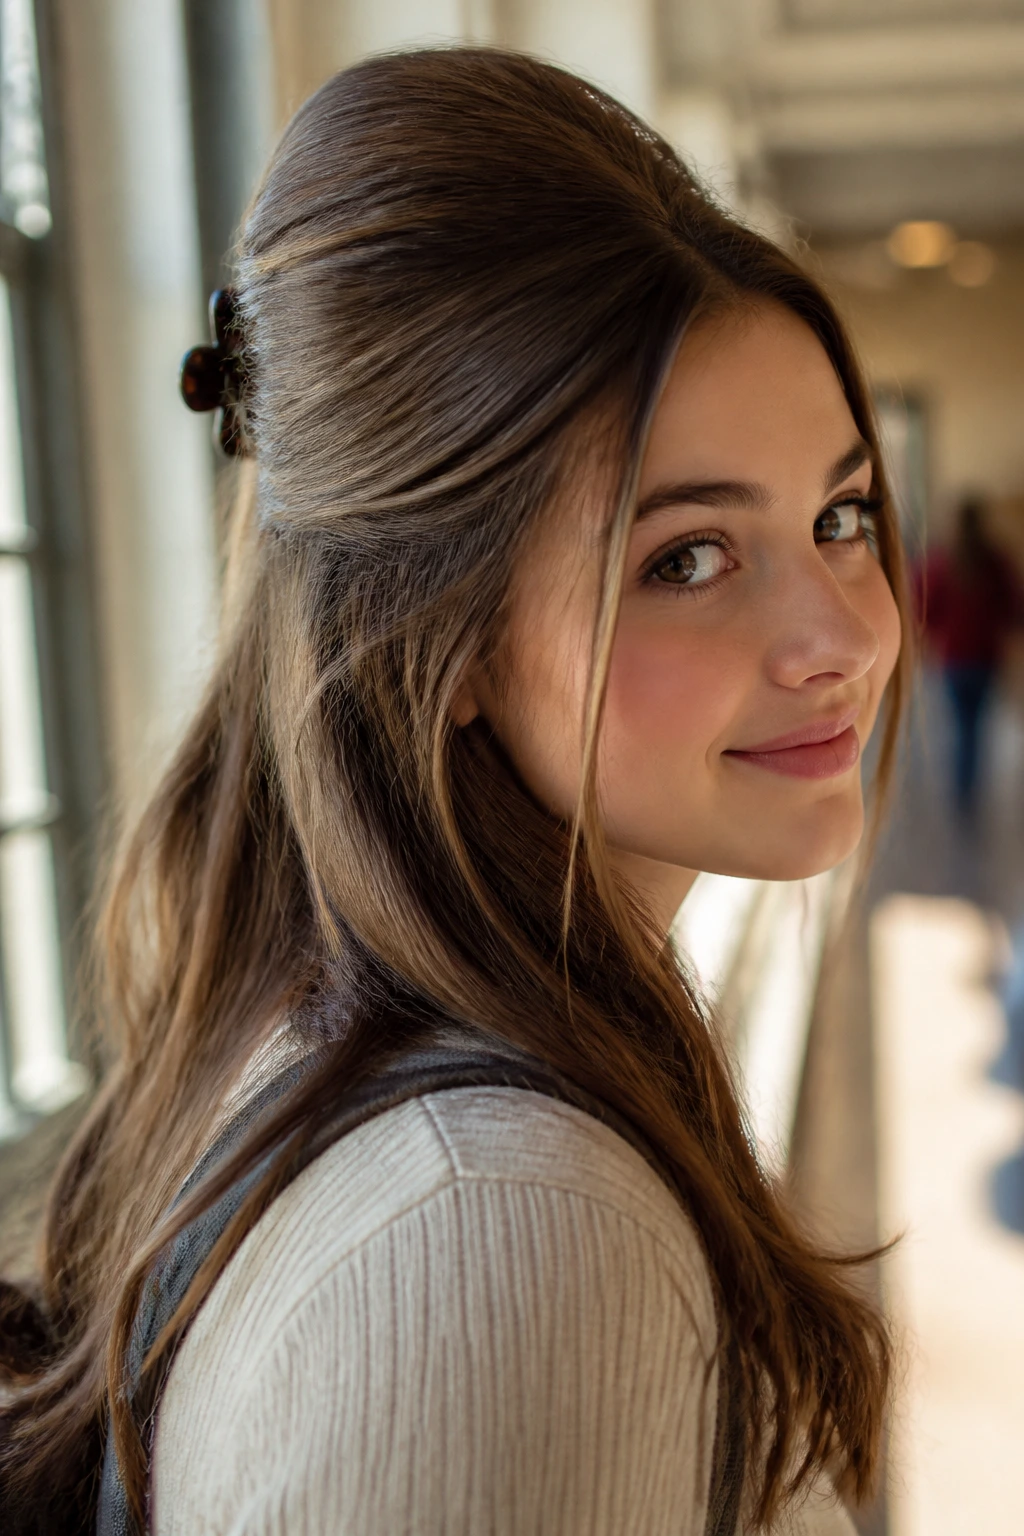
4. Half-Up Victory Rolls
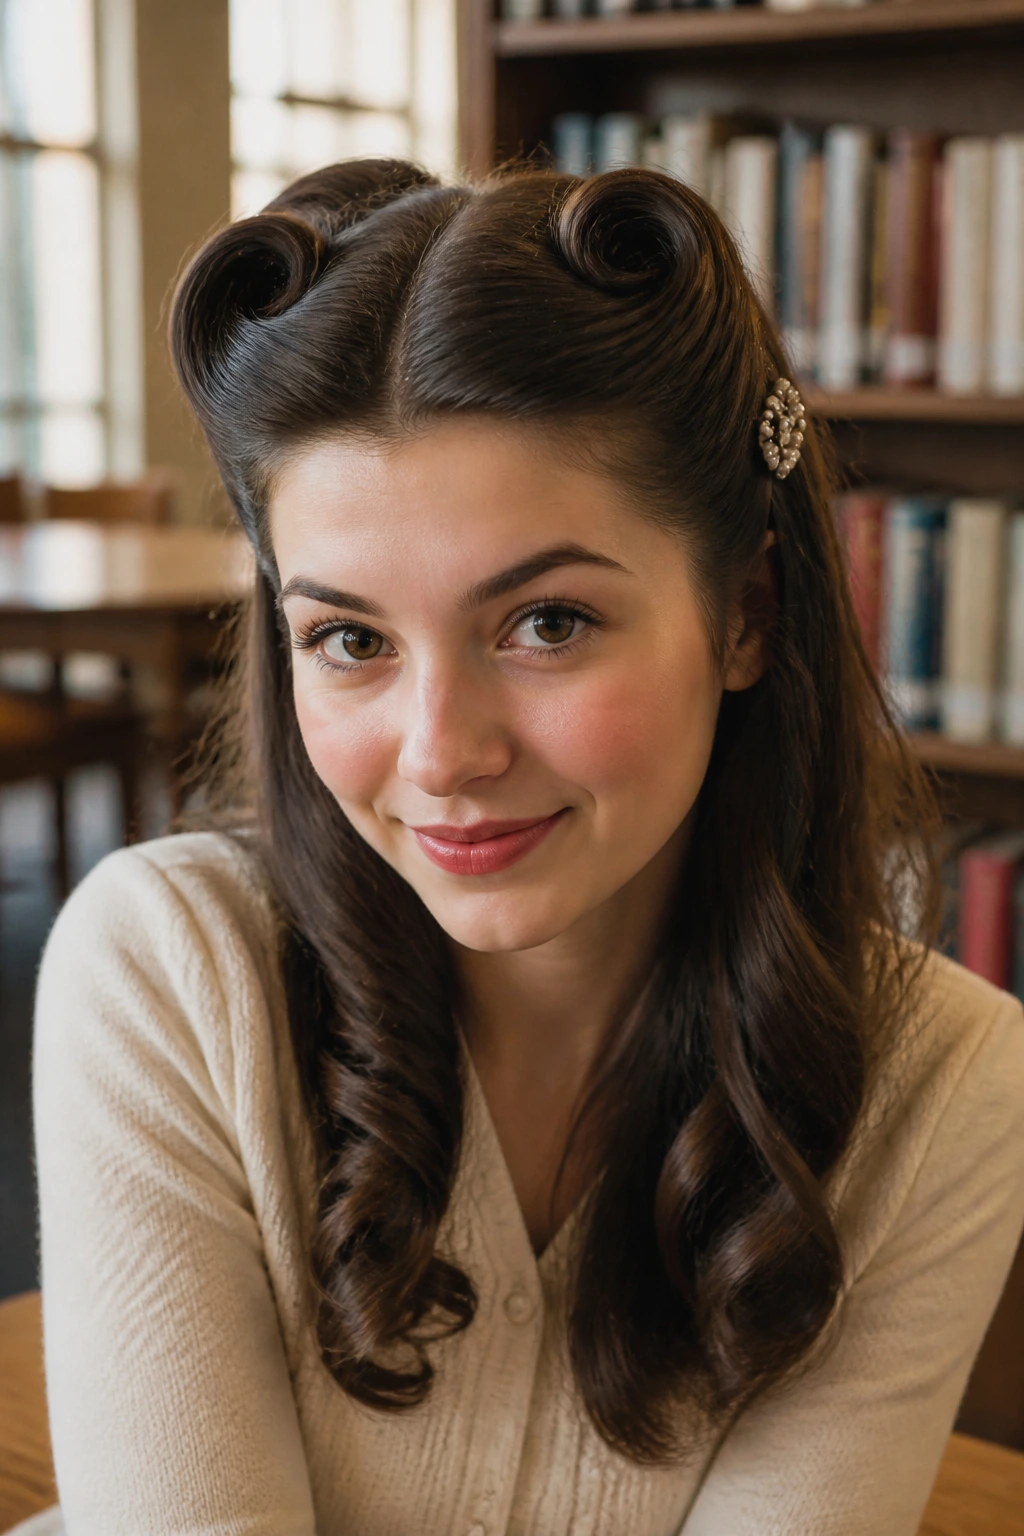
For those days when you want the vintage look but still want the comfort of wearing your hair down, the half-up roll is the perfect middle ground. You create two small rolls on either side of a middle or side part, securing them at the back with a decorative barrette.
Styling for School Days
The back half of your hair can be left natural, or you can add a few quick pin curls if you have ten extra minutes. Because the front is secured, you won’t be constantly brushing hair out of your eyes while trying to focus on a test or a project.
Materials You Need
- A fine-tail comb for clean part lines.
- Two small, clear elastic bands to prep the rolls.
- A sturdy barrette to hide the pinning point at the back.
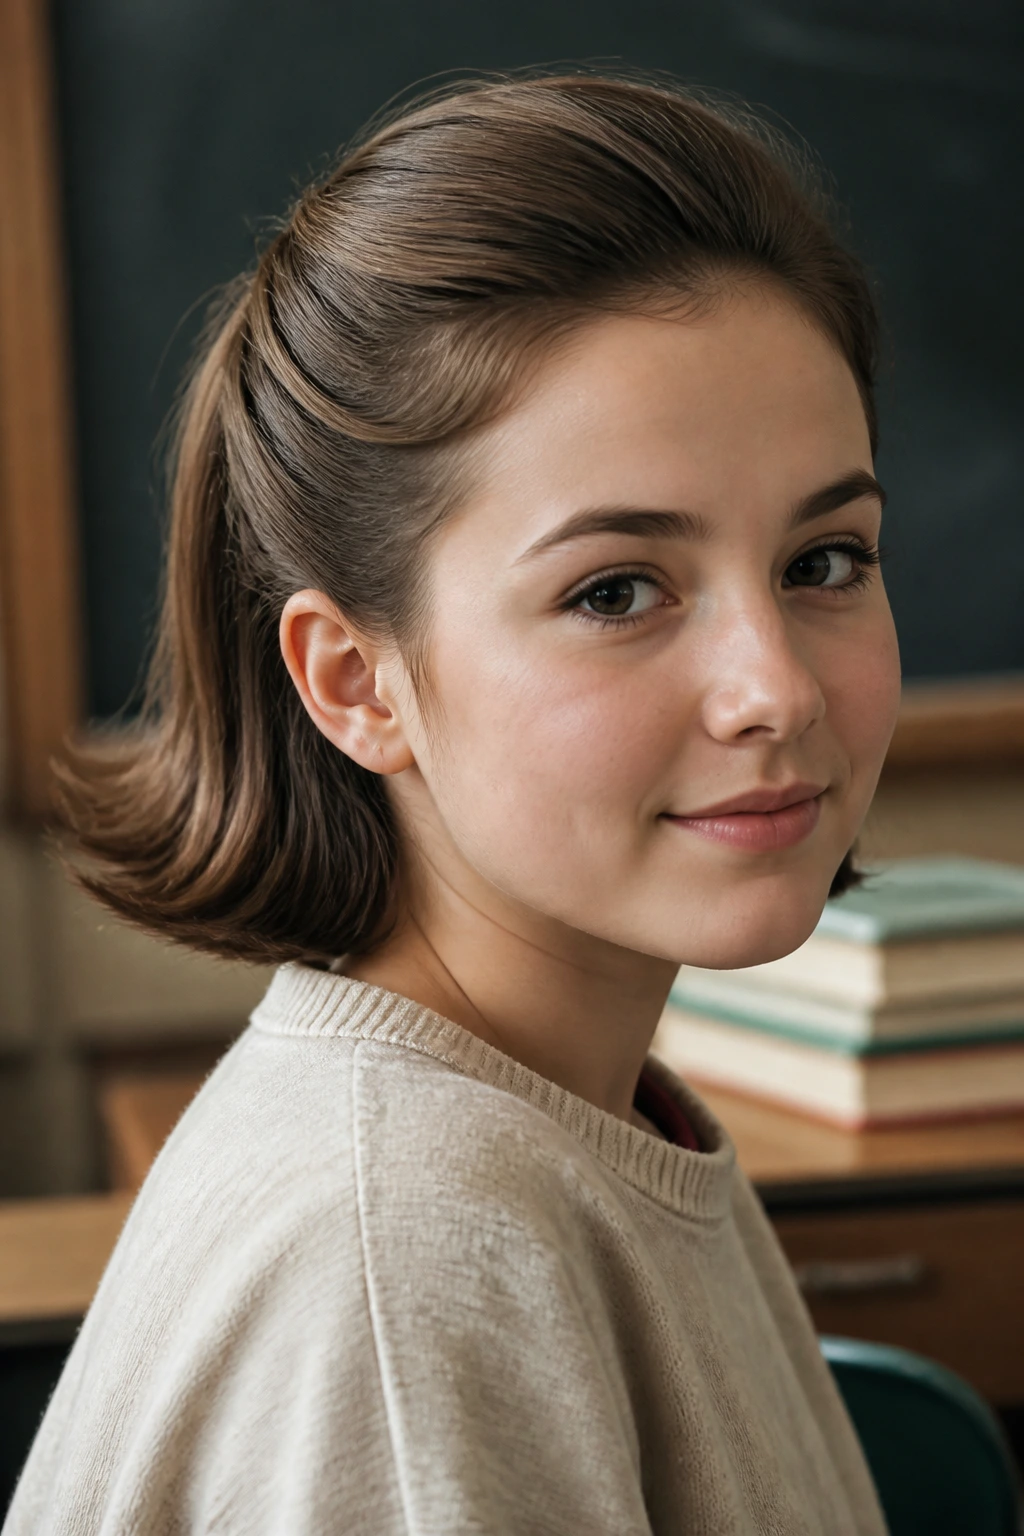
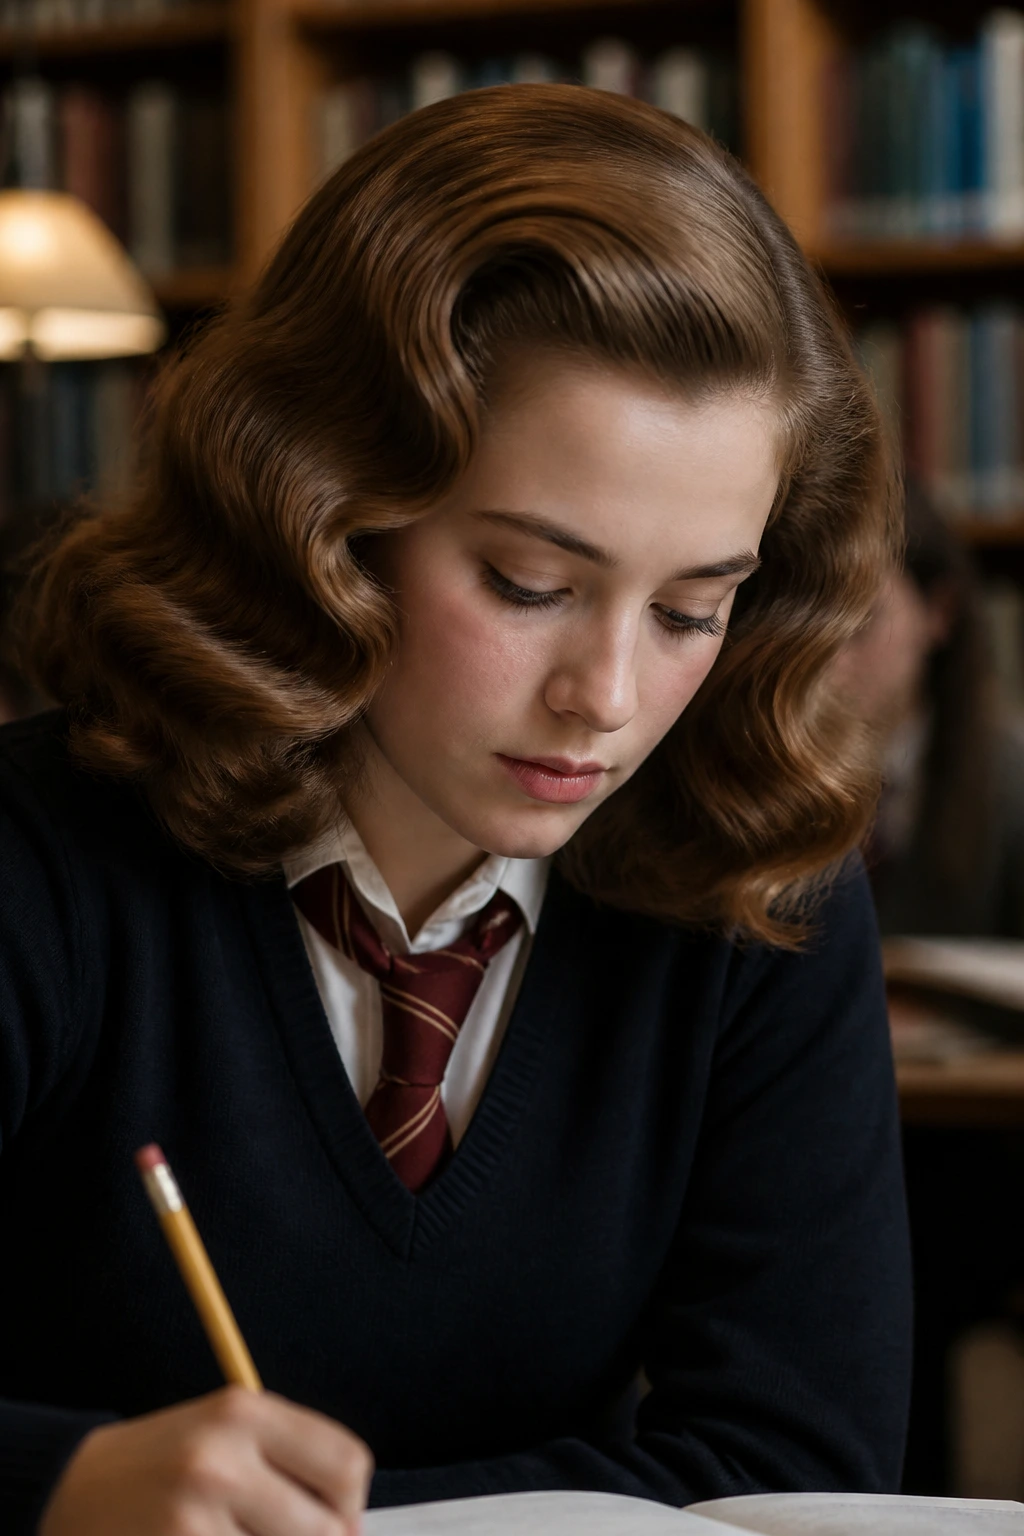
5. The Ten-Minute Pageboy Flip
The pageboy was the gold standard of 1950s school style, featuring that signature inward curl at the ends. You can achieve this using a round brush and a blow dryer or a large-barrel curling iron. The goal is to create a seamless, rounded silhouette that frames the chin.
Why It’s Timeless
It feels sophisticated but remains incredibly easy to maintain. If you have a blunt haircut, this style will look especially clean. Simply mist the ends with a light-hold spray and use the brush to turn them under while the hair is still warm.
Avoiding the “Triangle” Effect
- Avoid starting your flip too high up the hair shaft; you only want the bottom three inches to curve.
- Thin out ends if they are overly thick, as blunt ends can sometimes look like a curtain rather than a soft flip.
6. The 1940s Snood and Scarf

Sometimes, the best vintage style is the one that covers most of your hair. A crocheted snood or a silk scarf tied in a bandana style allows you to keep your hair contained and protected while still looking perfectly “period.”
When to Use This Look
- On windy mornings when styling is a waste of time.
- During lab days where loose hair could be a safety hazard.
- When you want to channel a wartime work-chic aesthetic.
Styling the Scarf
Fold your square scarf into a long triangle and tie it at the nape of the neck. Make sure the front of the scarf sits just behind your hairline to show off a little bit of texture. This is arguably the fastest hairstyle on the list, yet it never fails to look intentional and well-styled.
7. The Braided Halo
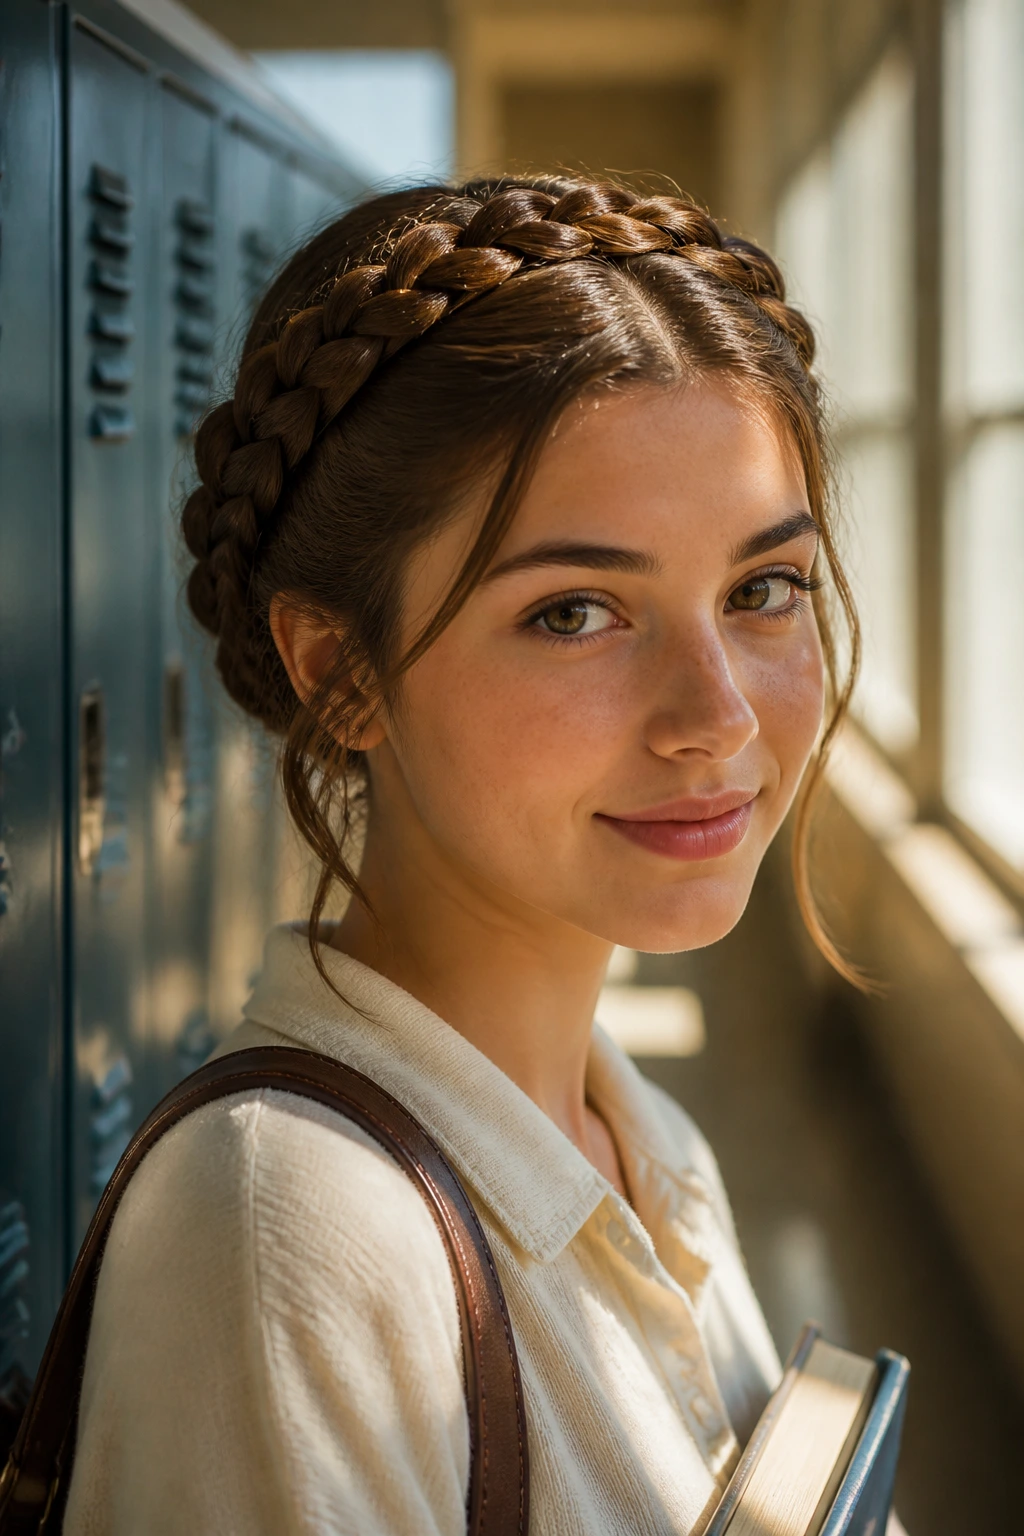
Taking inspiration from the peasant styles of the mid-twentieth century, a braided halo is robust enough to last through a full day of activities. French braid your hair along the hairline, moving from one ear to the other, and tuck the ends under the braid.
Durability and Maintenance
This style is nearly impossible to mess up once it’s pinned correctly. Because the hair is braided, it doesn’t matter if you get a little windblown; the structure remains intact. It’s a clean look that keeps your neck cool in warmer weather.
Customizing the Braid
- Leave a few tendrils out around your ears for a softer, more modern feel.
- Use decorative pins or small flowers if you have a special event during the school day.
- Tightening the braid as you move toward the ends helps it lay flatter against your head.
8. Soft Poodle Curls
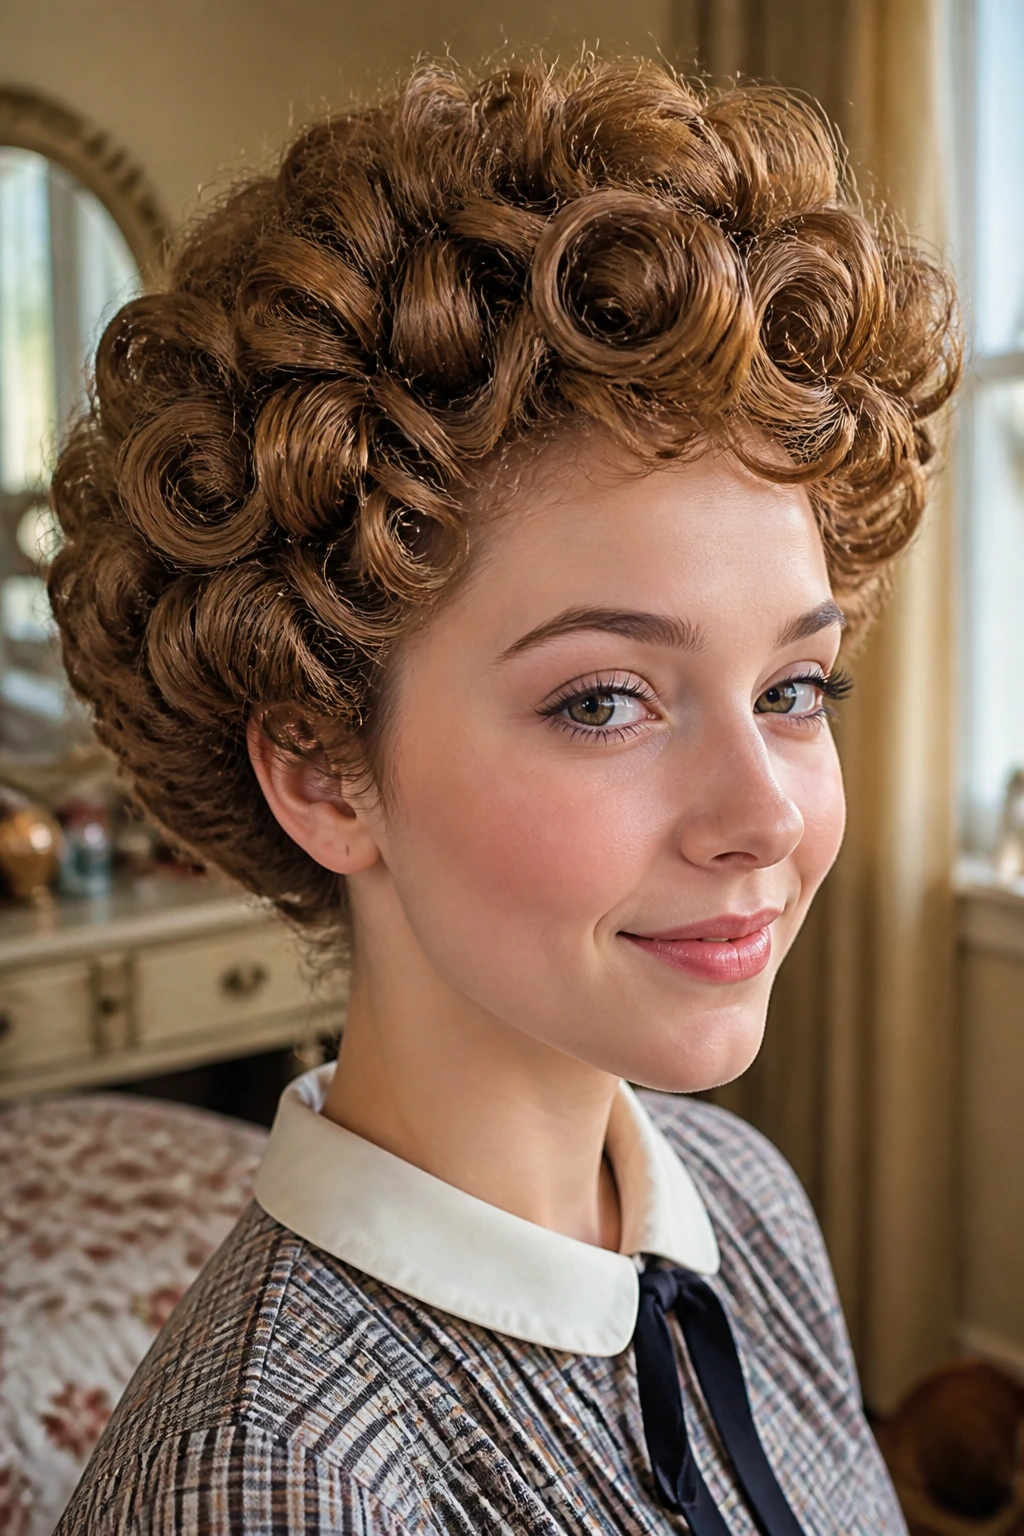
The “poodle” look is all about tight, small curls that frame the head. Using hot rollers is the most efficient way to achieve this. You want to set the hair in small sections, allowing the rollers to cool completely before brushing them out with a boar-bristle brush.
Softening the Look
If you find the result is too tight, don’t panic. Gently rake your fingers through the curls to break them up. The point is to create a soft, rounded cloud of curls that looks bouncy and healthy, rather than stiff and ringlet-y.
Why It Works for Students
- It lasts for days if you sleep with a satin bonnet.
- It’s incredibly flattering on most face shapes.
- It works well with headbands, which helps keep the hair away from your face while studying.
9. The Structured French Twist
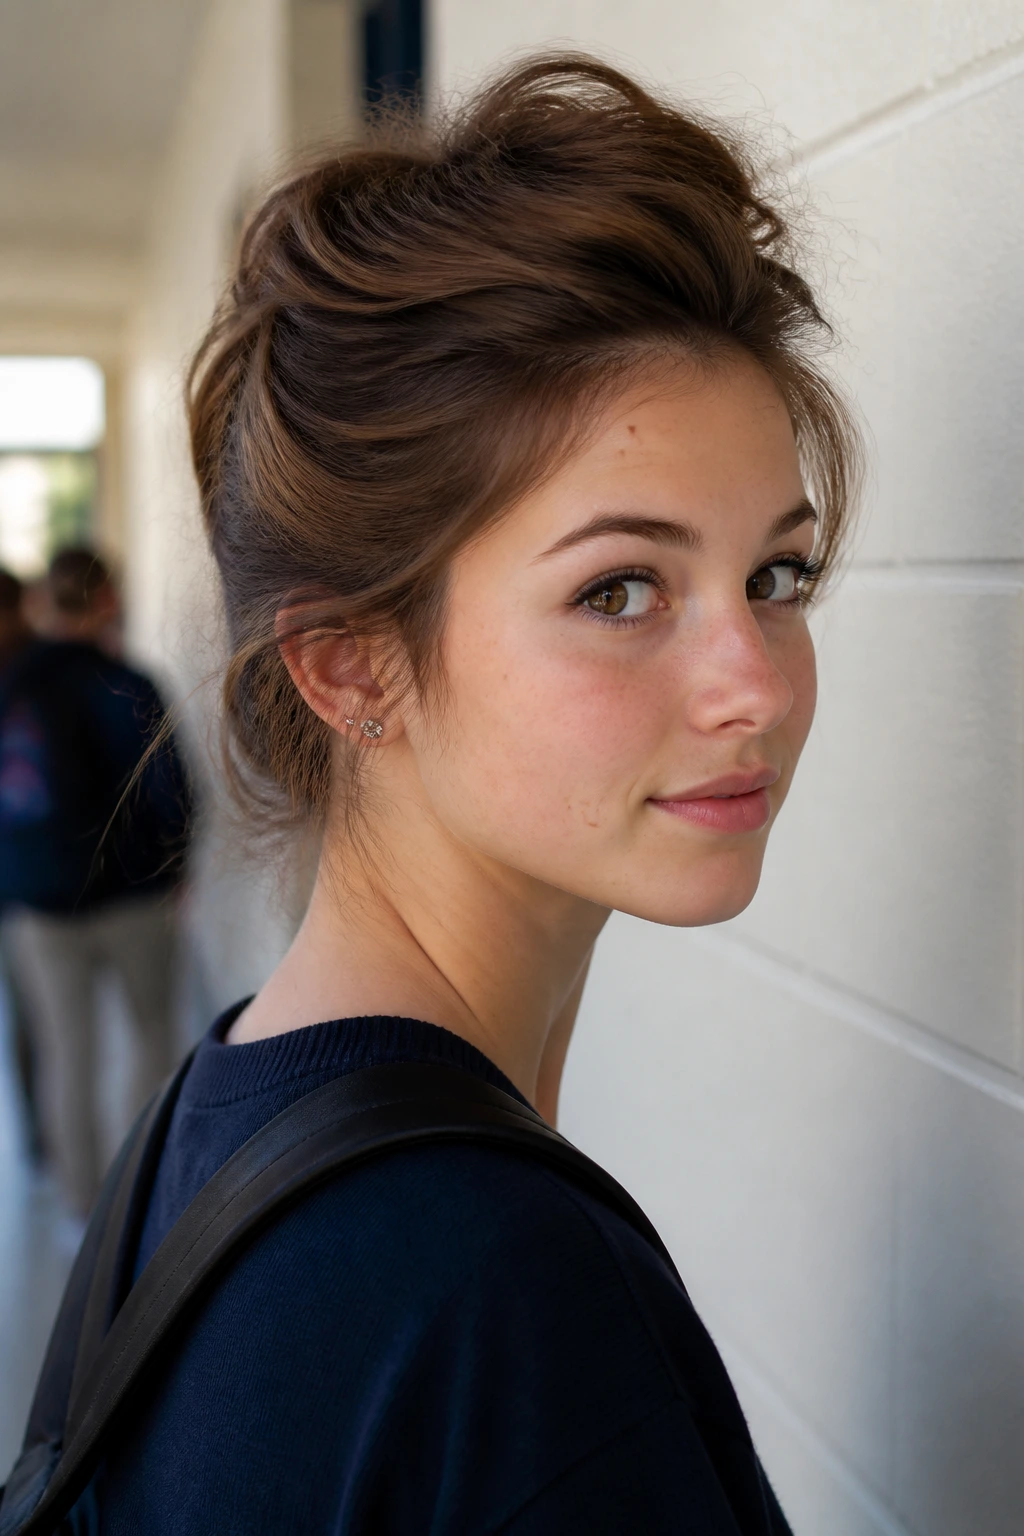
While the French twist is often associated with formal galas, a simplified, messy version works perfectly for a school environment. You simply gather the hair at the back, twist it upward, and pin it into place. Leave the top section slightly loose for that “lived-in” vintage feel.
The Modern Adaptation
- Avoid using hair gel, which makes it look too formal.
- Use a set of decorative, contrasting hairpins to keep the twist held in place instead of hidden bobby pins.
- Don’t worry about perfect smoothness; a few loose strands actually make this style feel more authentic to the mid-century casual look.
10. The Side-Swept Wave

This style mimics the classic Hollywood screen siren but keeps the volume focused on one side. Part your hair deeply to one side, create a large set of pin curls, and brush them out to create a deep, cascading wave. Pin the smaller side behind your ear.
Managing the Waves
The deep side part is the star here. It adds instant drama to a simple outfit. You can keep the waves tight for a more period-accurate look or brush them out into soft, wide ripples for something more contemporary.
Longevity Tips
- Use a styling mousse on damp hair before you set your curls.
- The weight of the hair on the heavy side will naturally want to fall; use a tiny amount of pomade to keep it gripped to your scalp.
11. The Ribboned Low Chignon
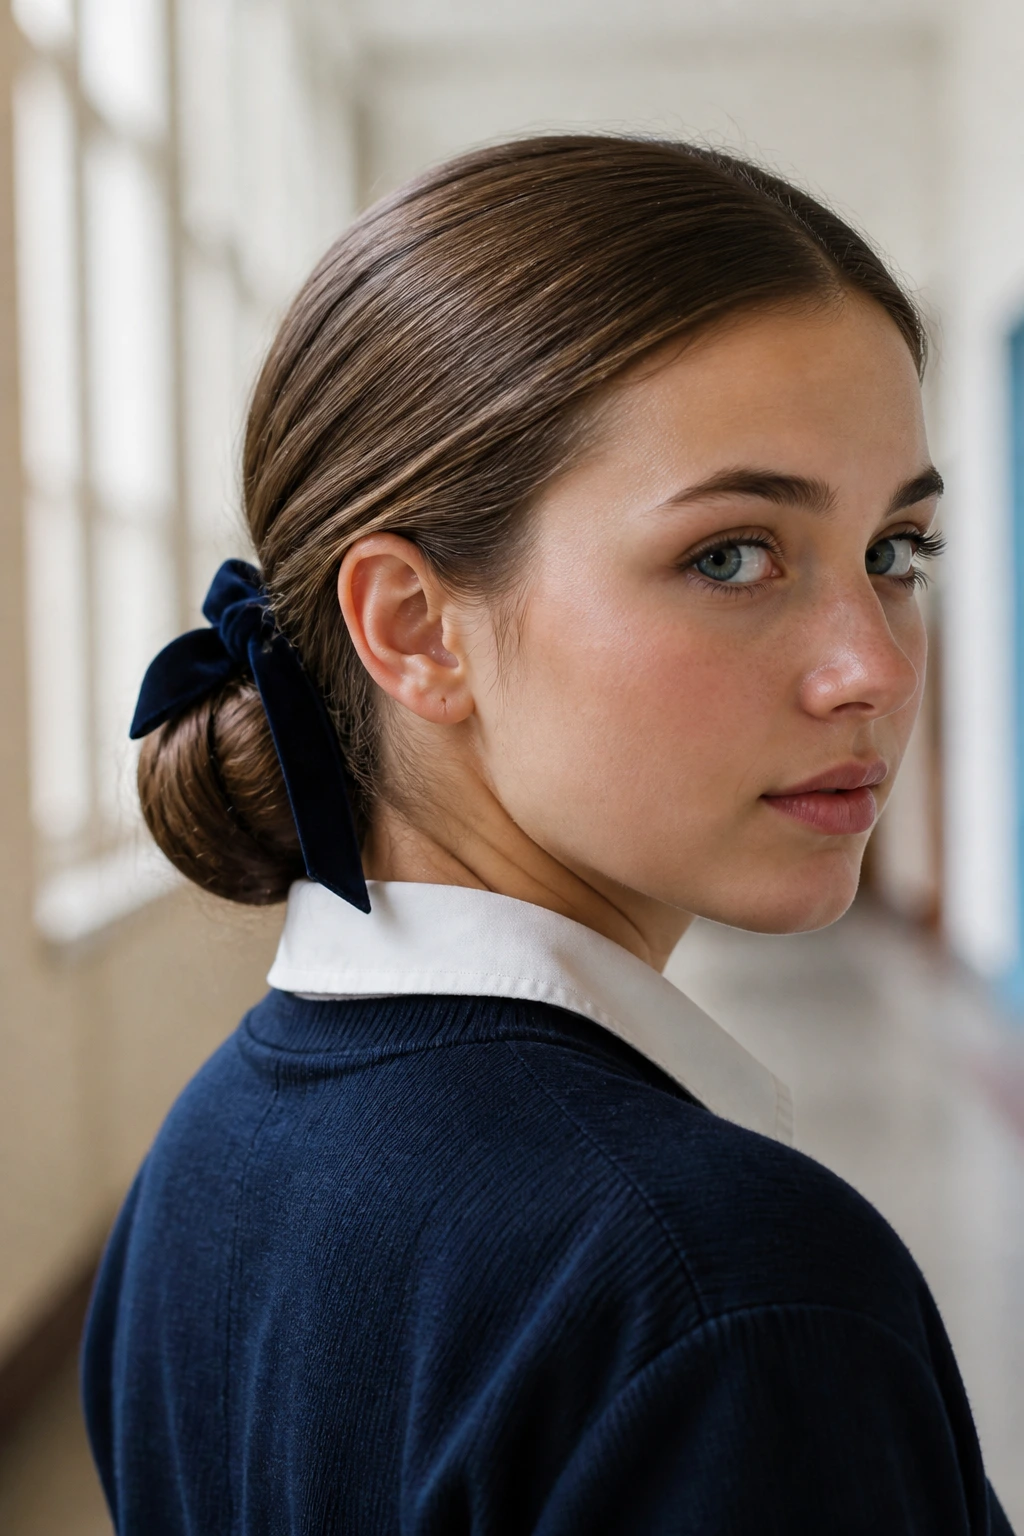
The low chignon, adorned with a velvet or silk ribbon, is a staple of early-mid-century school girl aesthetics. It is a simple bun secured at the base of the neck, with the ribbon tied around the base to act as both a support and an accessory.
Simplicity in Design
- Twist the hair into a rope before coiling it into a bun; this gives it more visual texture.
- Place the bun slightly off-center for a more playful, casual look.
- Use a ribbon that matches your school colors to keep it within the dress code.
12. Pin-Up Bangs and Ponytail
If you have bangs, styling them is 90% of the battle. Roll your bangs under using a small round brush and a blast of hairspray, then pull the rest of your hair into a mid-height ponytail. It’s a clean, sharp look that highlights your face and takes less than five minutes.
The Importance of the Roll
The curl on the bang needs to be firm enough to withstand humidity. Use a high-quality styling spray that sets without making the hair brittle. If your bangs tend to split, use a light mist of water to reset them before applying heat.
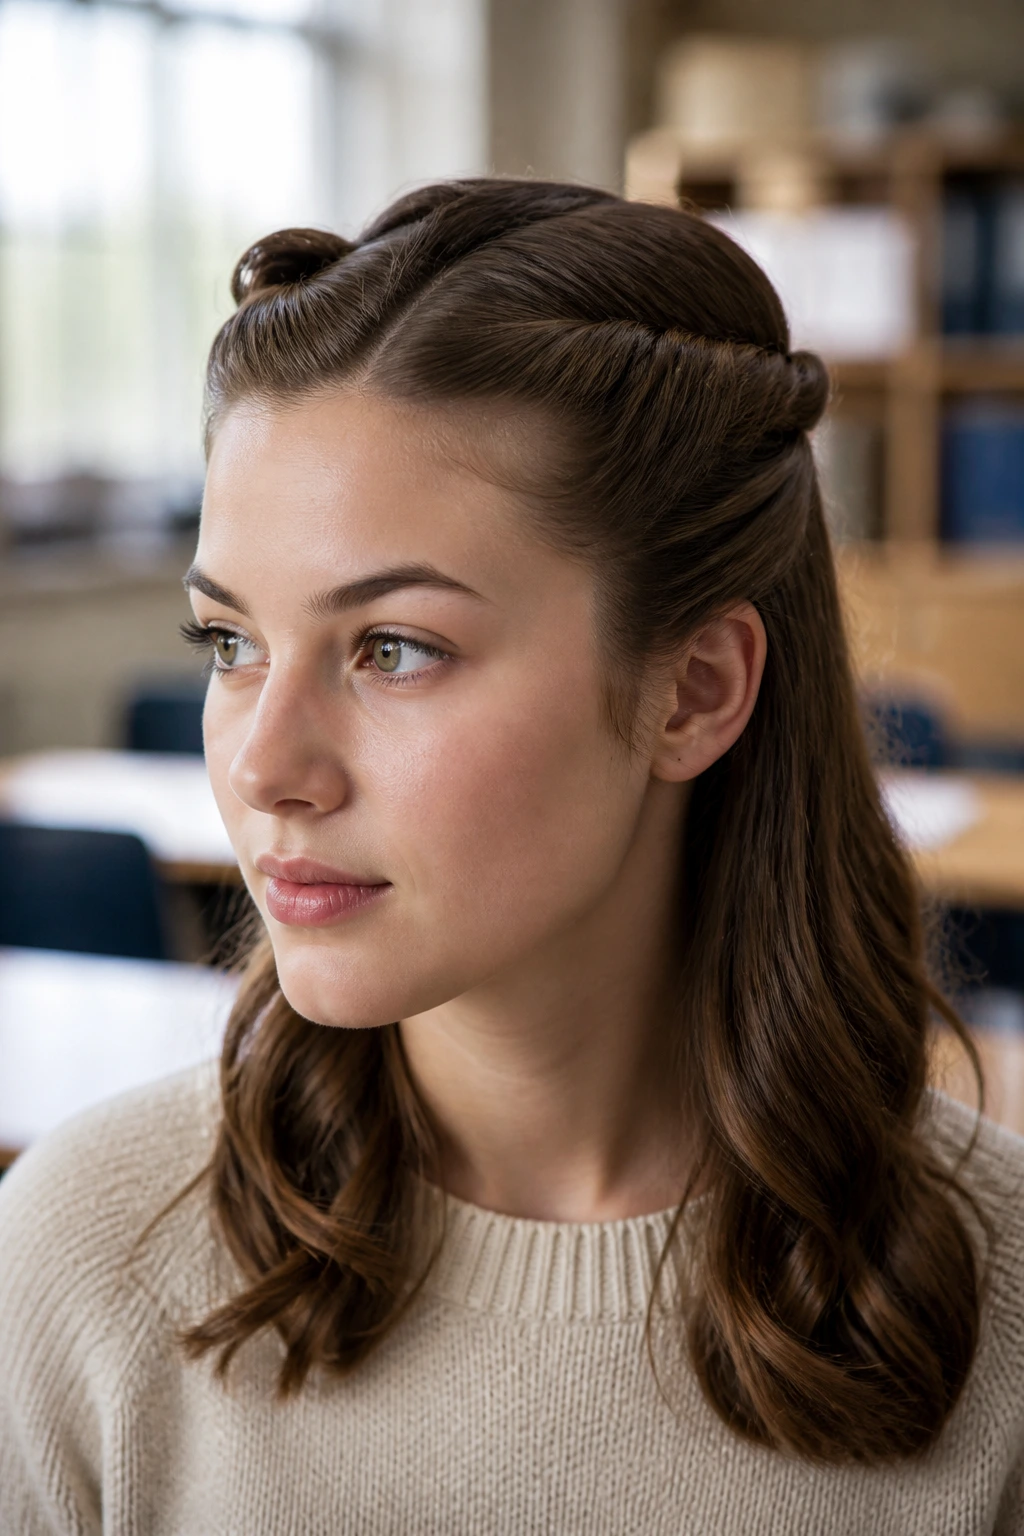
13. The Half-Crown Tuck
This is a variation of the Gibson tuck, but only involving the front sections of the hair. You pull the front two sections toward the back, twisting them into rolls, and then tuck them into each other or secure them with a bow.
Why It’s Effective
It provides all the benefits of pulling hair away from the face while keeping the length of your hair loose and flowy. It’s a very sweet, soft look that is perfect for a classroom environment.
Adjusting for Hair Texture
- For curly hair, keep the rolls looser to showcase the curl pattern.
- For straight hair, add a bit of dry shampoo to the roots of the front sections before rolling to give them the grip needed to stay put.
14. The Scarf-Woven Braid
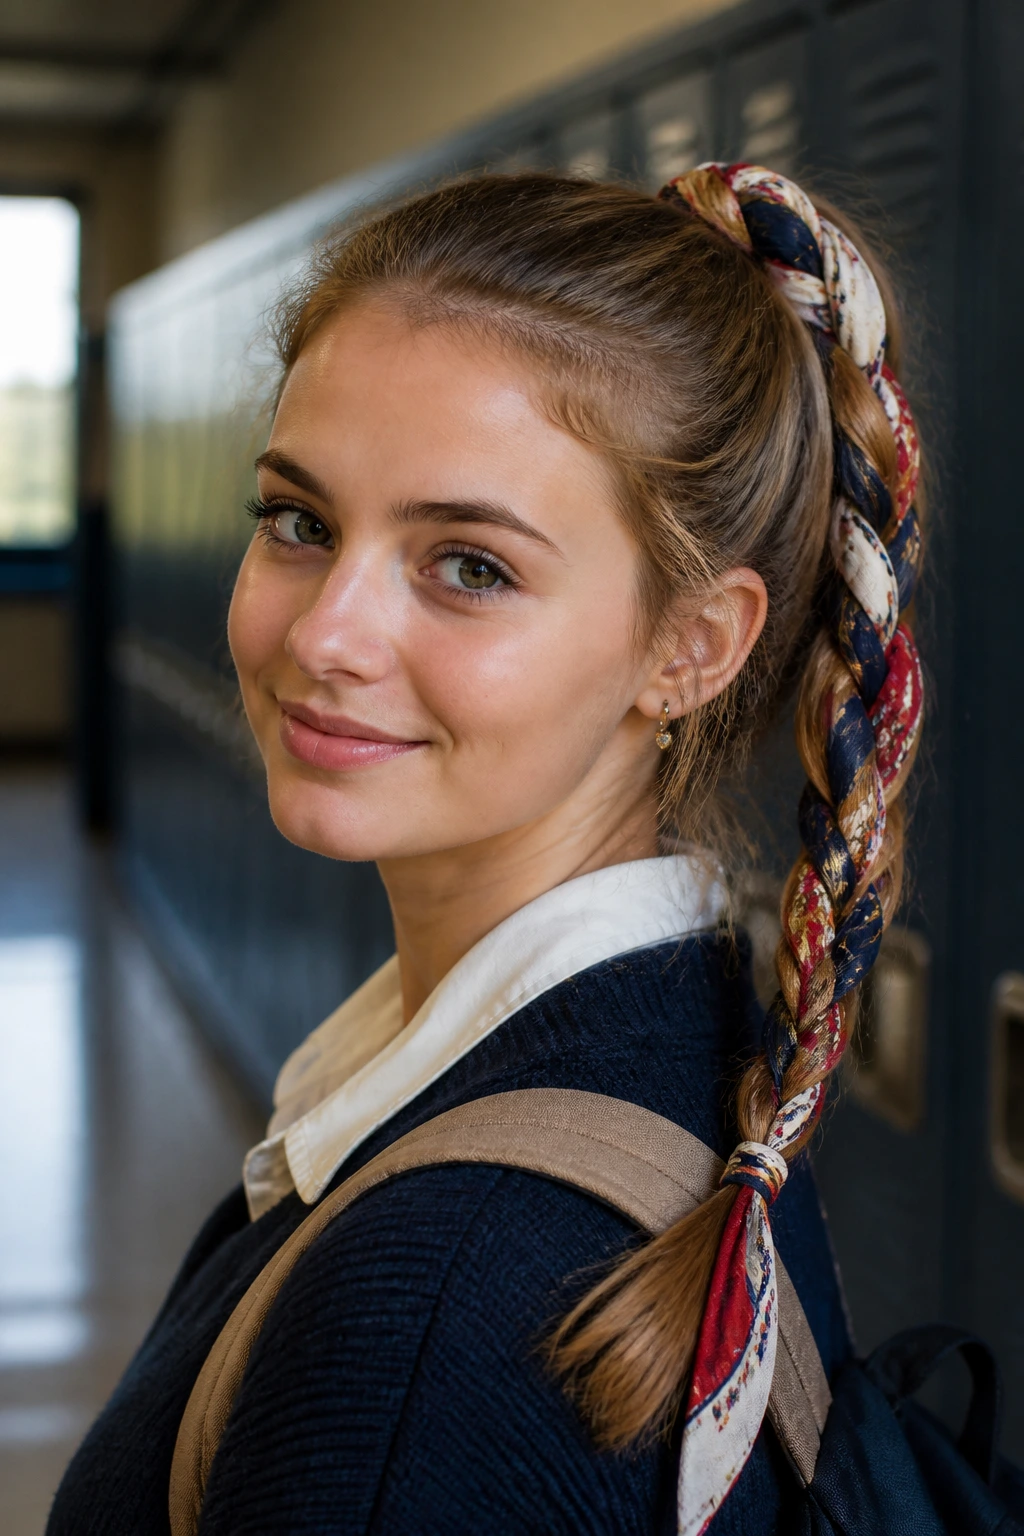
This look involves braiding a thin silk scarf directly into a traditional three-strand braid. It adds color, volume, and an automatic “vintage” feel to even the simplest hairstyle. You can wear the braid over your shoulder or down your back.
Techniques for Success
- Start with a high ponytail to keep the braid uniform.
- Use a scarf that isn’t too thick, or it will make the braid bulky and heavy, leading it to sag during the day.
- A square silk scarf folded into a strip works best because the fabric is lightweight and grips the hair well.
15. The Mid-Century Flip Ponytail
Take a standard ponytail and use a curling iron to flip just the very end of the tail upward. It sounds like a small detail, but that little flick at the end changes the entire silhouette of the ponytail from modern to mid-century.
Why This Style Works
It is subtle enough that it doesn’t look like a costume, but it’s clearly distinct from the standard straight or messy ponytail. It looks especially good on hair that is shoulder-length or slightly longer.
Finishing the Look
- Keep the crown of your head smooth using a bit of shine serum.
- Don’t over-curl the flip; you want a soft curve, not a tight hook.
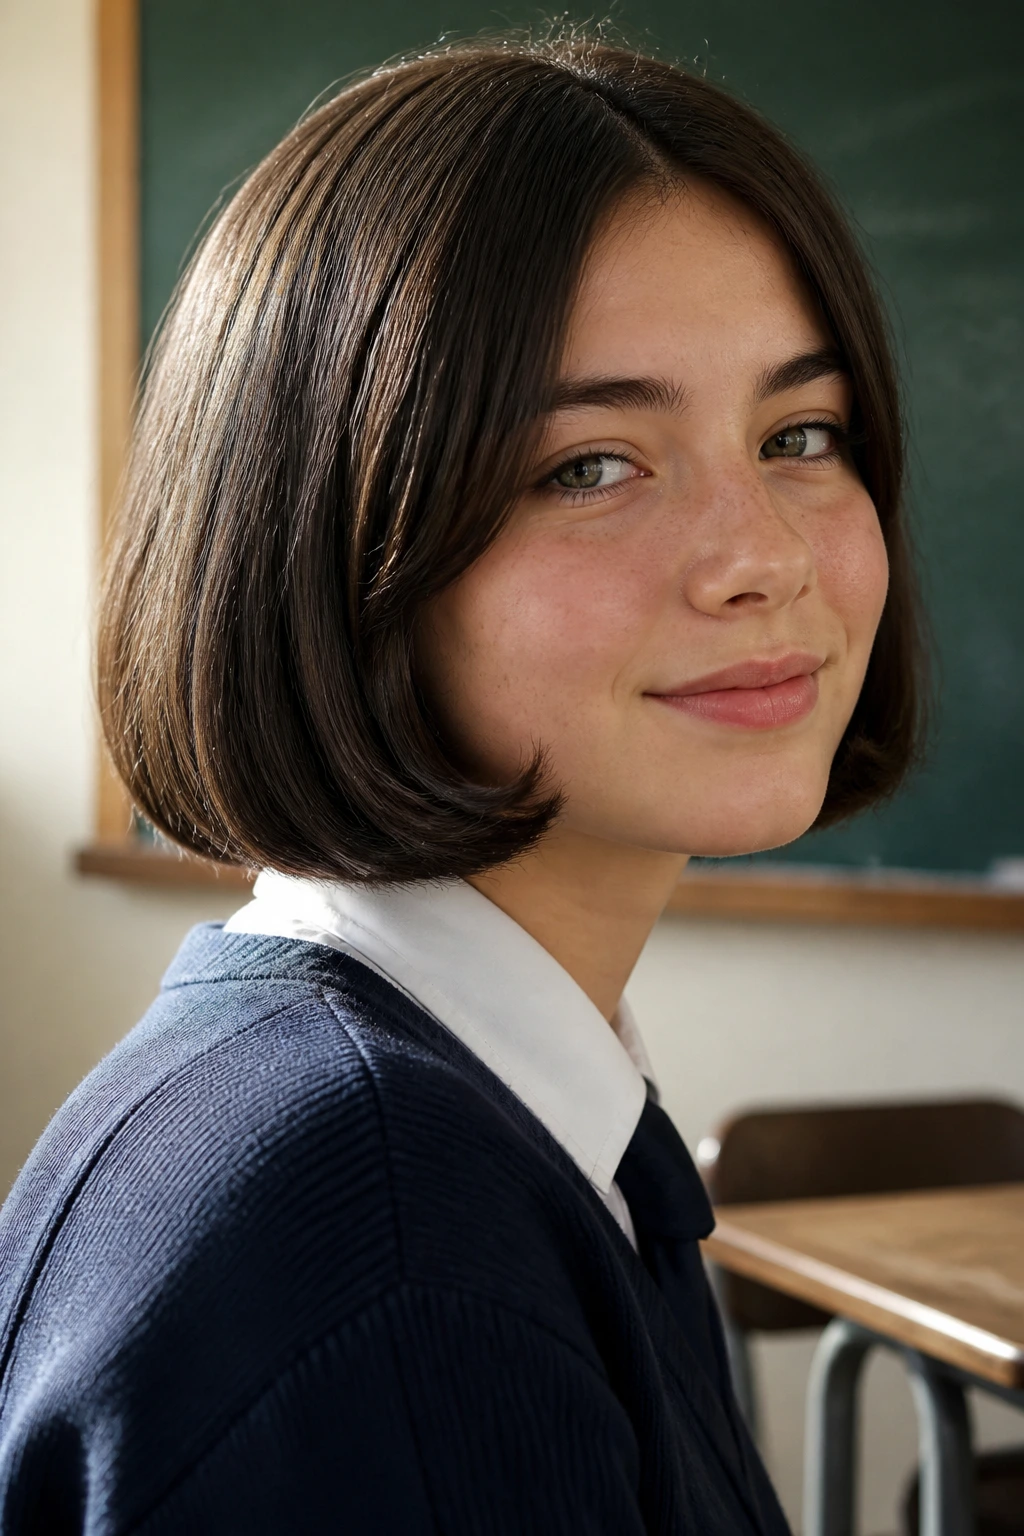
16. The Faux Bob
If you have long hair but want to sport the short, chin-length look that was popular throughout the middle of the twentieth century, the faux bob is your answer. You pin the ends of your hair under, creating a rounded shape that hits just at the jawline.
How to Execute
- Curl the ends of your hair first to give them the right shape.
- Use large bobby pins to secure the rolled ends at the nape of your neck.
- Pull out a few small pieces around the face to soften the look, making it appear more natural.
17. The Pompadour Headband Combo
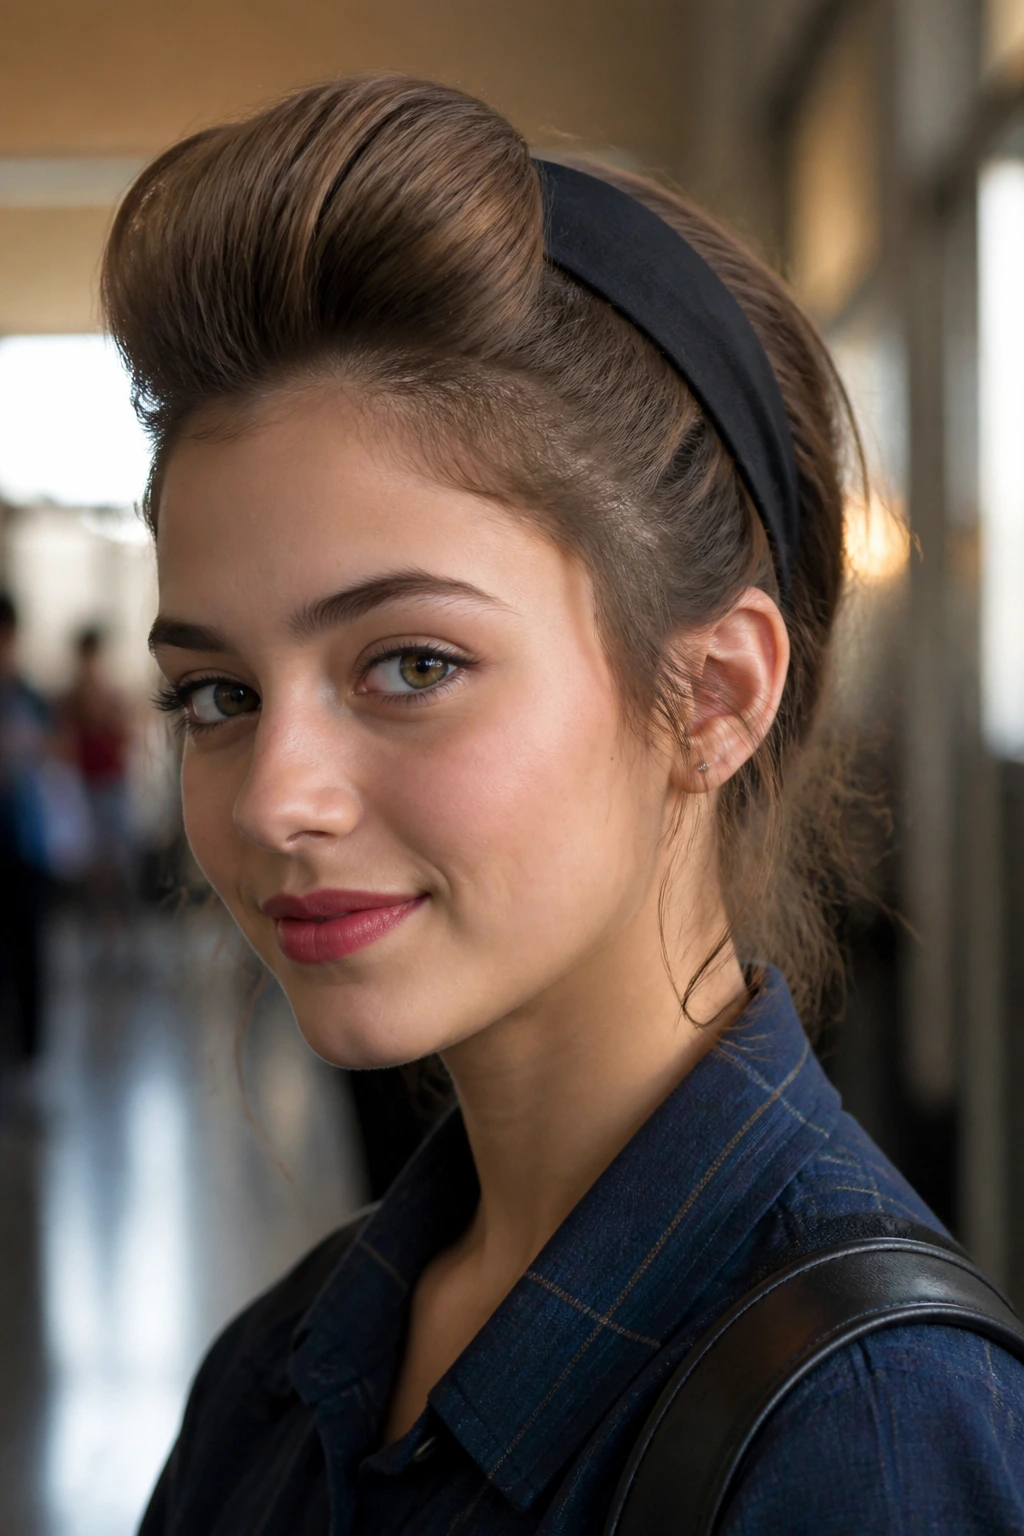
Pairing a high pompadour with a wide headband was a common practice for keeping hair controlled during active school days. The pompadour adds volume at the front, while the headband acts as the anchor.
Stylistic Considerations
- Choose a headband that is wide enough to cover the transition between the pompadour and the rest of your hair.
- Make sure the pompadour is teased well at the roots to ensure it doesn’t flatten out by the time you reach your second class.
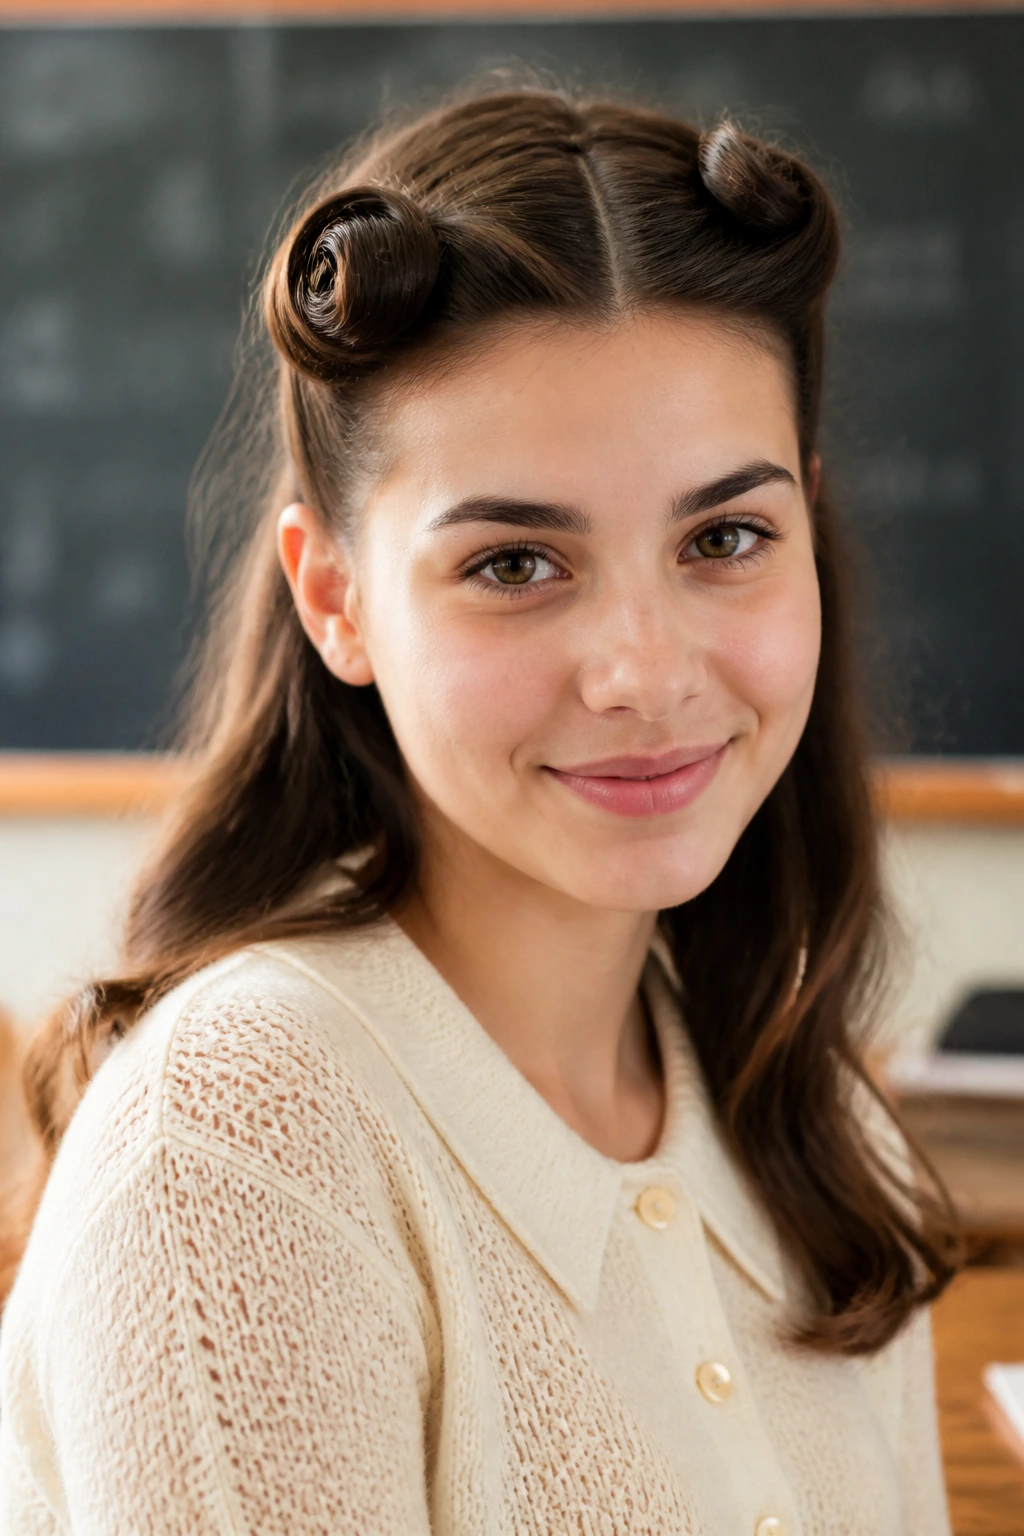
18. The “Victory” Half-Twist
Instead of rolls, use simple twists. Pull two sections from your temples, twist them tightly toward the back, and secure them with pins. It’s essentially a more modern, minimal version of the victory roll.
Why It’s Great for Students
- It takes almost no time to do.
- It’s very easy to fix on the fly if a pin slips.
- It keeps hair out of the way for writing and working.
19. The Beehive Half-Up
A mini-beehive at the crown of your head, secured in a half-up style. It offers the height and volume of a full beehive but feels much less intimidating for a casual school day.
Creating Volume
- Use a backcombing brush to focus volume only at the crown.
- Smooth the hair over the top to hide the teasing.
- Secure with a small claw clip or a barrette at the center back of the head.
20. The 1950s High-Volume Side Pony
Create a deep side part and gather all your hair into a side ponytail, but tease the roots heavily before securing it. This adds an asymmetrical, high-fashion look that is very reminiscent of fifties high-school fashion.
Adding Accessory Flair
- A large silk scrunchie or a ribbon tied around the base of the side pony adds a distinct vintage touch.
- Curl the tail of the pony to give it more body and interest.
21. The Roller-Set Waves
The ultimate vintage technique is the roller set. Even if you don’t use wet rollers, you can use hot rollers or a curling iron to achieve the same result. The key is to brush the curls out after they are completely cool to turn them into waves.
Achieving Uniformity
- Use consistent section sizes so all your waves fall in the same direction.
- Brush from the bottom up to ensure you don’t snag any tangles.
22. The Pinned-Back Bangs
If you are growing out your bangs, pinning them back in a small, tight roll is a classic vintage way to keep them off your forehead. You can do this with either one large roll or two smaller rolls on either side of the part.
Versatility
This style works with any other hairstyle, whether you want to wear your hair up or down. It’s a great way to change your look without cutting your hair or spending a lot of time on a full set.
23. The Curly Updo with Headband
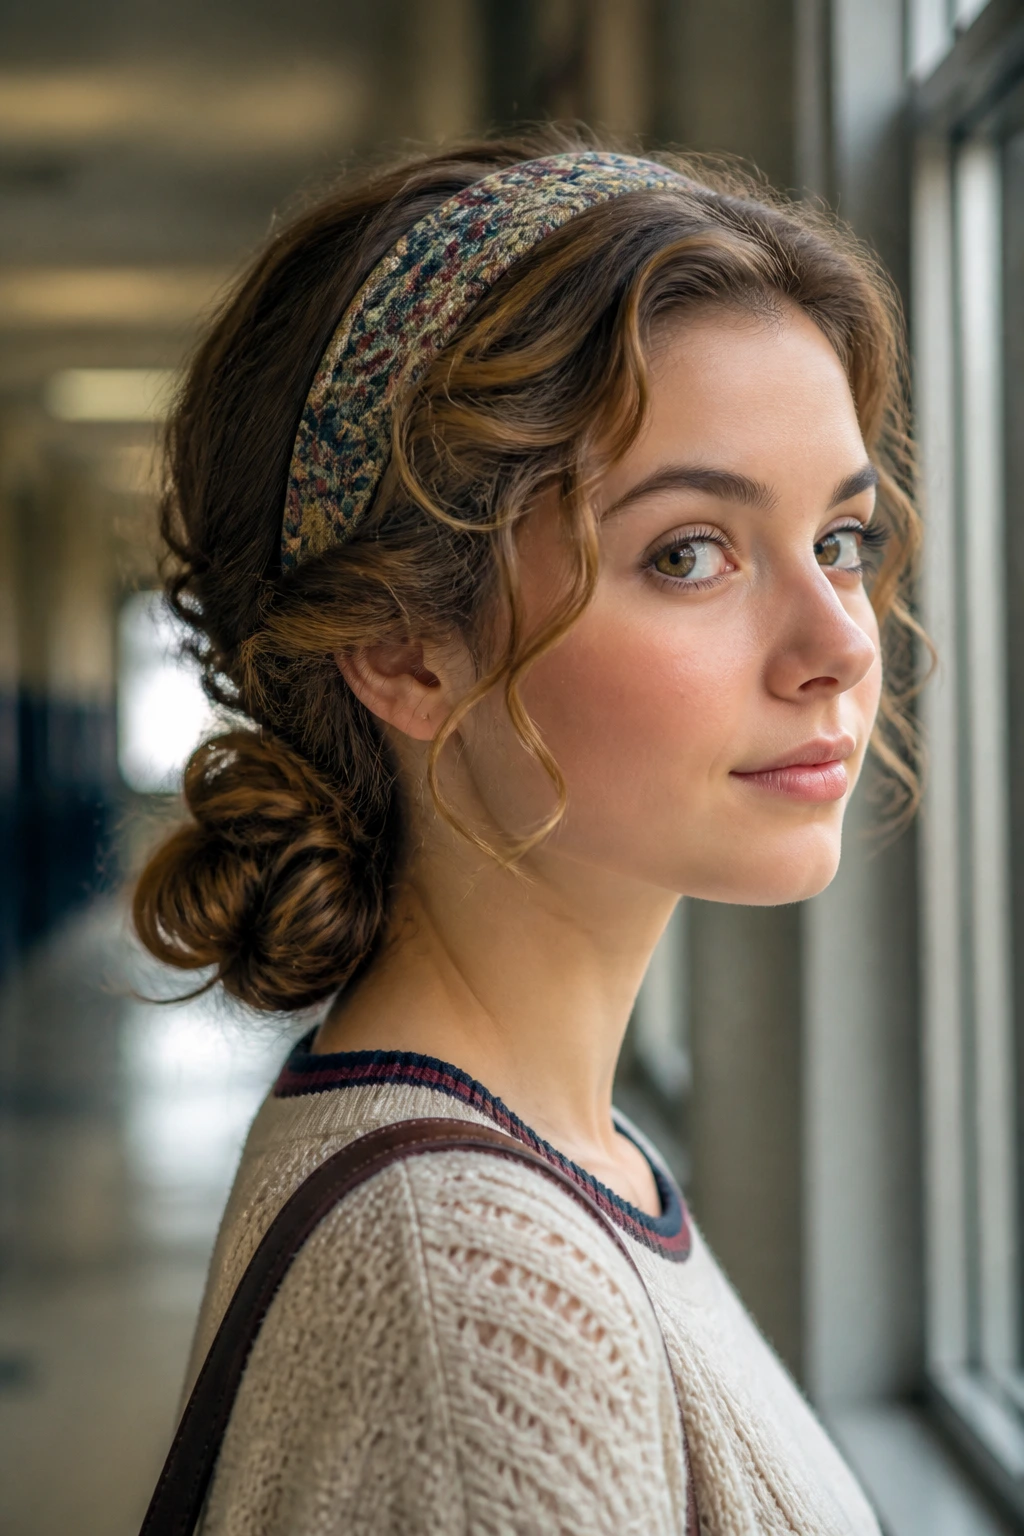
Gather your curled hair into a loose, low bun at the neck and finish with a decorative, patterned headband. This is a very classic, feminine look that works well for school events or dress-up days.
Tips for Longevity
- Use small, clear elastic bands to keep the individual sections of your bun secure before pinning them.
- Make sure your headband is secure enough to stay in place all day—you might need to pin it to your hair behind your ears.
24. The 1940s Beret Style
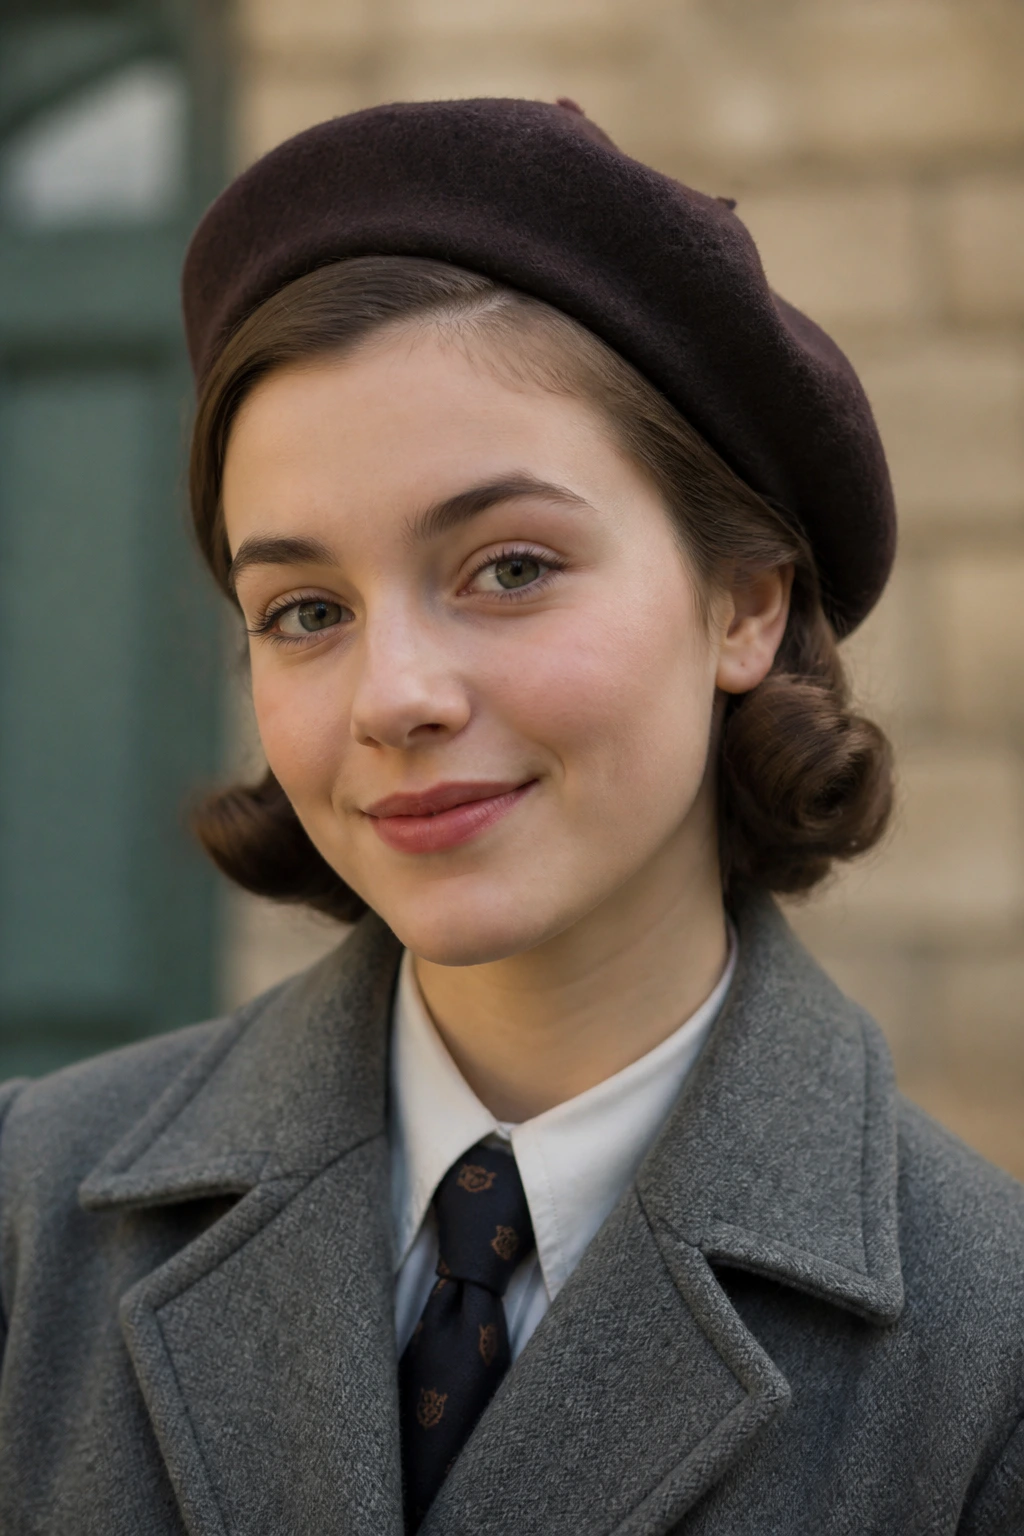
Wearing a beret was a very common way to keep hair neat in the 1940s. You can tuck your hair up into the beret or let the ends fall out naturally. It’s an instant vintage aesthetic that requires zero actual hair styling.
When to Use This
- On days where your hair just won’t cooperate.
- During colder months when a hat is both functional and fashionable.
- When you want to add a bit of European flair to your school look.
25. The Victory Roll Chignon
Combining two victory rolls at the front with a low, tight chignon at the back. This is arguably the most formal-looking of the bunch, perfect for picture days or end-of-year presentations.
Why It’s Impressive
It shows off a level of technical skill, but it’s actually quite straightforward once you have practiced the rolls and the bun separately. By connecting the two, you create a cohesive, balanced look that is undeniably vintage.
Final Thoughts
When you look at these styles, the most important takeaway is that vintage hair is rarely about perfection and almost always about structure. Whether you are rocking a simple pinned-back bang or a complex victory roll, your success depends on how well you prepare the foundation. Start with a good texturizing product, keep your pins secure, and don’t be afraid of a little bit of hairspray.
School days are long, and your hair needs to be able to keep up. By focusing on these structured, timeless silhouettes, you can ensure that you feel confident and put-together from your first class until the final bell. The key is to keep practicing; the more you handle your hair in these specific ways, the faster you will become at executing the look. Remember that a bit of messiness is perfectly acceptable—in fact, it often adds to the authentic, classic charm of these vintage designs.