Morning rush hours are rarely kind to anyone. You wake up, stumble toward the mirror, and realize your hair has formed a mind of its own overnight. It is frizzy in the wrong places, flat in others, and generally uncooperative. The thirty-two pin styles listed below are designed for exactly these moments. They rely on simple mechanics—a sturdy bobby pin, a decorative clip, or a claw—to turn a bad hair day into a polished, intentional look that survives a full schedule of classes, gym sessions, and extracurriculars.
The goal isn’t just to look good; it is to keep your hair out of your face so you can actually focus on your notes instead of constantly tucking strands behind your ears. Many of these styles require less than three minutes to assemble. Some are better for second-day hair that needs a bit of dry shampoo and some texture, while others work best on freshly washed, slightly damp strands. Grab a handful of pins, a bit of patience, and let’s get your morning routine sorted.
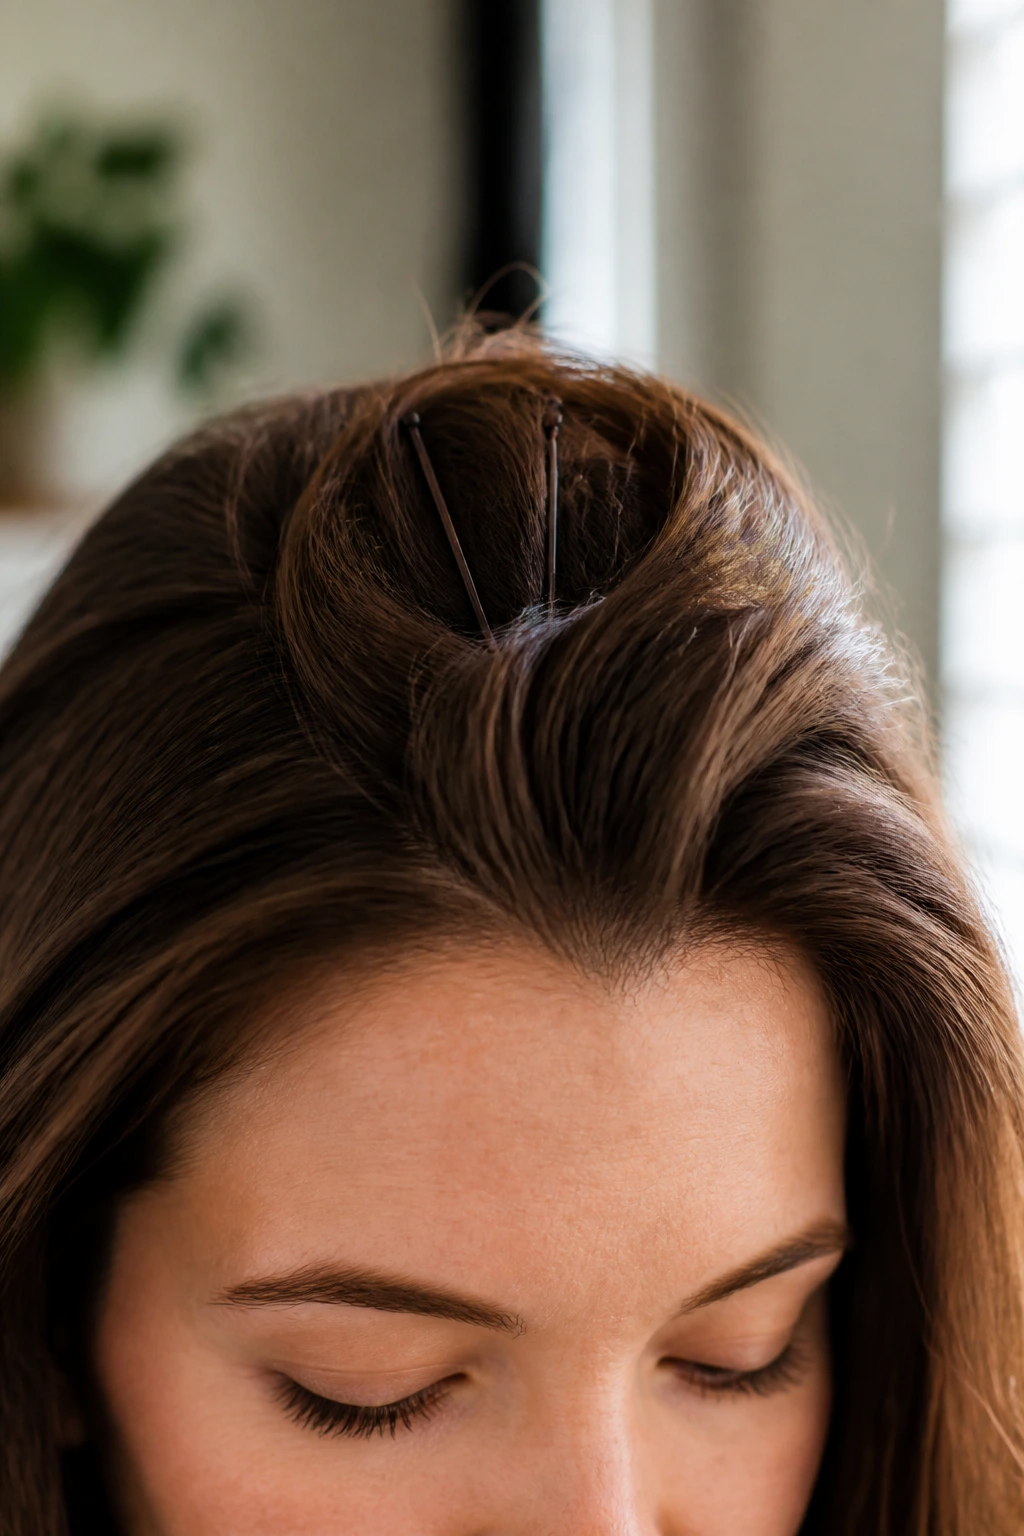
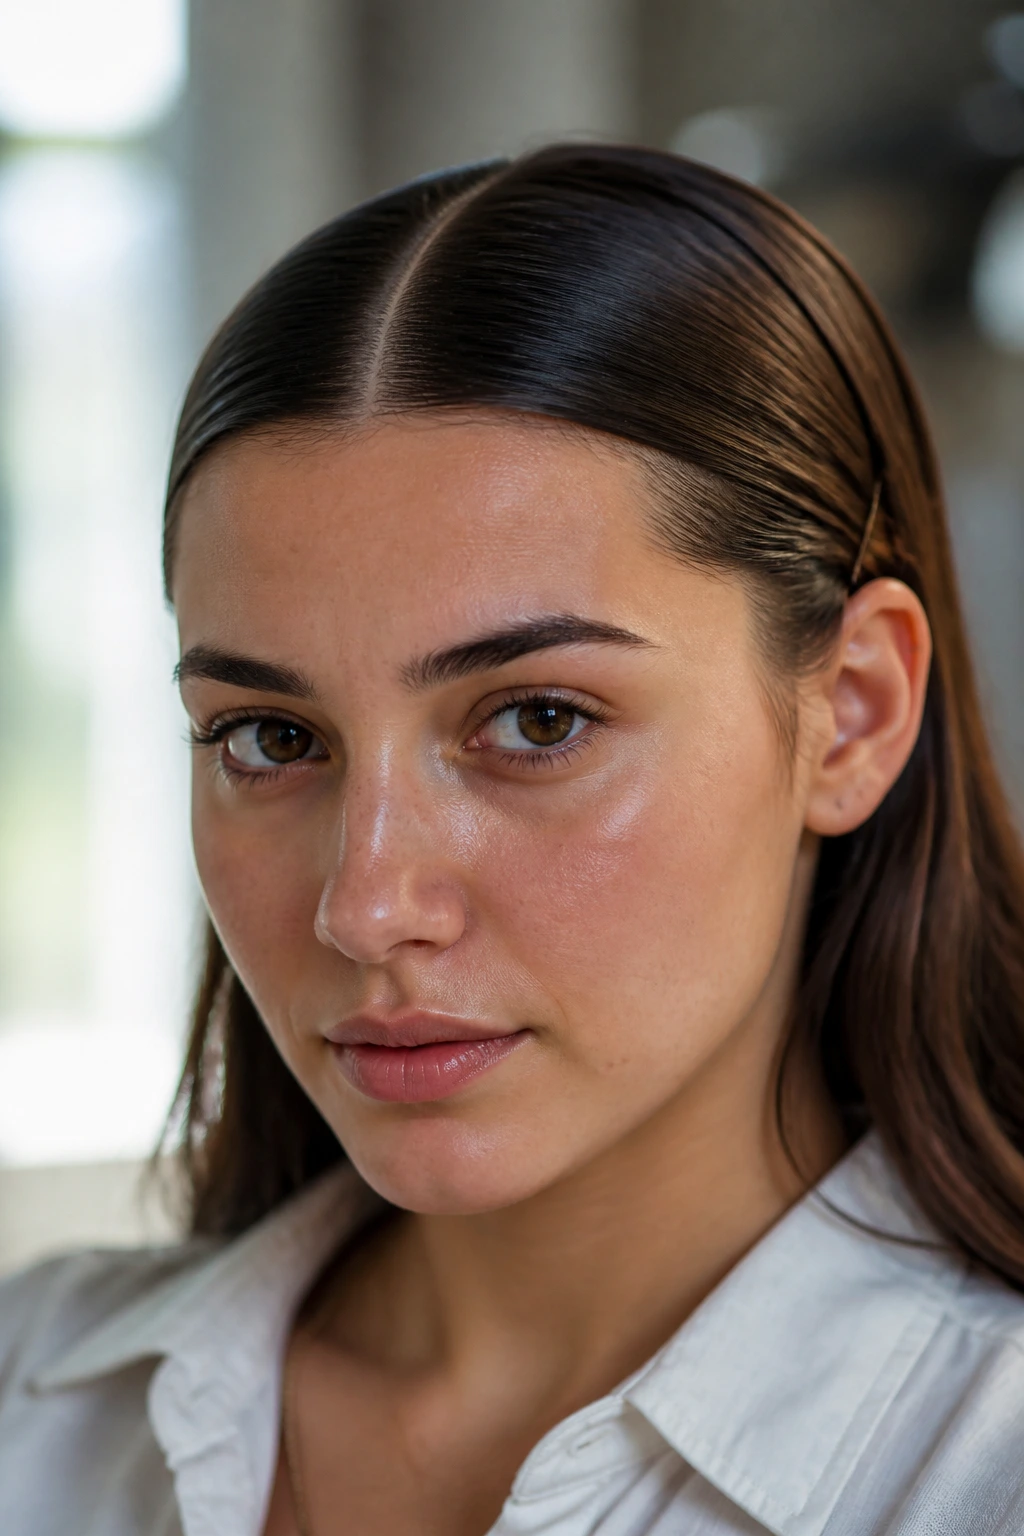
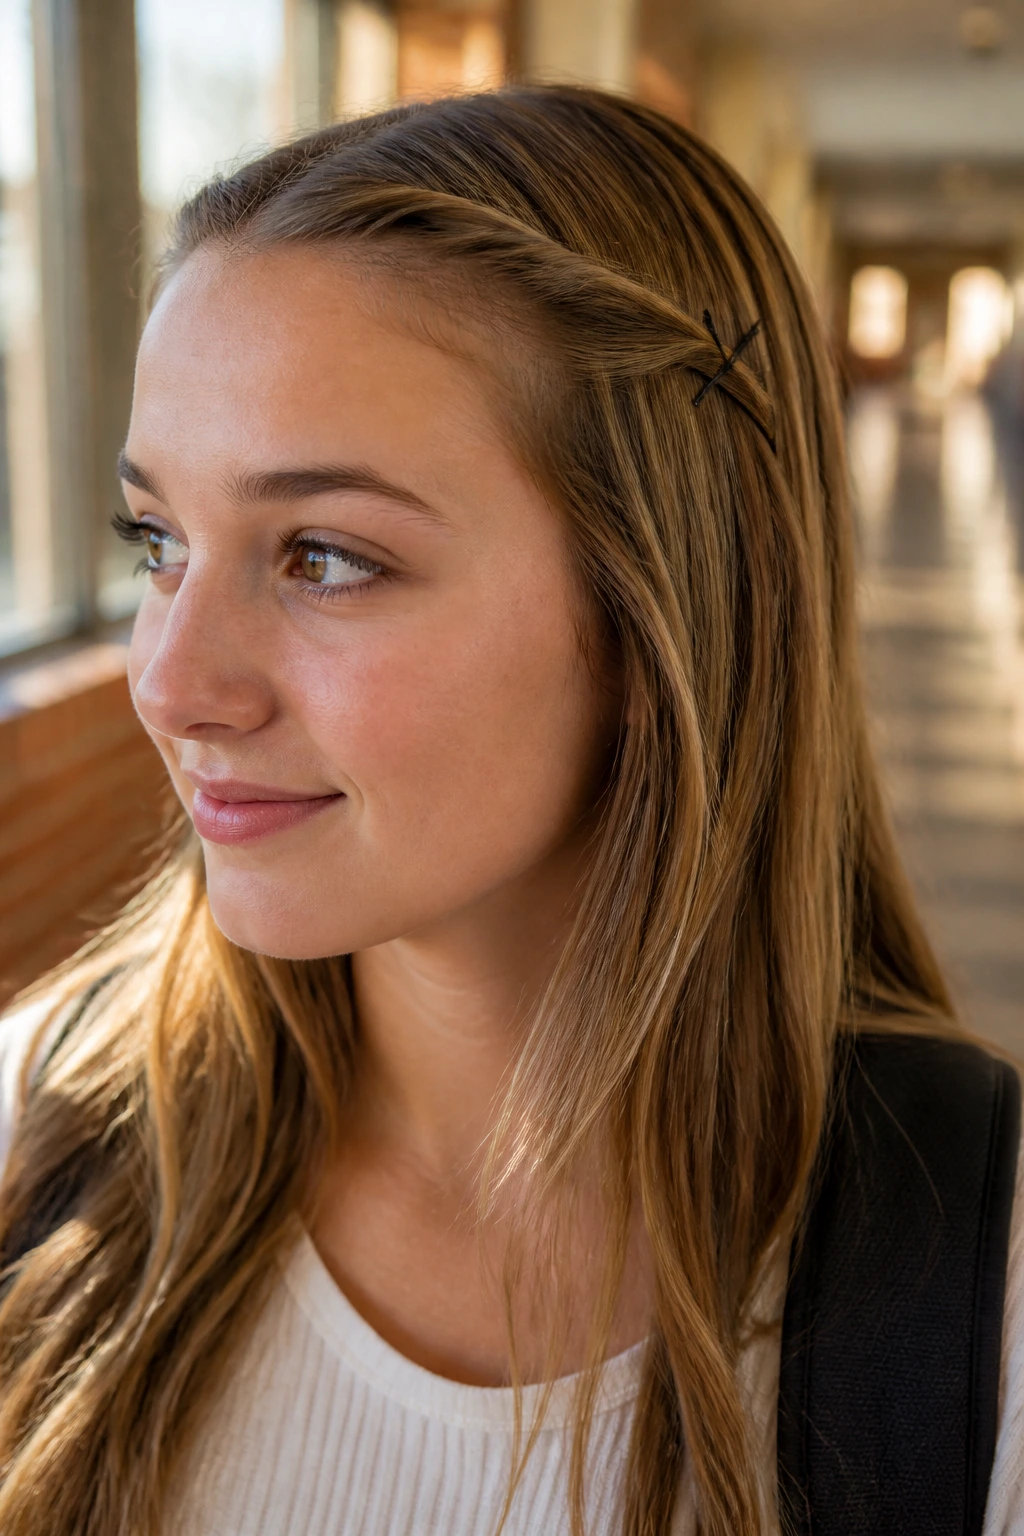
1. The Classic Twisted Side-Sweep
Sometimes the most effective way to manage your hair is to move it entirely out of your line of sight. This style starts by taking a two-inch section of hair near your part. Twist it tightly away from your face, moving toward the temple. Once you reach the ear, secure the twist with two bobby pins placed in a cross formation. The “X” shape isn’t just for aesthetics; it provides significantly more grip than a single pin ever could. Use a bit of texture spray before twisting to ensure the hair doesn’t slip out during the walk to your first class.
2. Double-Pin Half-Up Tension
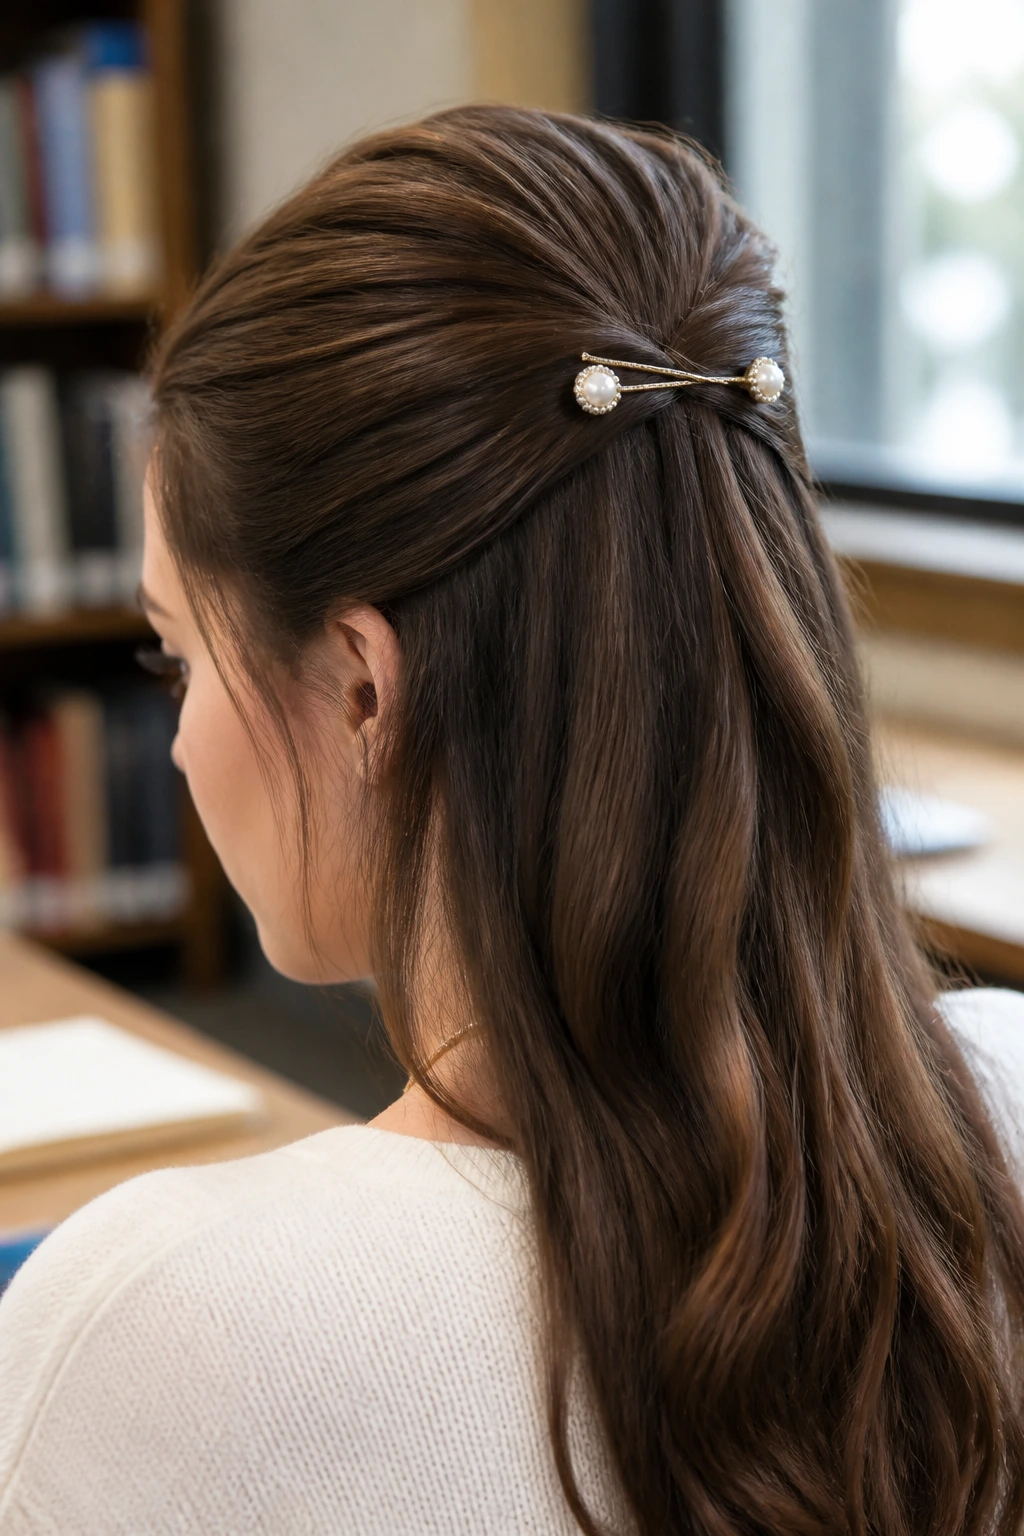
Instead of using a bulky elastic that causes a noticeable bump, use two decorative bobby pins. Section off the top half of your hair—the portion that usually falls over your eyes—and pull it toward the back of your head. Instead of twisting it, keep it flat. Slide one pin in from the left side, then slide the second pin in from the right, overlapping them slightly to lock the hair in place. This creates a clean, sophisticated line that works just as well for a presentation as it does for a study session.
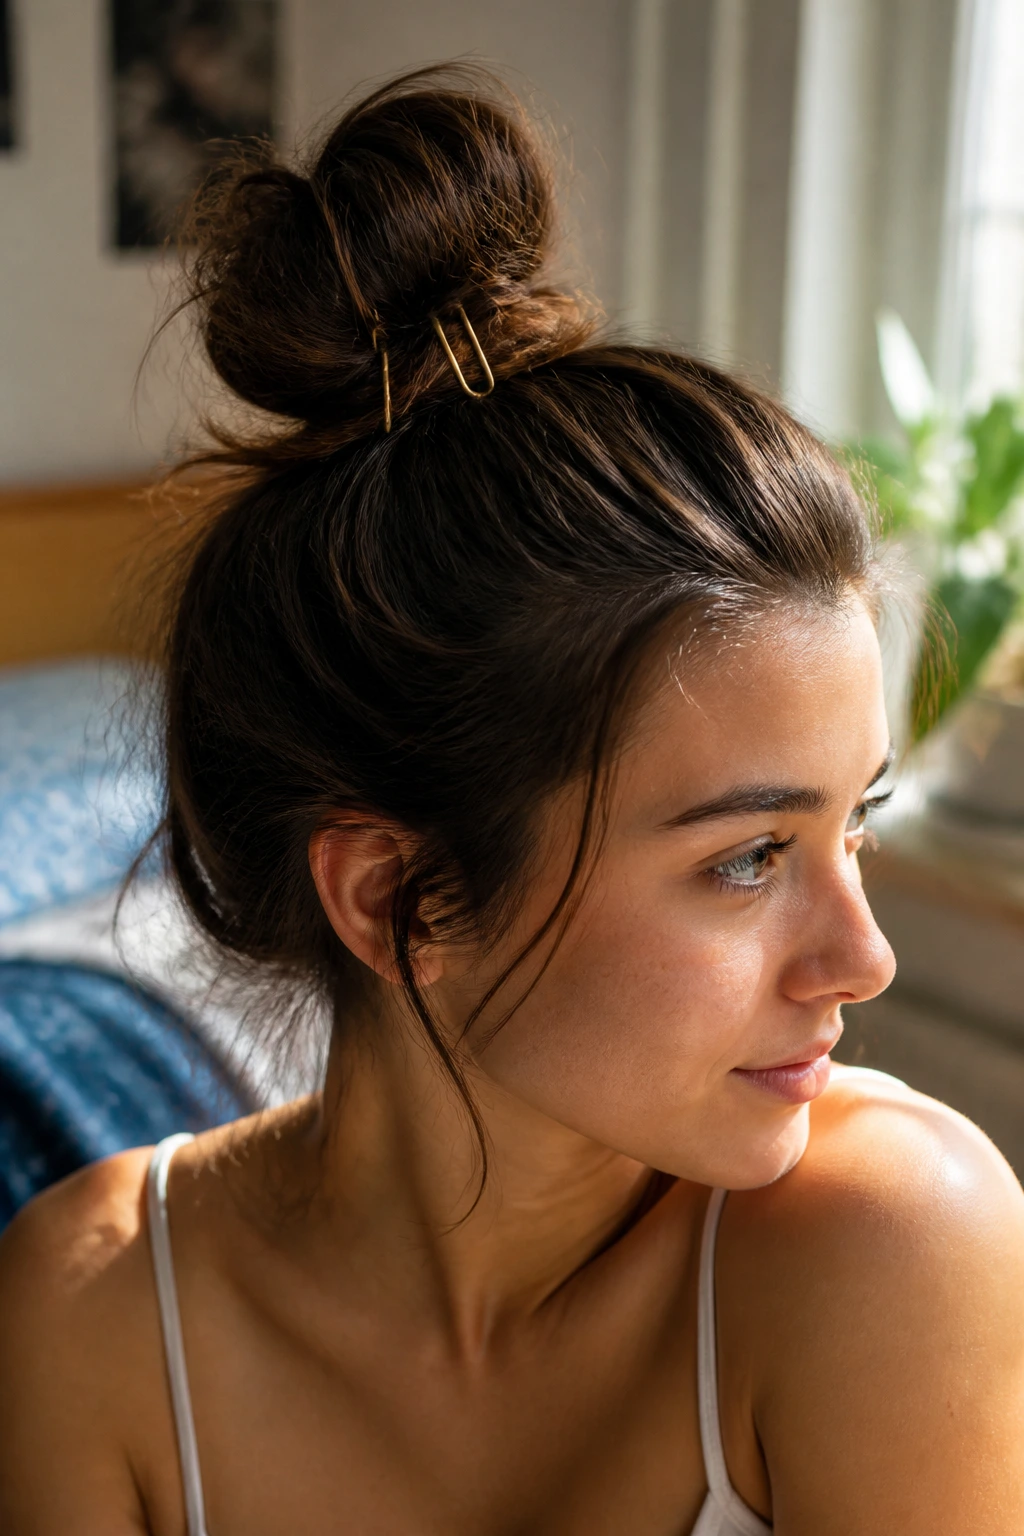
3. The Messy Half-Up Knot
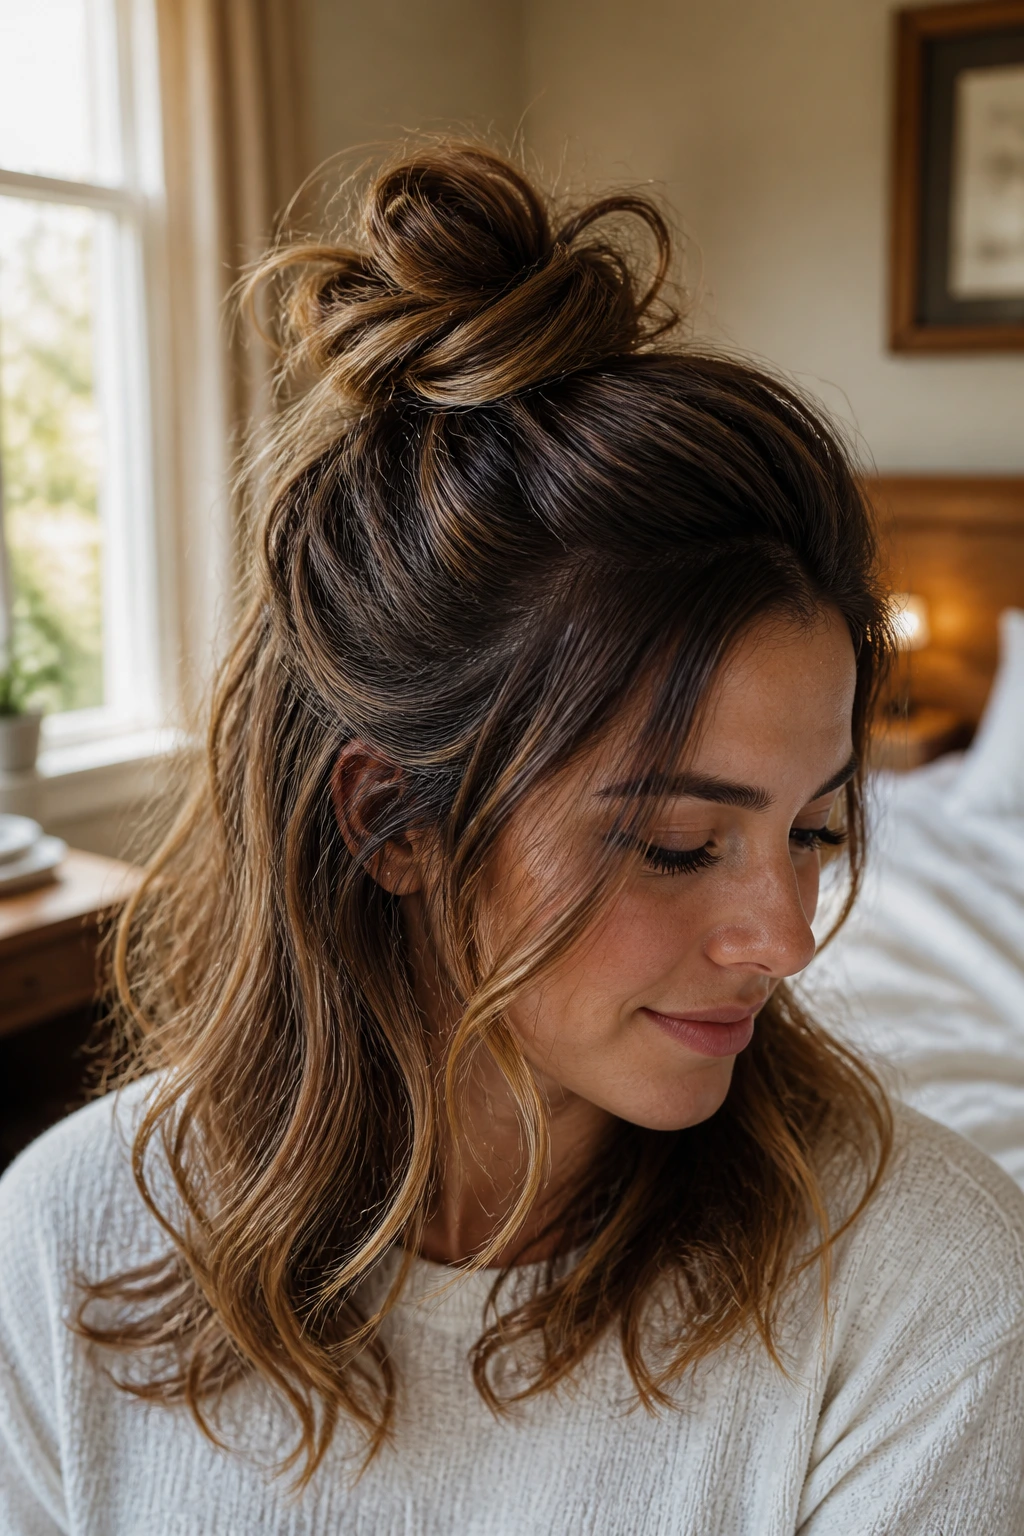
For those days when your hair feels a bit lackluster, this style adds instant volume at the crown. Gather the top layer of your hair as if you are making a standard half-up ponytail. Wrap the hair around itself to form a loose, messy bun. Use three or four bobby pins to secure the base of the bun against your head. You want the pins to be hidden underneath the bun’s loops. Gently tug at the hair around your face to frame it, creating a soft, lived-in look that never feels too stiff or done-up.
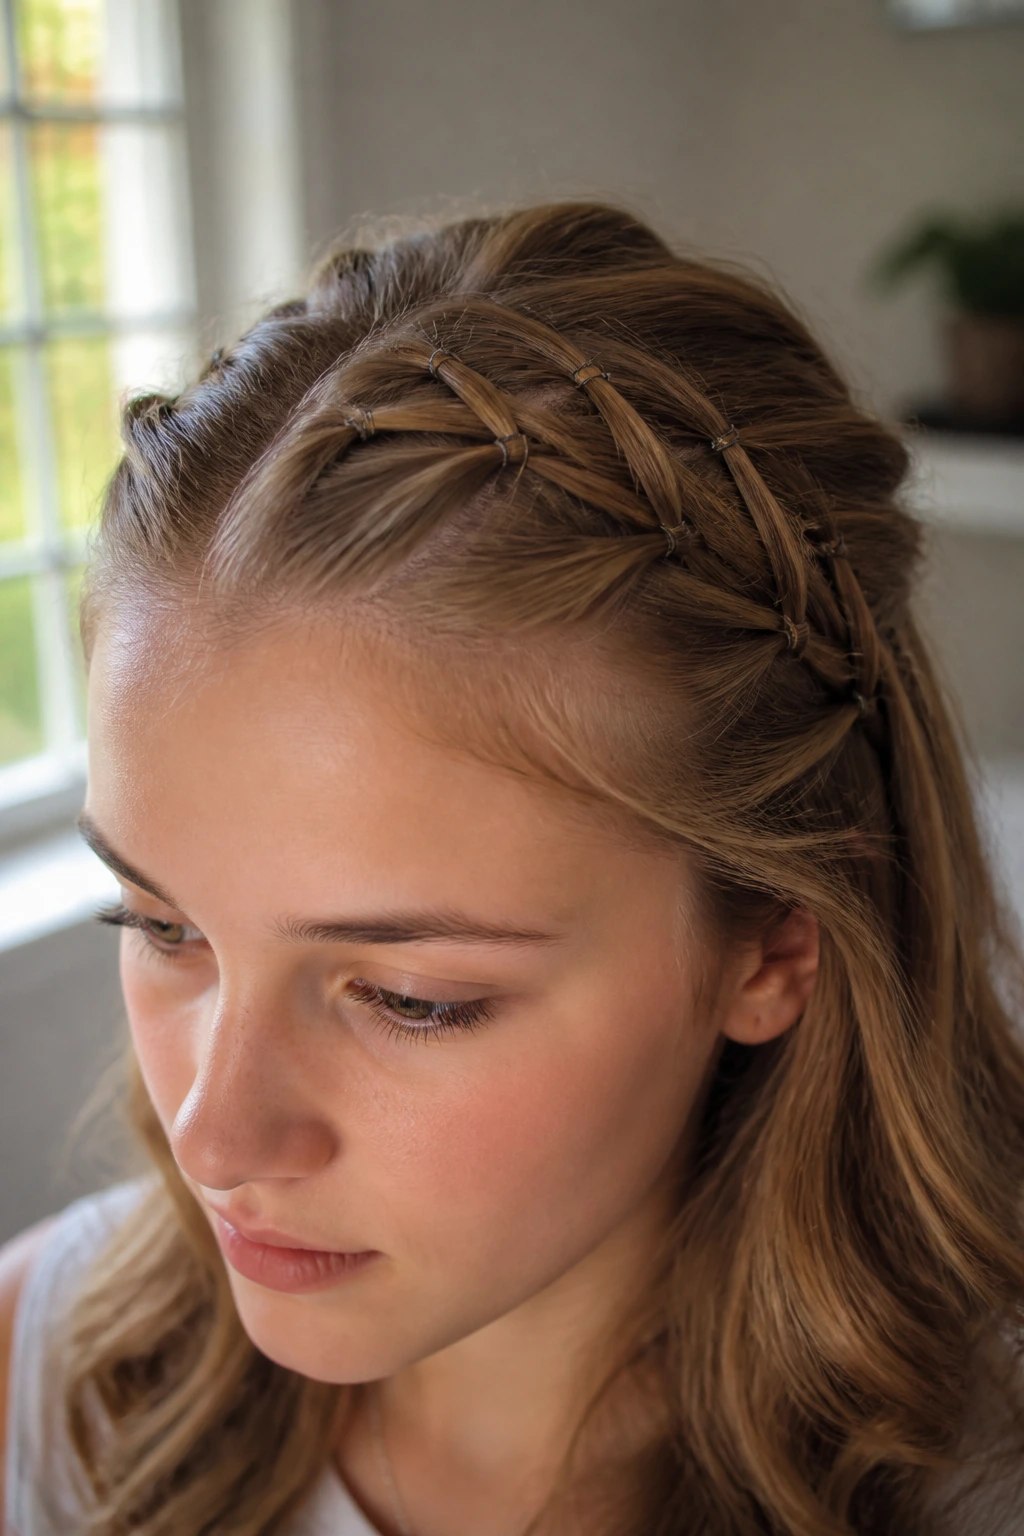
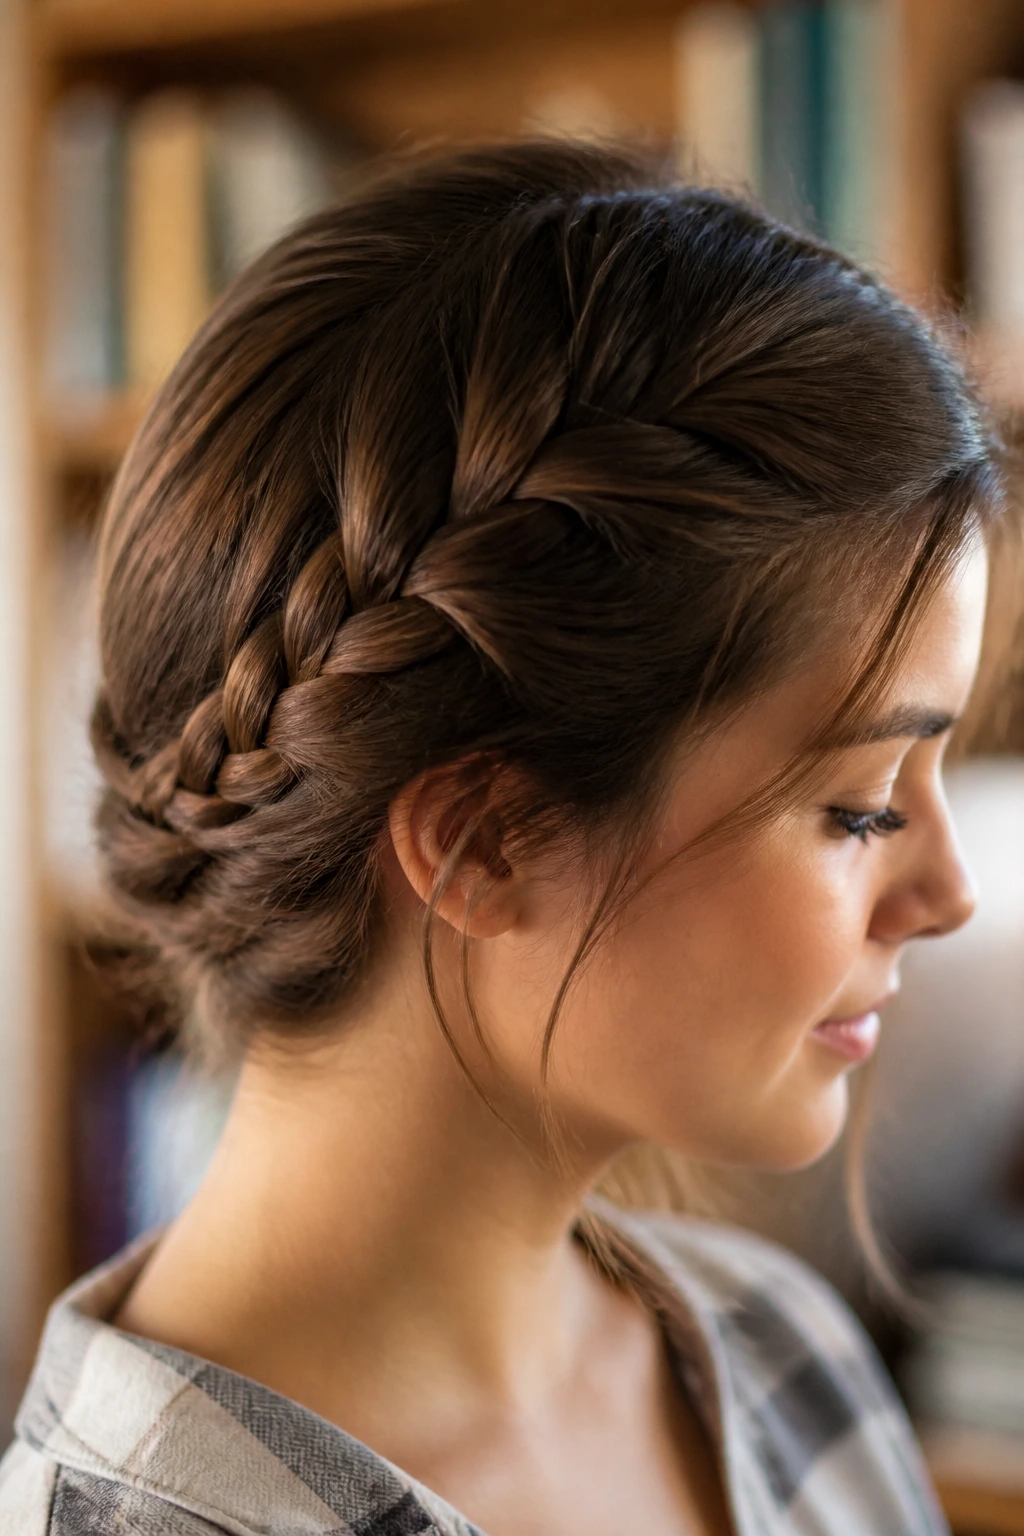
4. The Braided Halo Fringe
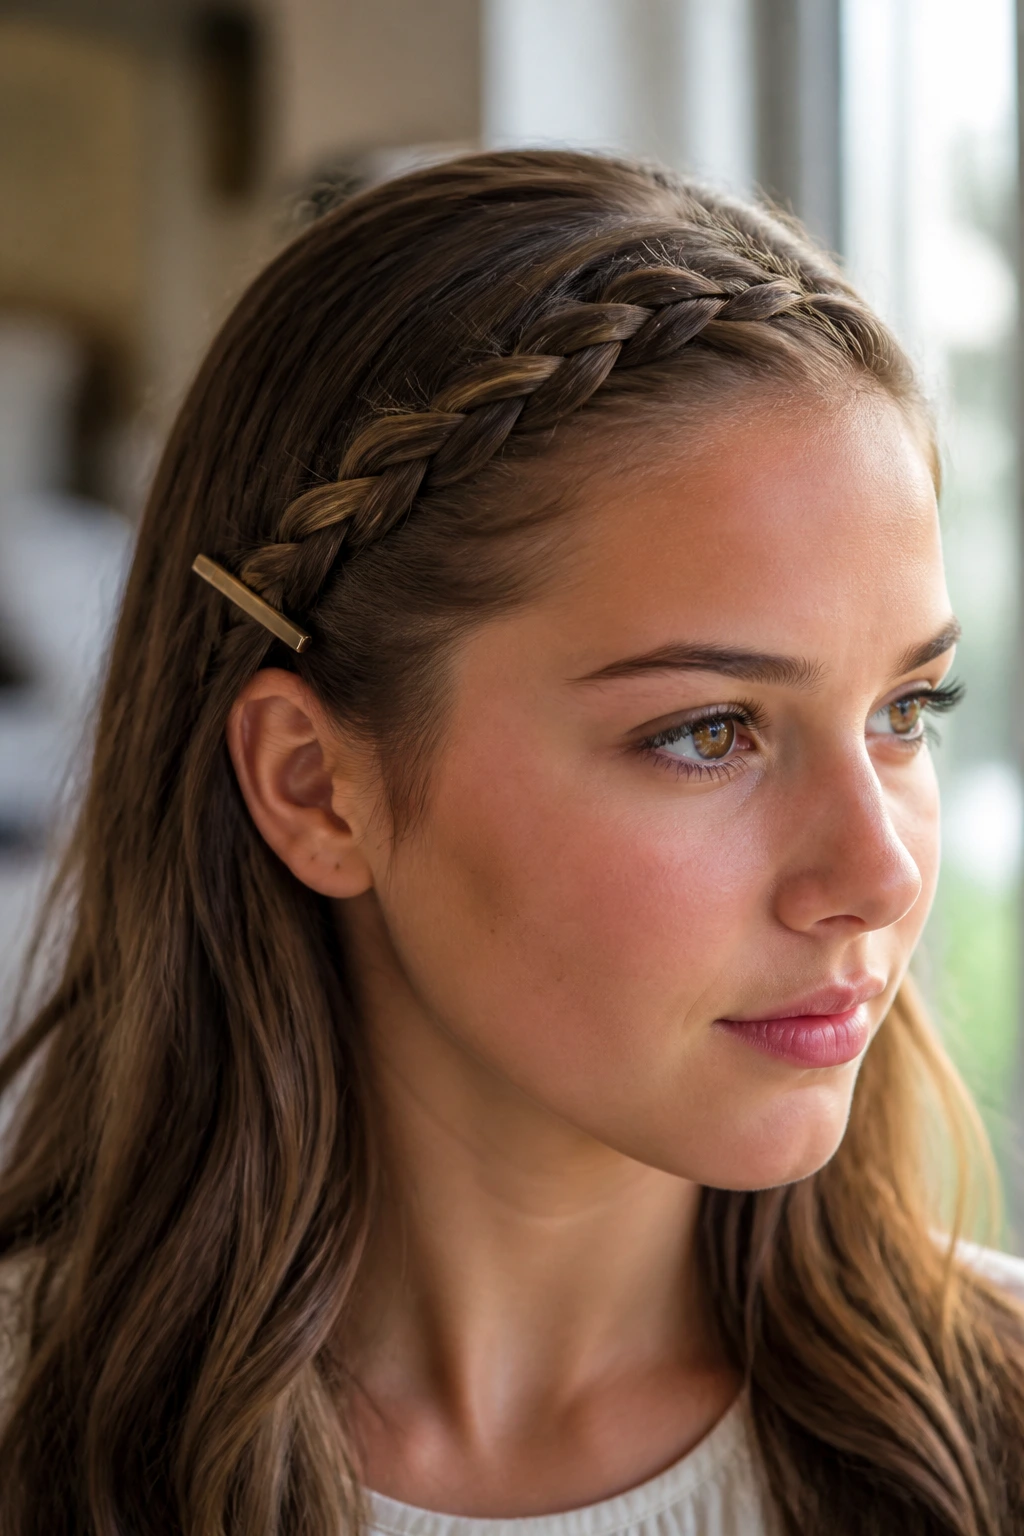
If your bangs or face-framing layers are becoming a distraction, a small Dutch braid is the perfect fix. Start a tiny braid at your hairline, incorporating hair as you move back toward your ear. Once you reach the side of your head, stop braiding and secure the end with a flat, gold-toned bobby pin. Hiding the end of the braid underneath a piece of loose hair makes the style look seamless. This is one of the few styles that stays remarkably secure even during long, humid afternoons.
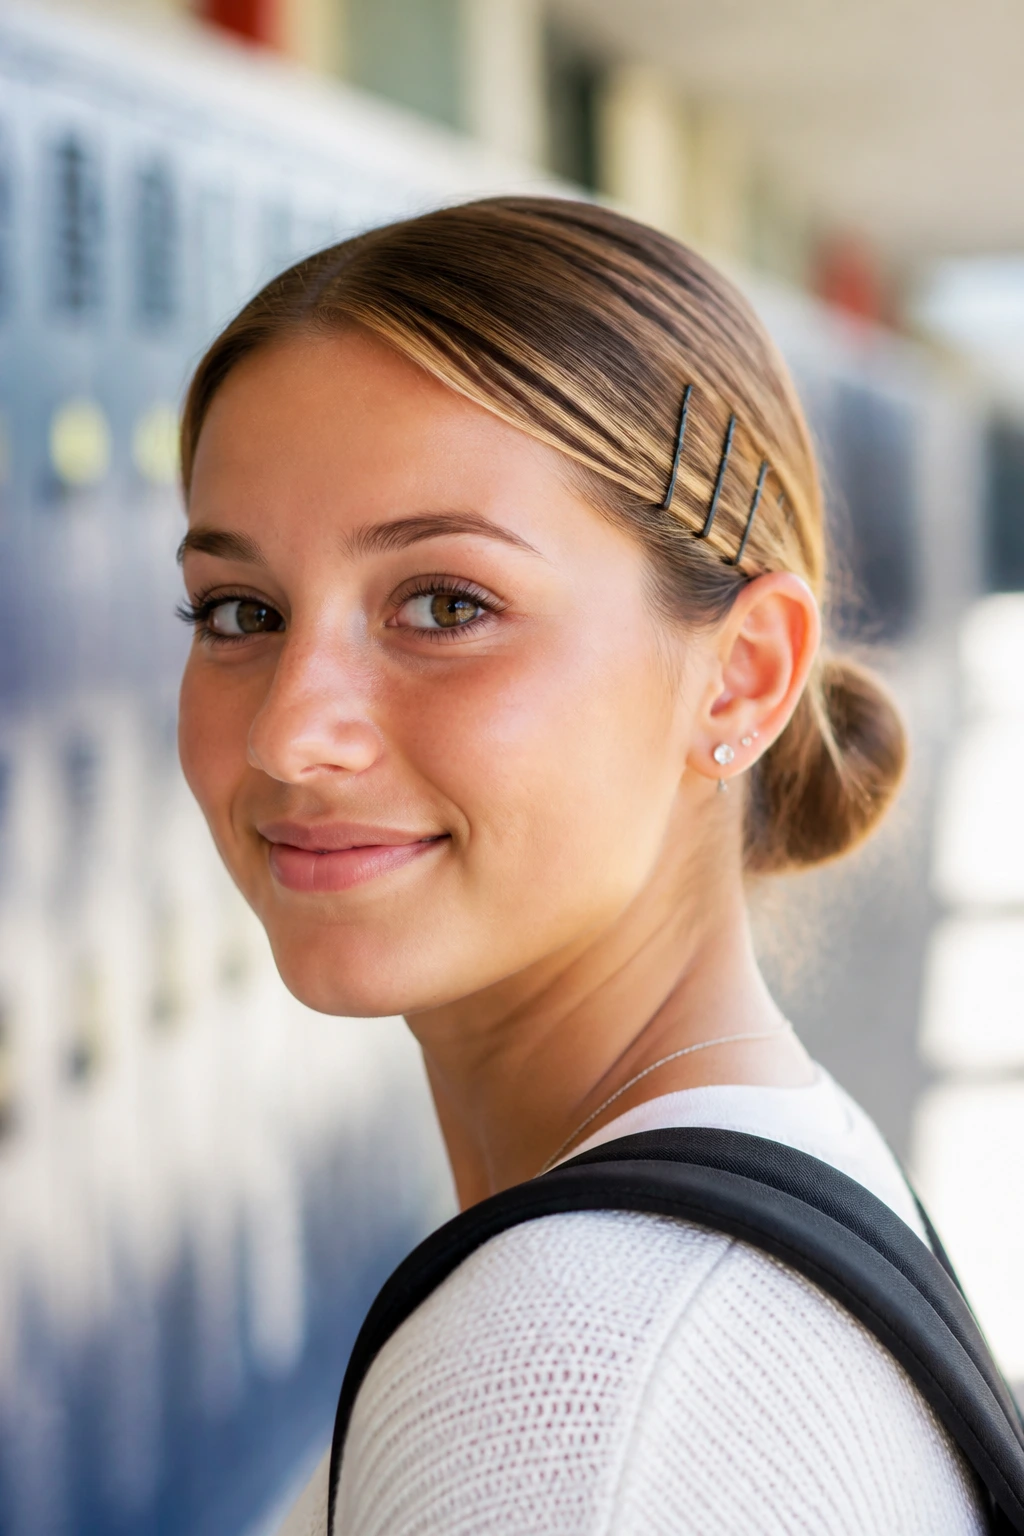
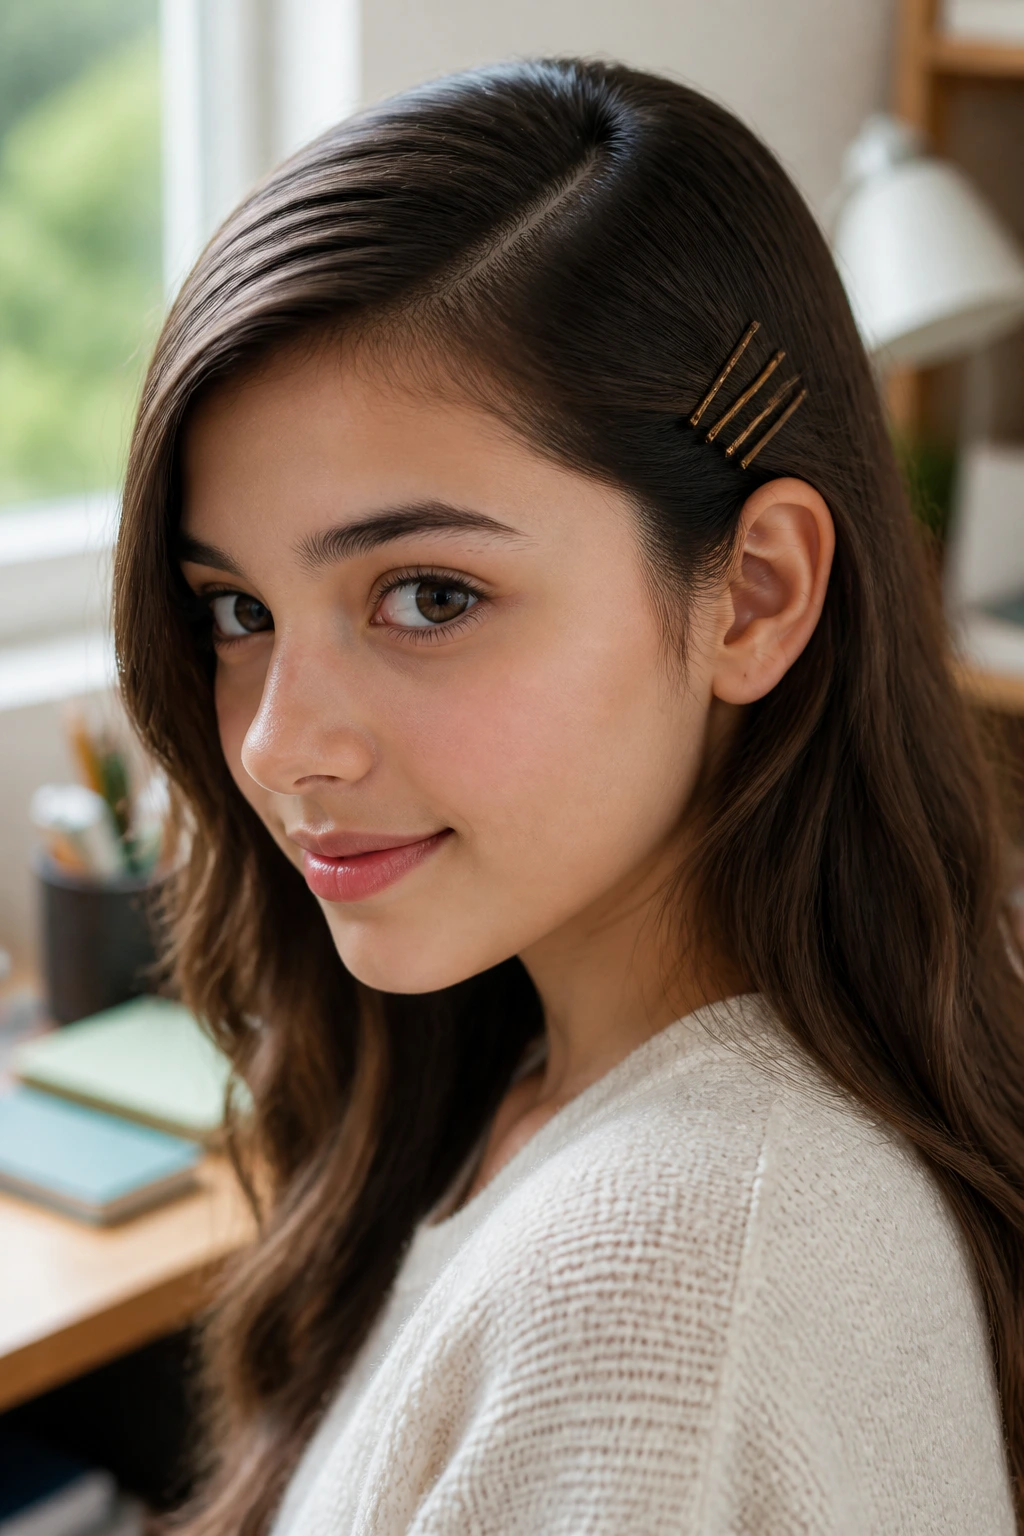
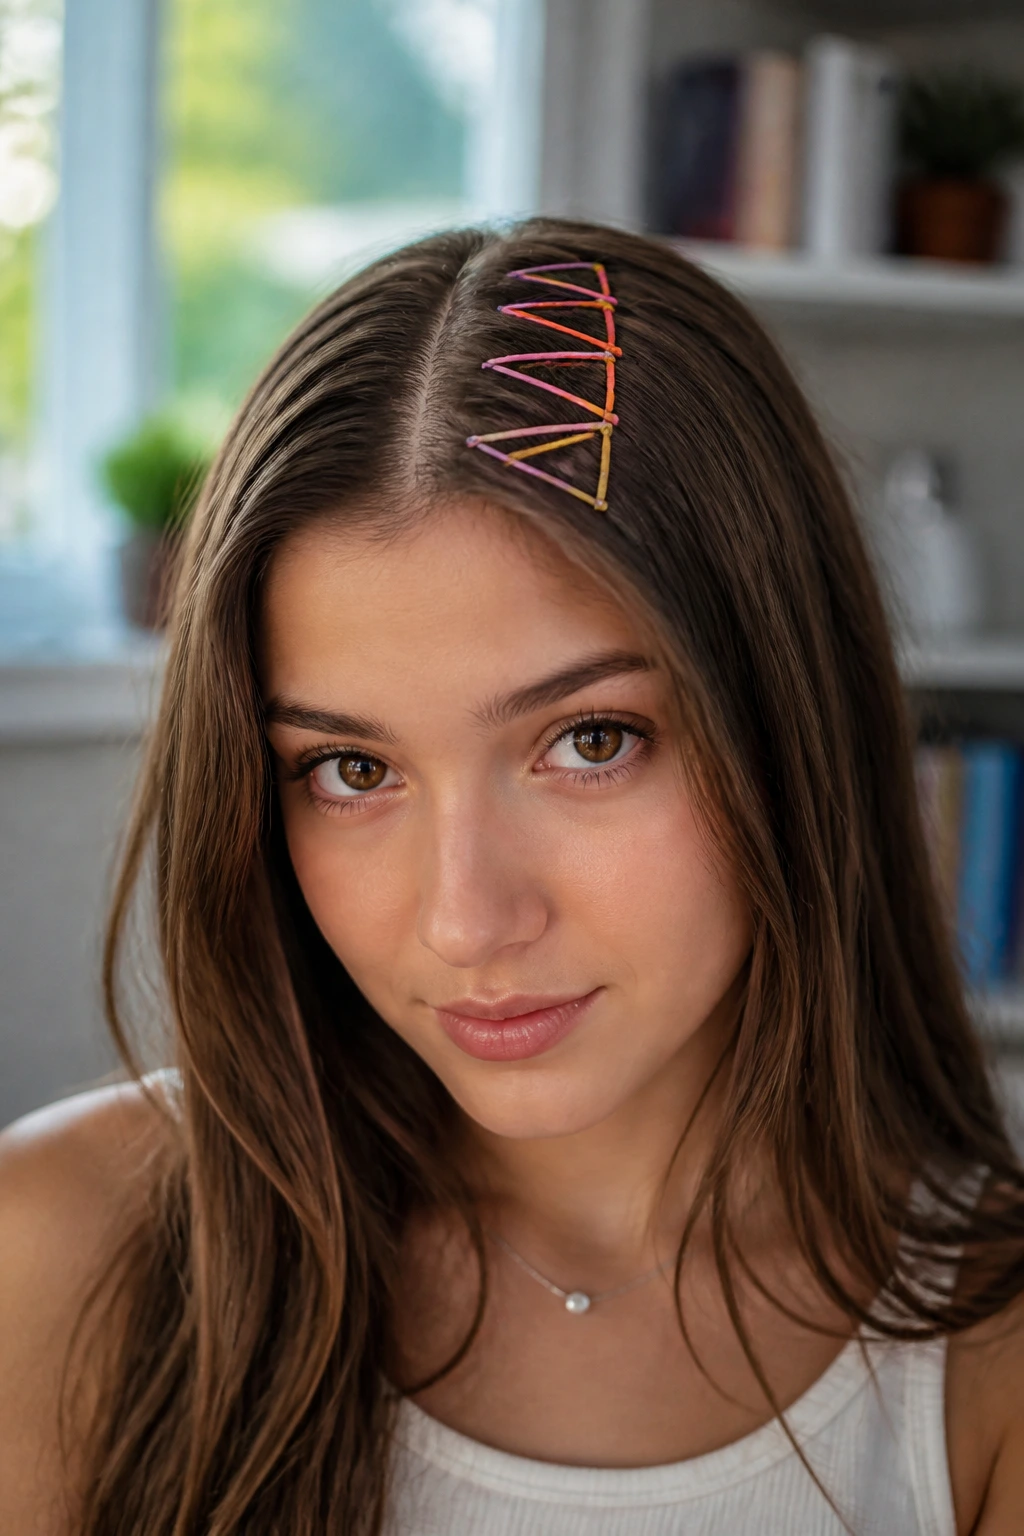
5. The Triple-Stacked Bobby Pin Line
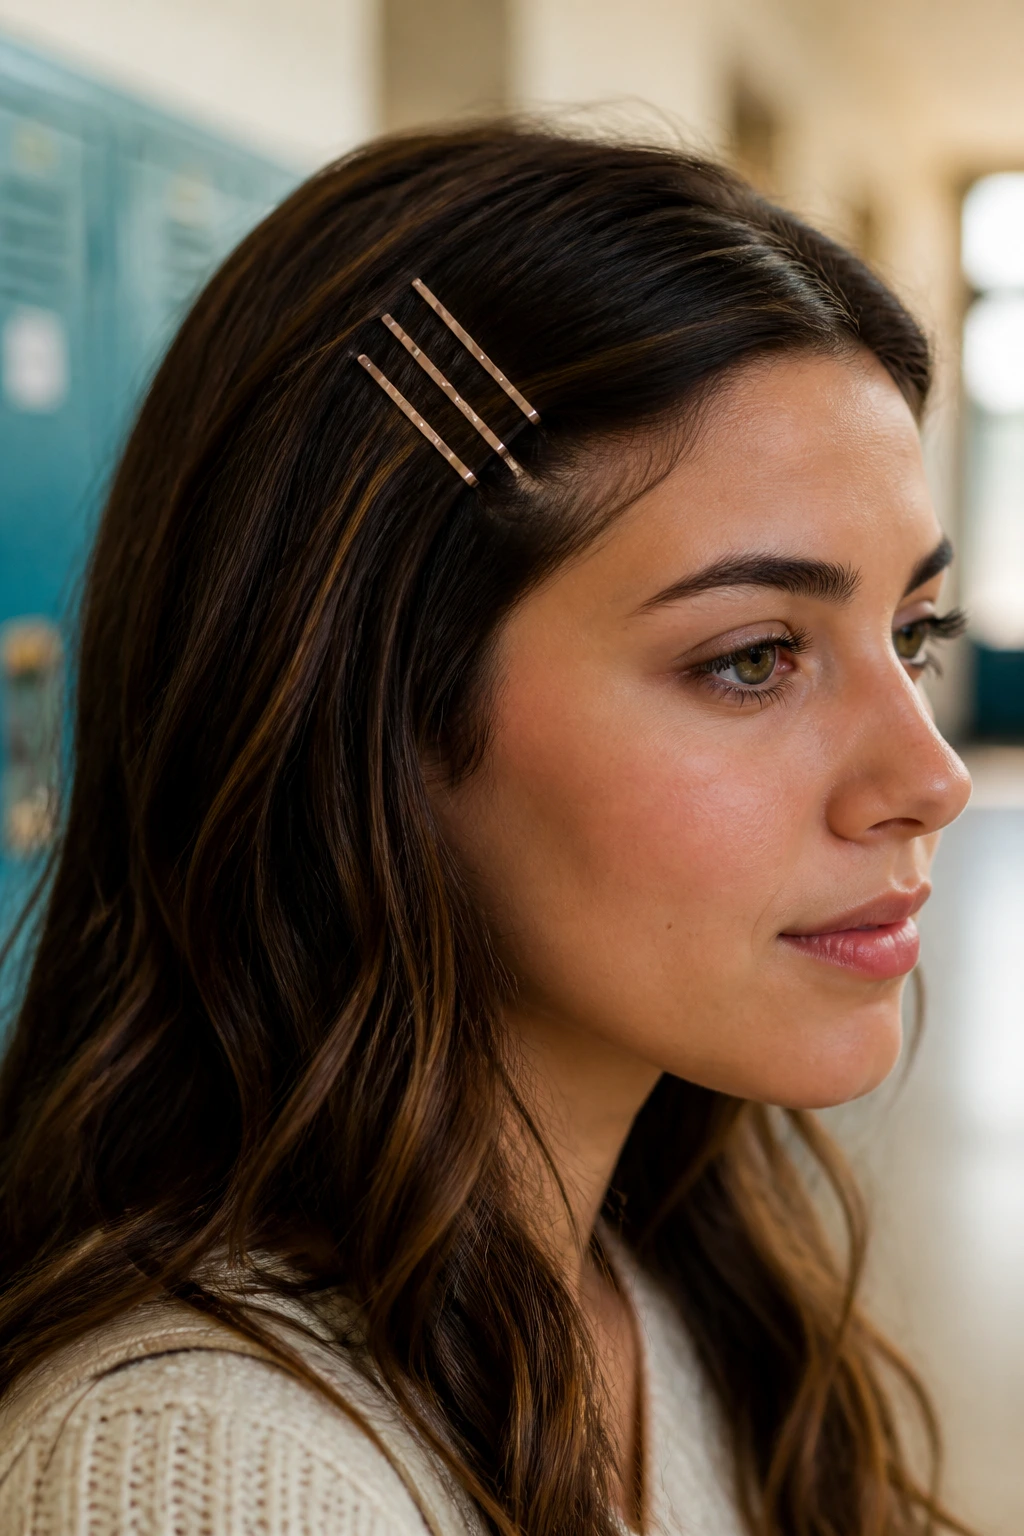
When you have a plain, straight-down style but want to add a bit of edge, try this geometric approach. Take a small section of hair at the temple and pull it back. Instead of one pin, use three. Place them parallel to each other, spaced about half an inch apart. Choosing pins in a contrasting color—like bright silver against dark hair—turns a functional item into an intentional accessory. It’s a fast way to look like you put in effort, even when you really just wanted to pin your hair back as quickly as possible.
6. The Faux-Bob Tuck
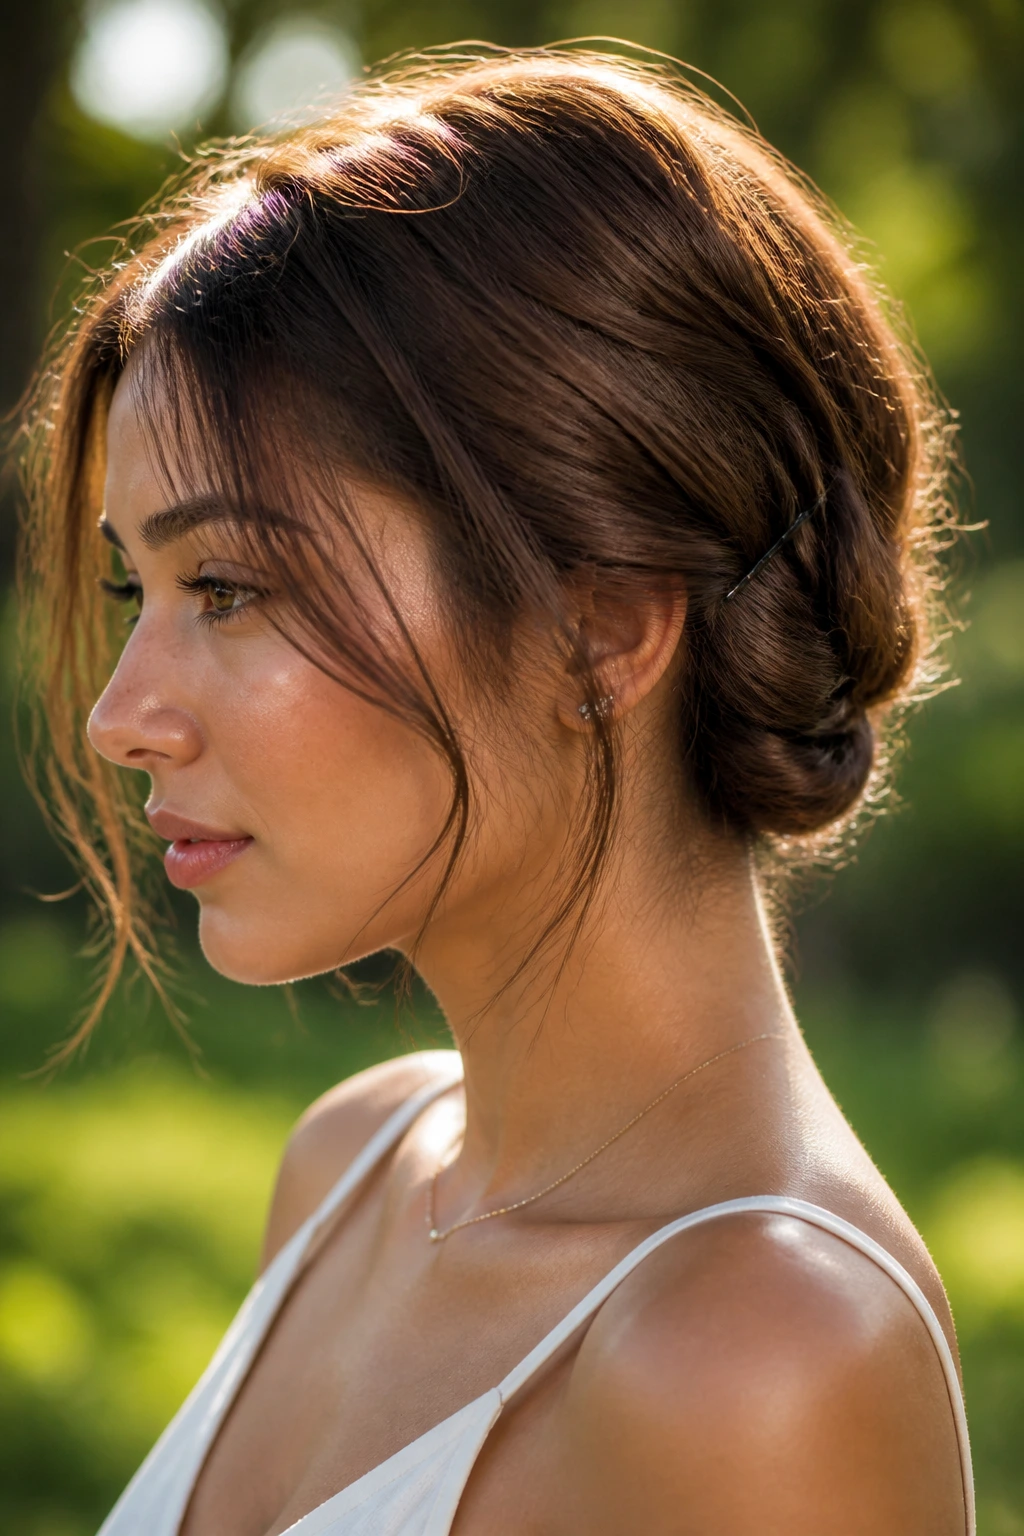
Are you considering a haircut but not quite ready to commit? This style uses a series of pins to fake a shoulder-length bob. Gather the ends of your hair and tuck them upward, pinning them against the nape of your neck with sturdy, large bobby pins. You will need a good number of pins for this to ensure the “roll” doesn’t sag. Once secure, pull a few wisps of hair out around your jawline to keep it looking natural. It is a fantastic trick for changing your profile entirely for a day.
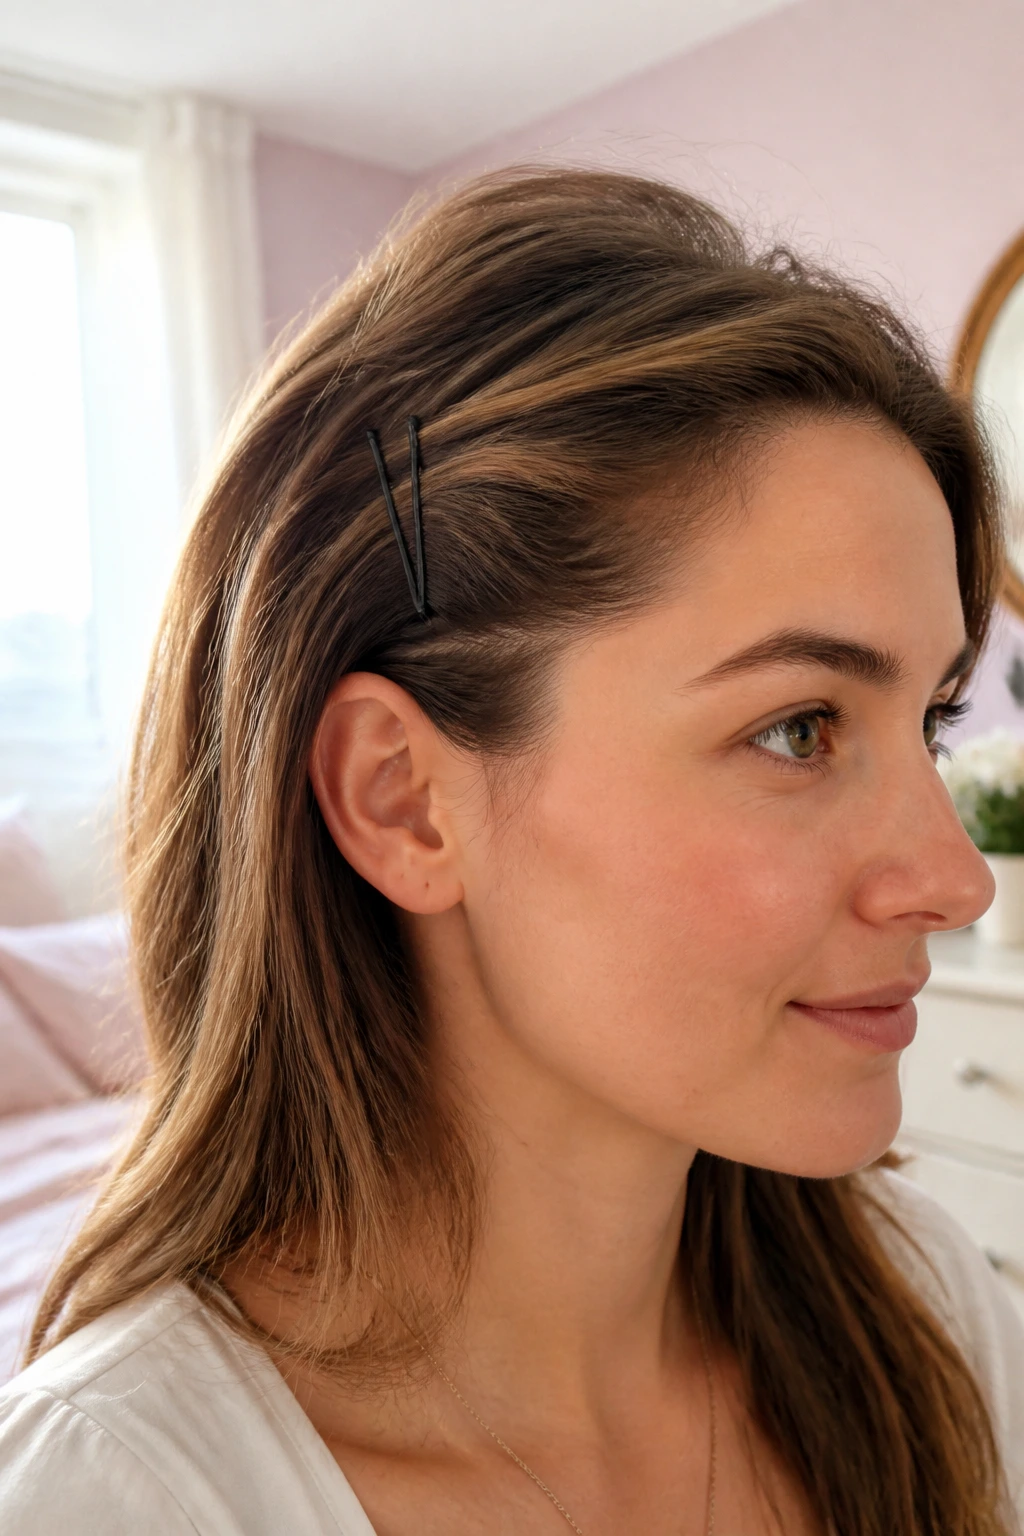
7. The Sleek Side-Part Pin
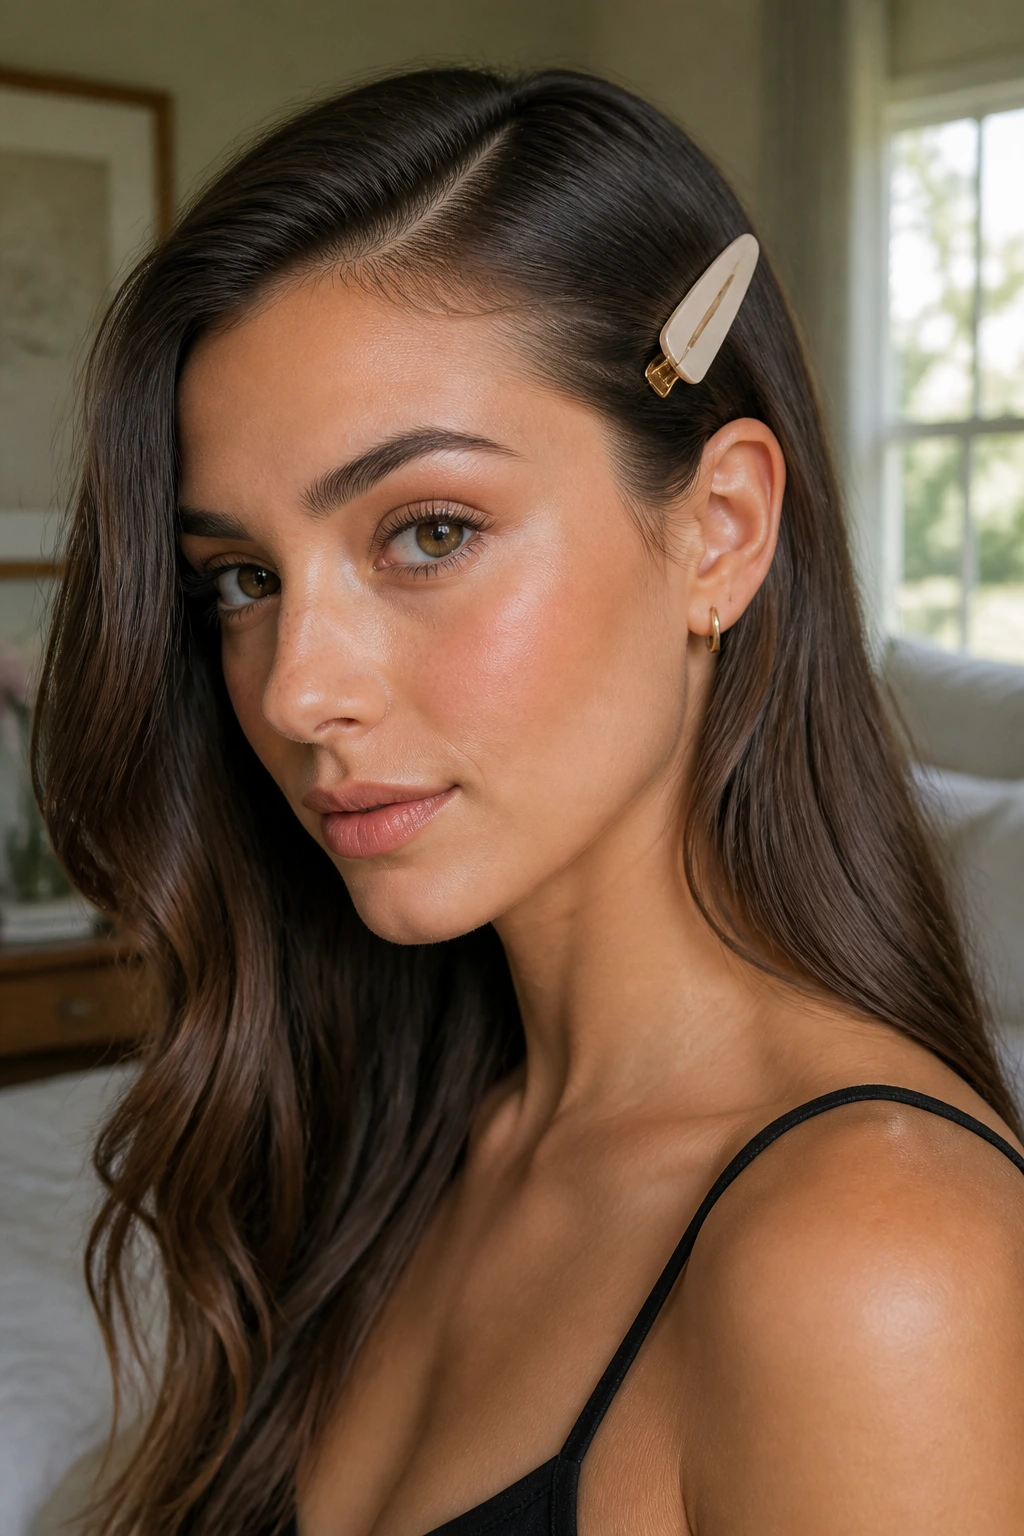
Sometimes minimalism is the most striking choice. Create a deep side part on your preferred side. On the side with less hair, take the entire front section and smooth it back toward your ear. Apply a small amount of styling cream or wax to the roots to keep them flat. Use a single, oversized statement pin to secure the hair right above the ear. This pulls the focus toward your eyes and creates a clean, professional aesthetic that is perfect for exam days when you need to feel alert and put-together.
8. The Twisted Crown Detail
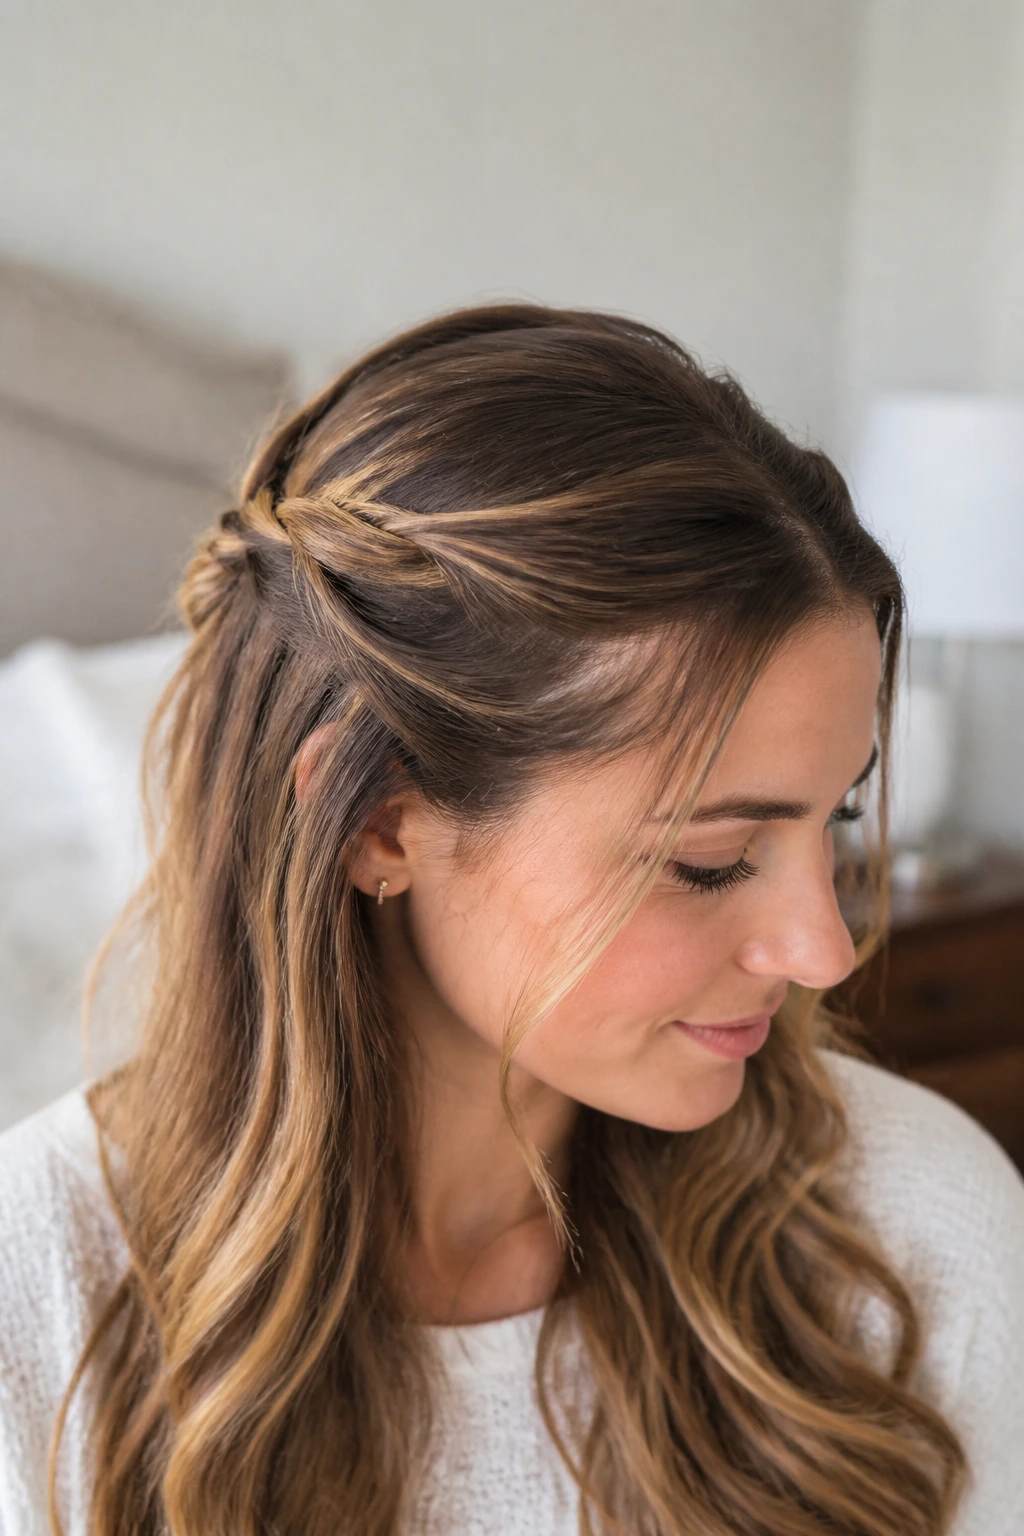
This style mimics a headband without the annoying pressure behind the ears. Take a small section of hair near each temple. Twist each section backward toward the center of the back of your head. Meet the two twists in the middle and pin them together. If you have extra length, you can wrap the tails of the twists under each other to hide the pins completely. It keeps your hair tucked away while maintaining a bit of softness and movement that a standard ponytail lacks.
9. The Butterfly Clip Revival
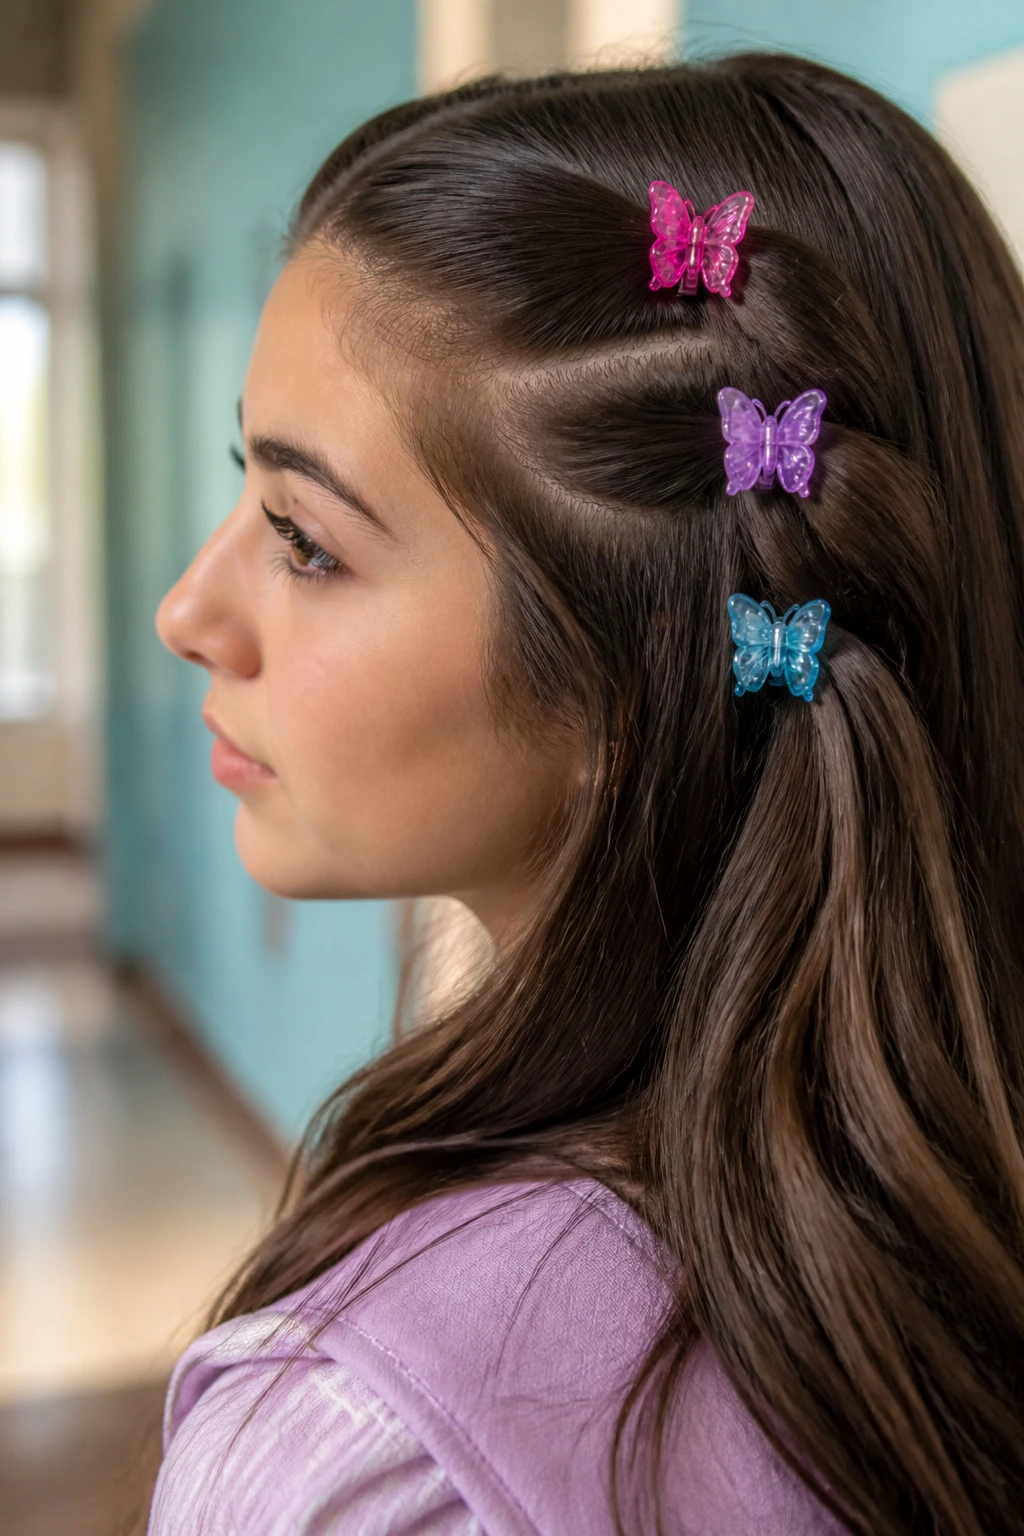
While we think of these as a vintage trend, they are incredibly functional for school. Section your hair into two or three horizontal rows at the side of your head. Twist each section slightly and secure it with a small, sturdy butterfly clip. By using multiple clips in a row, you distribute the weight of the hair, meaning the style won’t pull on your scalp throughout the day. It’s playful, it’s secure, and it’s a great way to use colorful accessories that match your school’s spirit colors.
10. The Hidden X-Pinned Ponytail
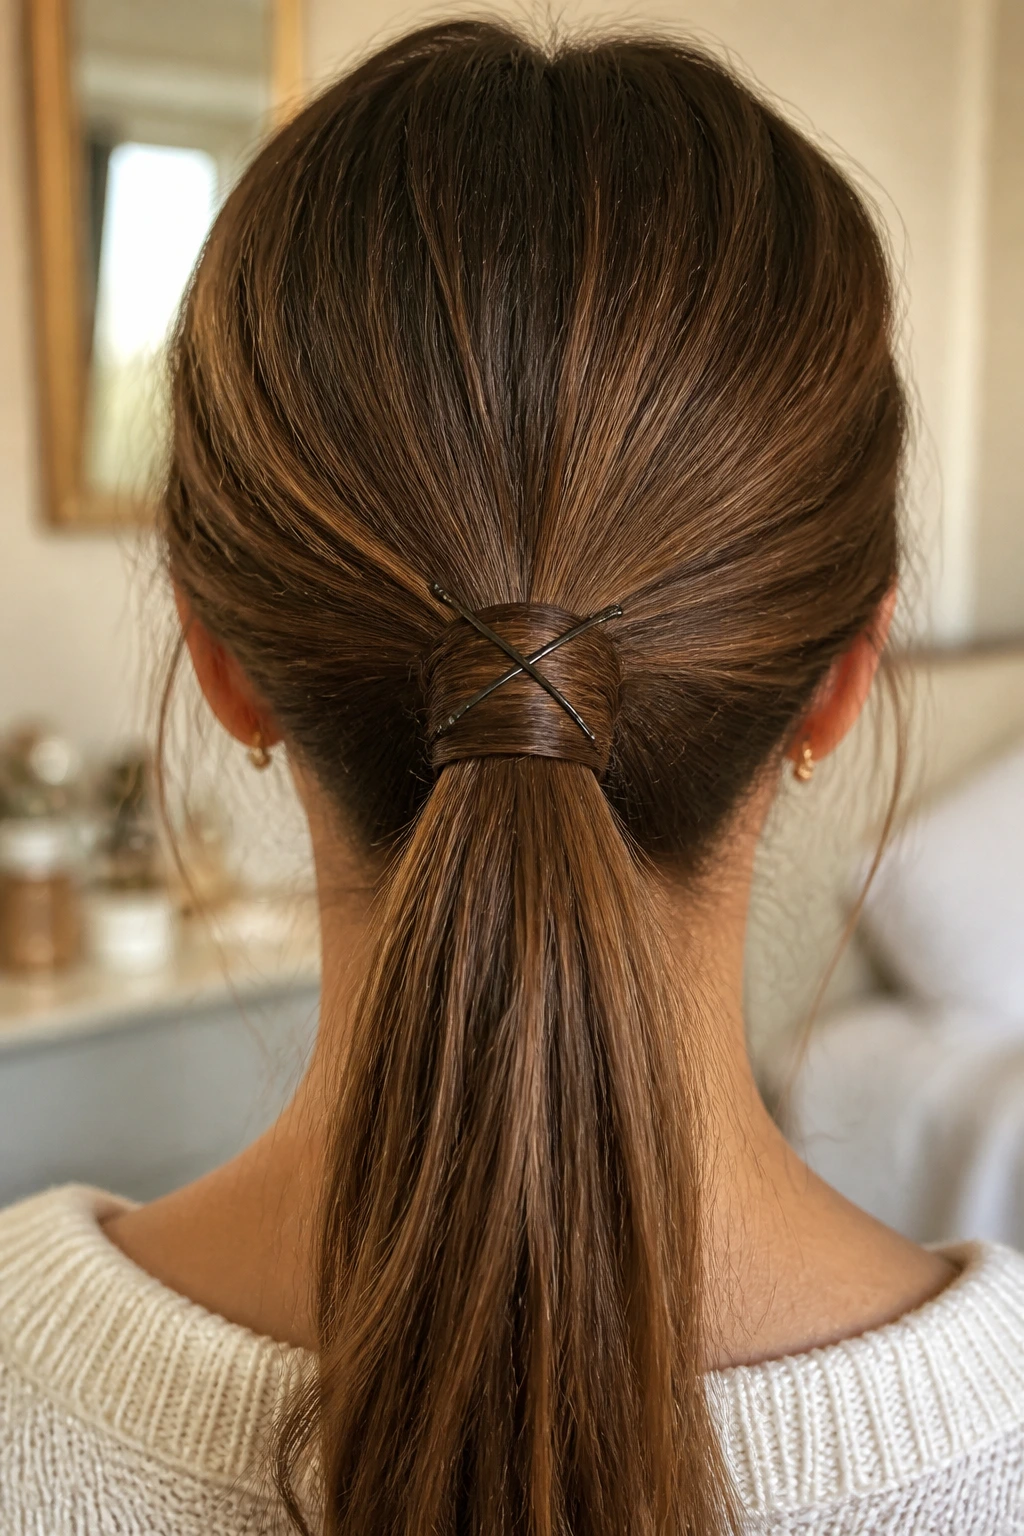
If you are tired of the way standard ponytail elastics look, this style cleans up the base of your pony. Tie your hair into a ponytail with a clear elastic. Take a small sliver of hair from the underside of the ponytail, wrap it around the elastic to cover it, and secure the end with a bobby pin. For extra security, slide the pin into the elastic and then downward into the hair shaft. An X-pattern with two pins here will keep that wrapped section from unraveling, no matter how much you move around.
11. The Asymmetrical Volume Boost
Does your hair fall flat on one side? This simple pin technique adds immediate lift. Take a one-inch section of hair just above your ear on the side that usually lies flat. Backcomb the underside of this section lightly, then push it upward toward the crown of your head. Use two bobby pins to secure it in place, tucking them in vertically. The hair will naturally puff outward, creating a faux-layered look that adds personality and height without requiring a curling iron or heat styling tools.
12. The Knotted Pull-Back
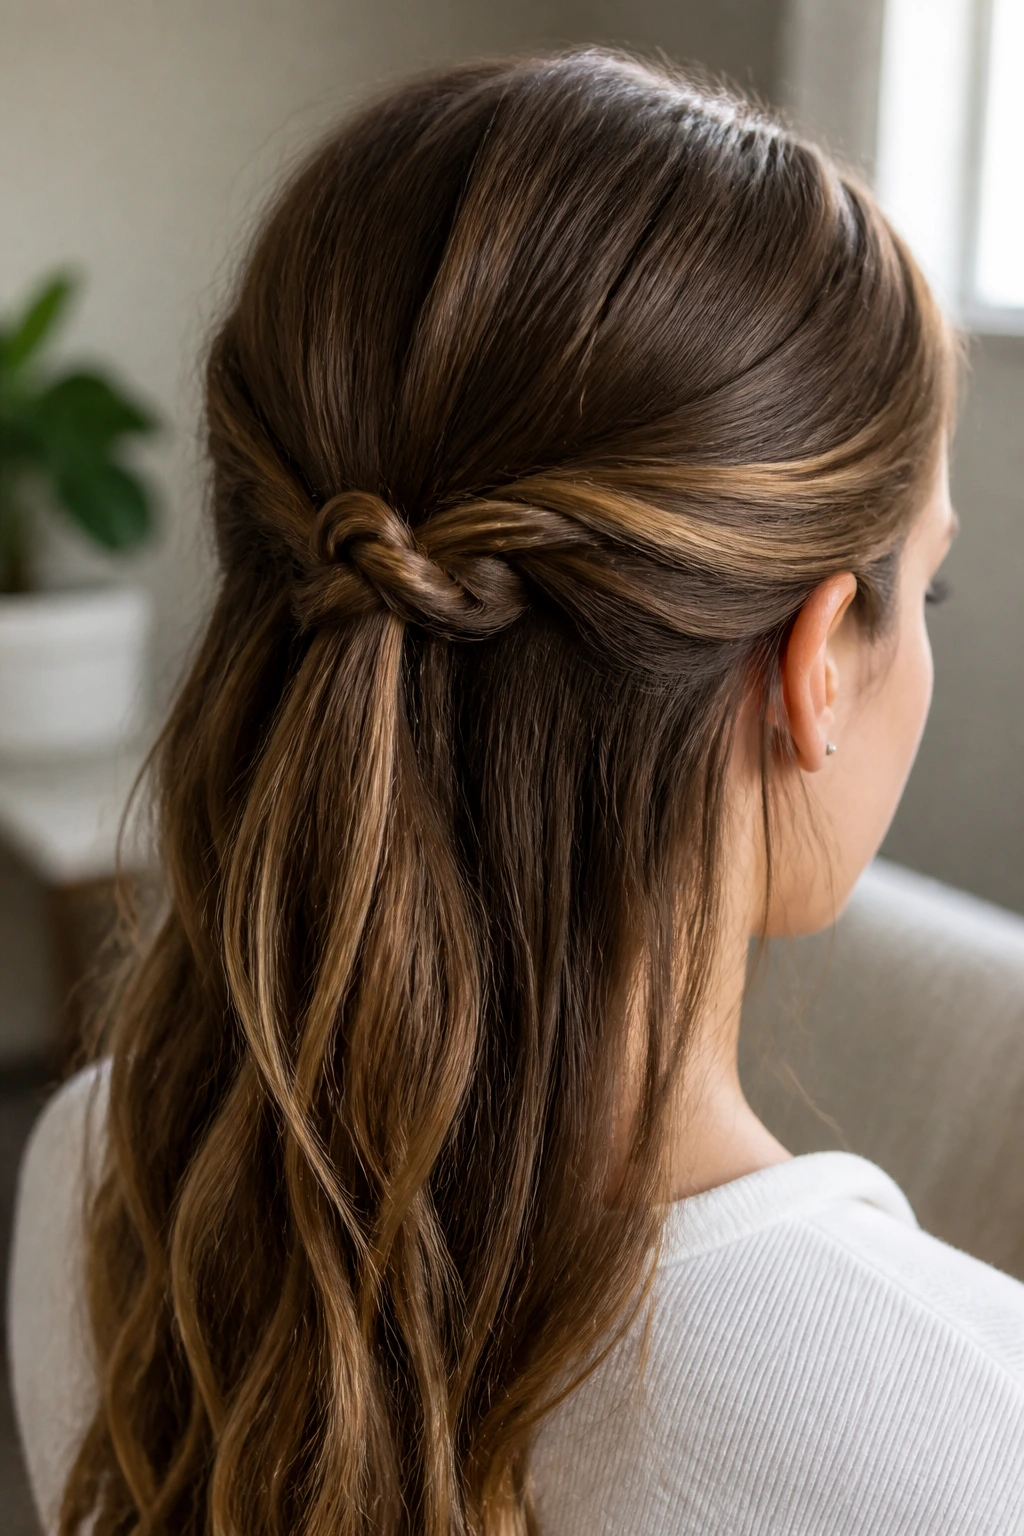
This style requires a bit of dexterity but provides a very polished finish. Take two thin strands from either side of your face. Tie them into a simple, loose overhand knot at the back of your head. Don’t pull too tight; you want the knot to be visible. Use a single bobby pin to anchor the knot to the hair underneath so it doesn’t loosen. It looks intricate, like a braid, but it is actually much faster to execute when you are running late for the bus.
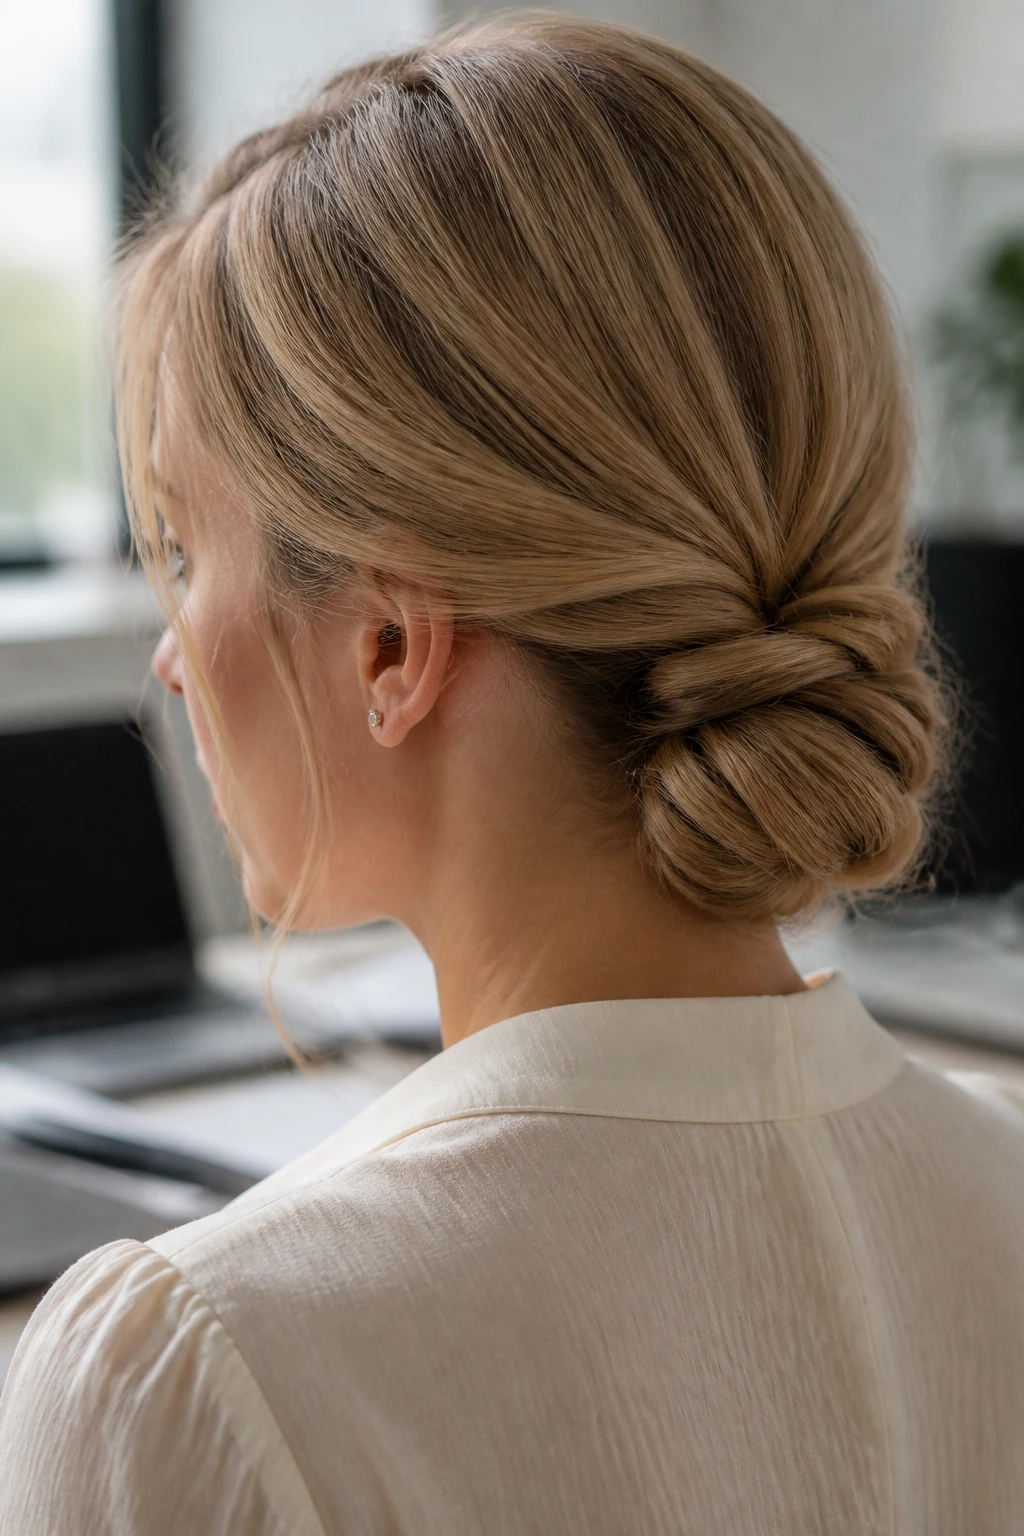
13. The Chic Low-Bun Anchor
A low bun is the universal hairstyle for a busy student, but it often droops by lunchtime. To prevent this, use the “pin-and-tuck” method. Once you have created your bun, instead of just shoving pins into the center, place them at the perimeter. Angle the pins toward the center of the bun, catching both the bun hair and the hair at your scalp. By pinning from the outside in, you create a rigid structure that can withstand a full day of movement without losing its shape.
14. The Sectioned Mohawk Twist
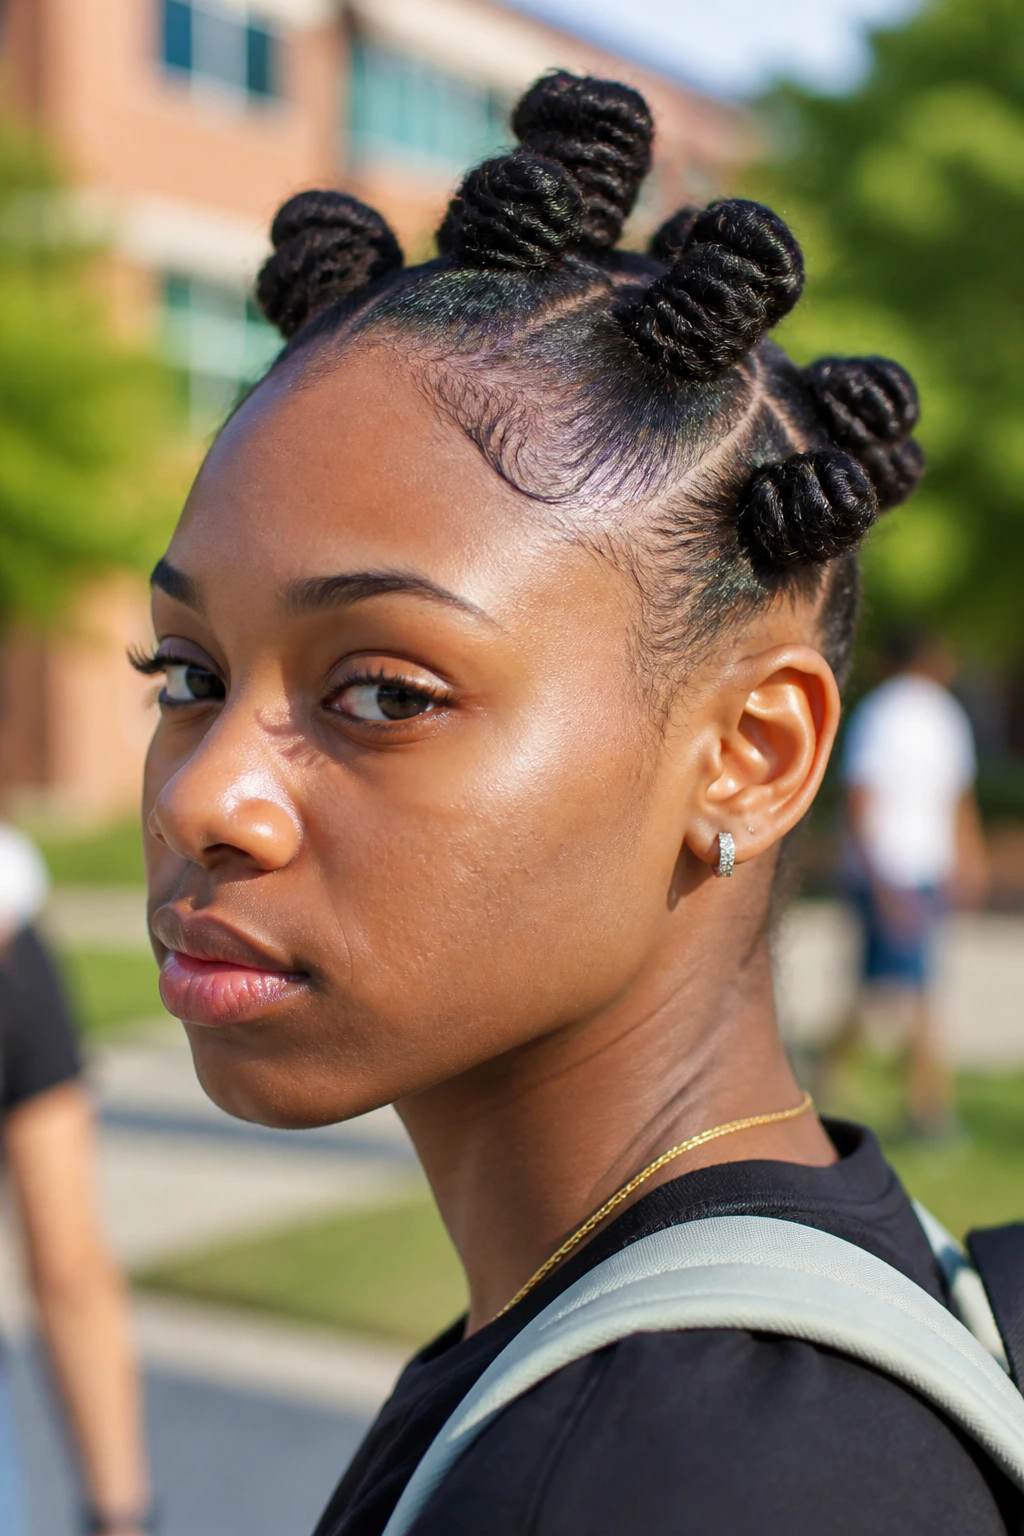
This is a bold, fun look for days when you feel like being creative. Section your hair into three or four small parts running from the front of your hairline to the crown. Twist each section into a mini-bun or a tight knot and pin it down. This keeps all your hair secure while giving the appearance of a mohawk-style updo. It works exceptionally well with curly or textured hair, as the volume of the curls makes the knots look fuller and more deliberate.
15. The “Pinned-Back” Bobbed Bangs

If you are growing out your bangs, they are likely at that awkward length where they constantly poke your eyes. The best way to manage this is to sweep them to the side and pin them into a tight, flat coil. Start the coil at the root and roll it toward your face, then tuck the ends away and pin them flat against your temple. If you want a cleaner look, use a bobby pin that matches your natural hair color perfectly to keep the focus on the style rather than the hardware.
16. The Criss-Cross Crown
Imagine a lattice pattern running across your head. Take small sections of hair along your hairline and pin them across each other, alternating sides. Each pin should be tucked under the previous section of hair to keep the look clean. This is an advanced-looking style that is surprisingly easy to do if you have a mirror behind you. It keeps even the smallest flyaways completely locked down, which is a major win during rainy days when humidity tends to make hair frizz.
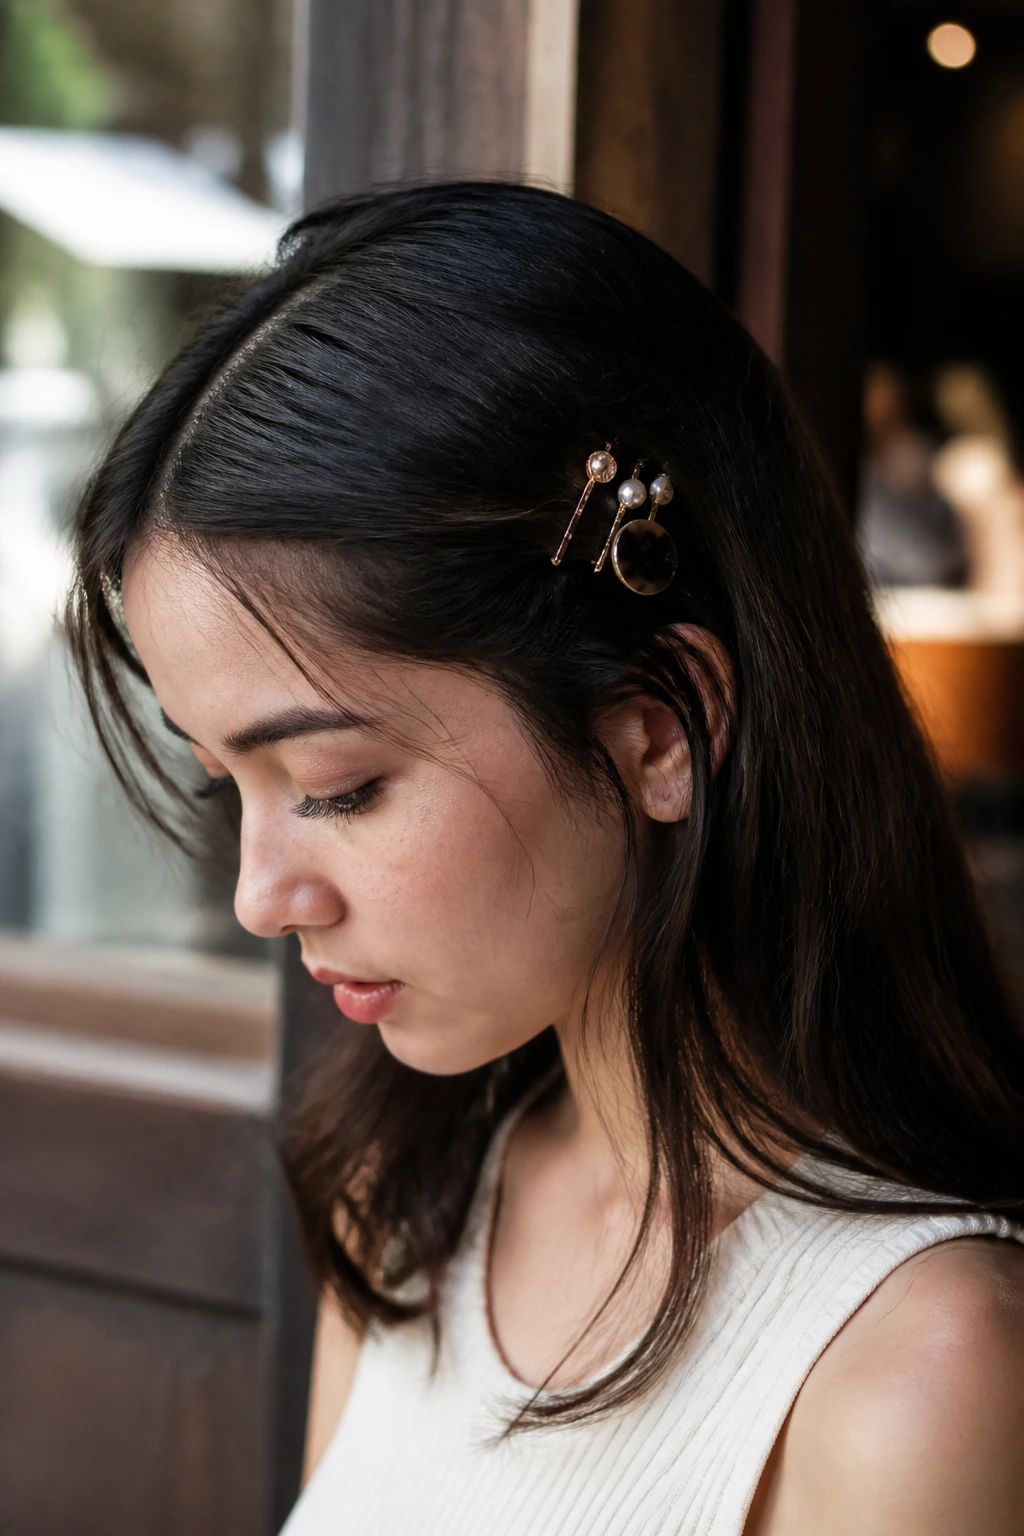
17. The Twisted Braid End
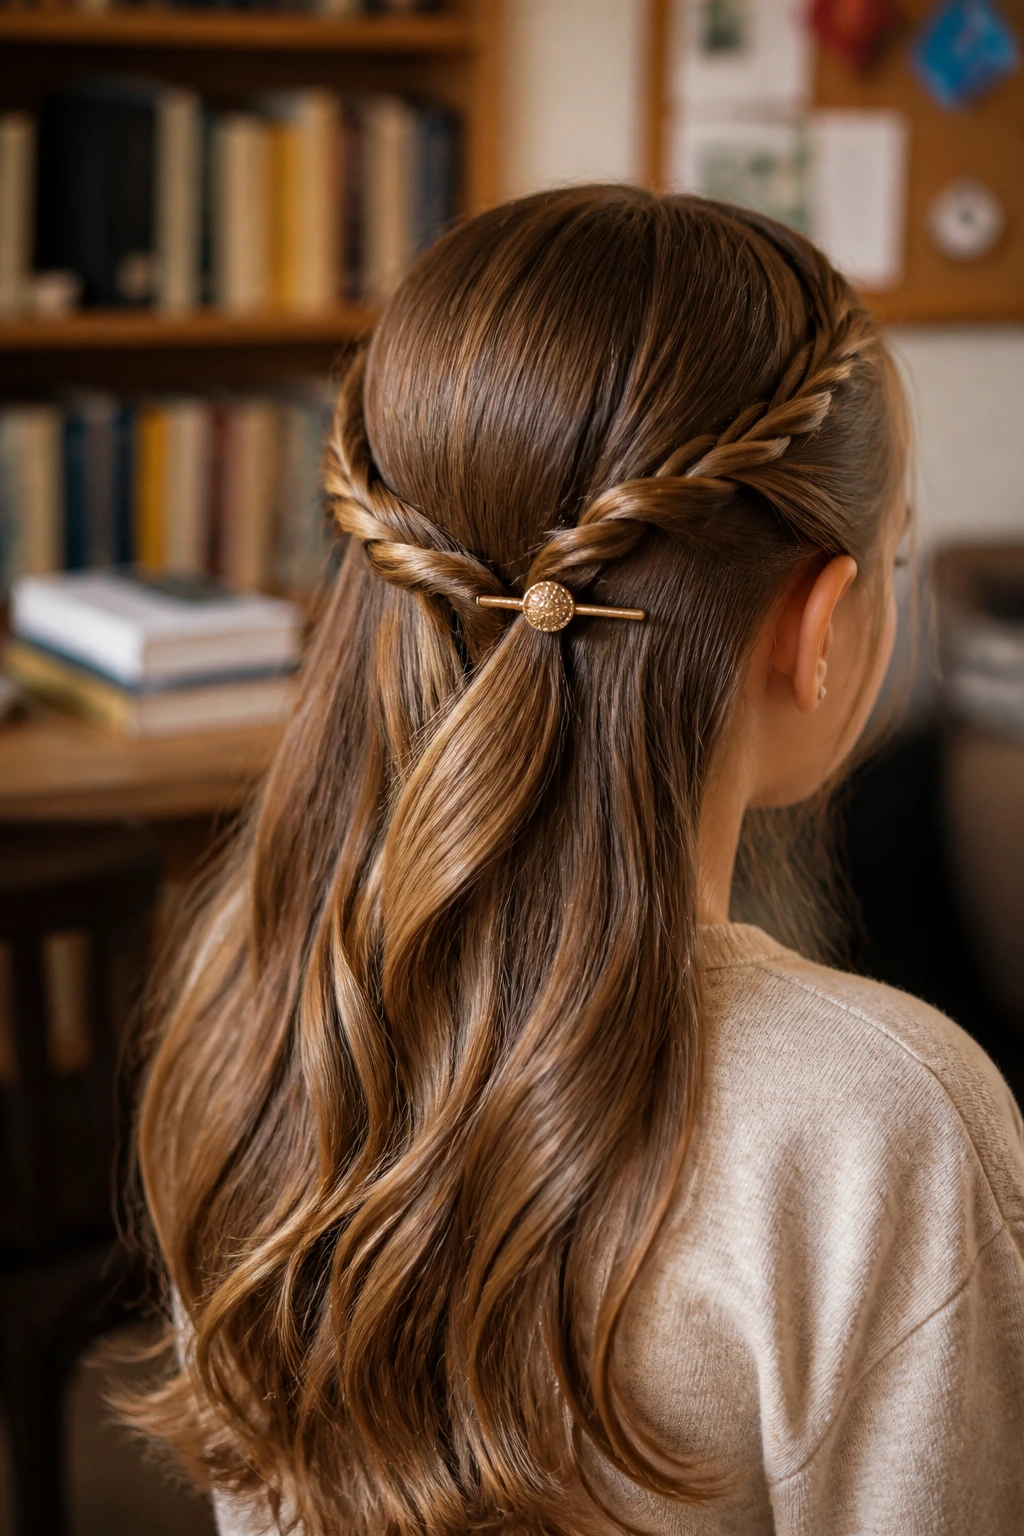
Sometimes you want to wear your hair down, but you need it kept out of your eyes. Create two small braids starting at your temples. Instead of pinning the ends back, twist the braids together into a single point at the back of your head. Use one decorative pin to lock the intersection. This creates a “half-up” look that feels more put-together than a simple ponytail. It also provides a great way to show off a favorite hair accessory, like a pearl-studded or rhinestone pin.
18. The Waterfall Pinning Technique
This style is all about creating the illusion of a waterfall. Take small sections from the top of your head, pull them back, and pin them. Then, take a slightly lower section and pin it underneath the first. Continue this for three or four layers. The key here is to keep the pins hidden. Use a comb to gently tease the hair over the pins once you are done. It creates a layered, cascading effect that looks very sophisticated without being difficult to maintain.
19. The Deep Side-Part Sweep
This is the ultimate “I’m focused on my studies” look. Take a deep side part and sweep the large section of hair across your forehead. Pull it taut and pin it behind your ear using three bobby pins arranged in a fan shape. This forces your hair to stay out of your eyes permanently. It’s very practical for reading or writing for long periods. If you have naturally straight hair, this look is particularly striking because it emphasizes the clean lines of your haircut.
20. The Faux-Hawk Ponytail
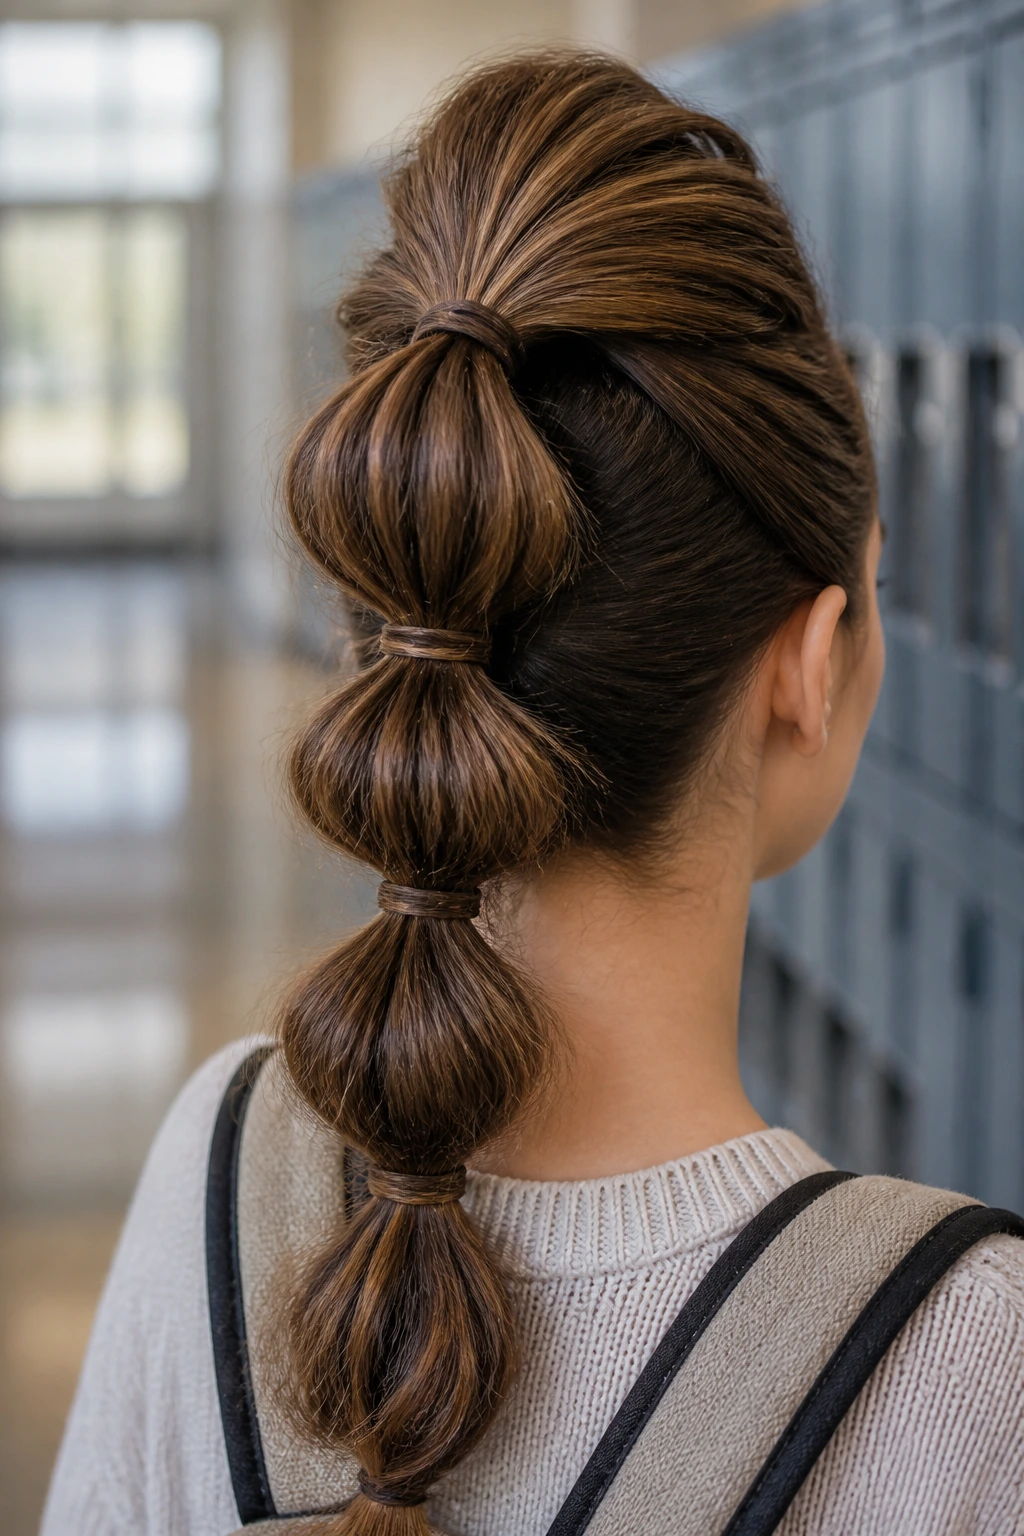
Start by tying your hair into a high ponytail. Instead of letting it hang loose, split the ponytail into three segments. Use small sections of hair to wrap around the base of each segment, pinning them underneath to create a series of stacked “bubbles.” This adds a unique, architectural flair to a standard ponytail. It is much more durable than a loose pony, as the pins reinforce each segment, ensuring that your hair stays in a neat column even if you are moving quickly between buildings.
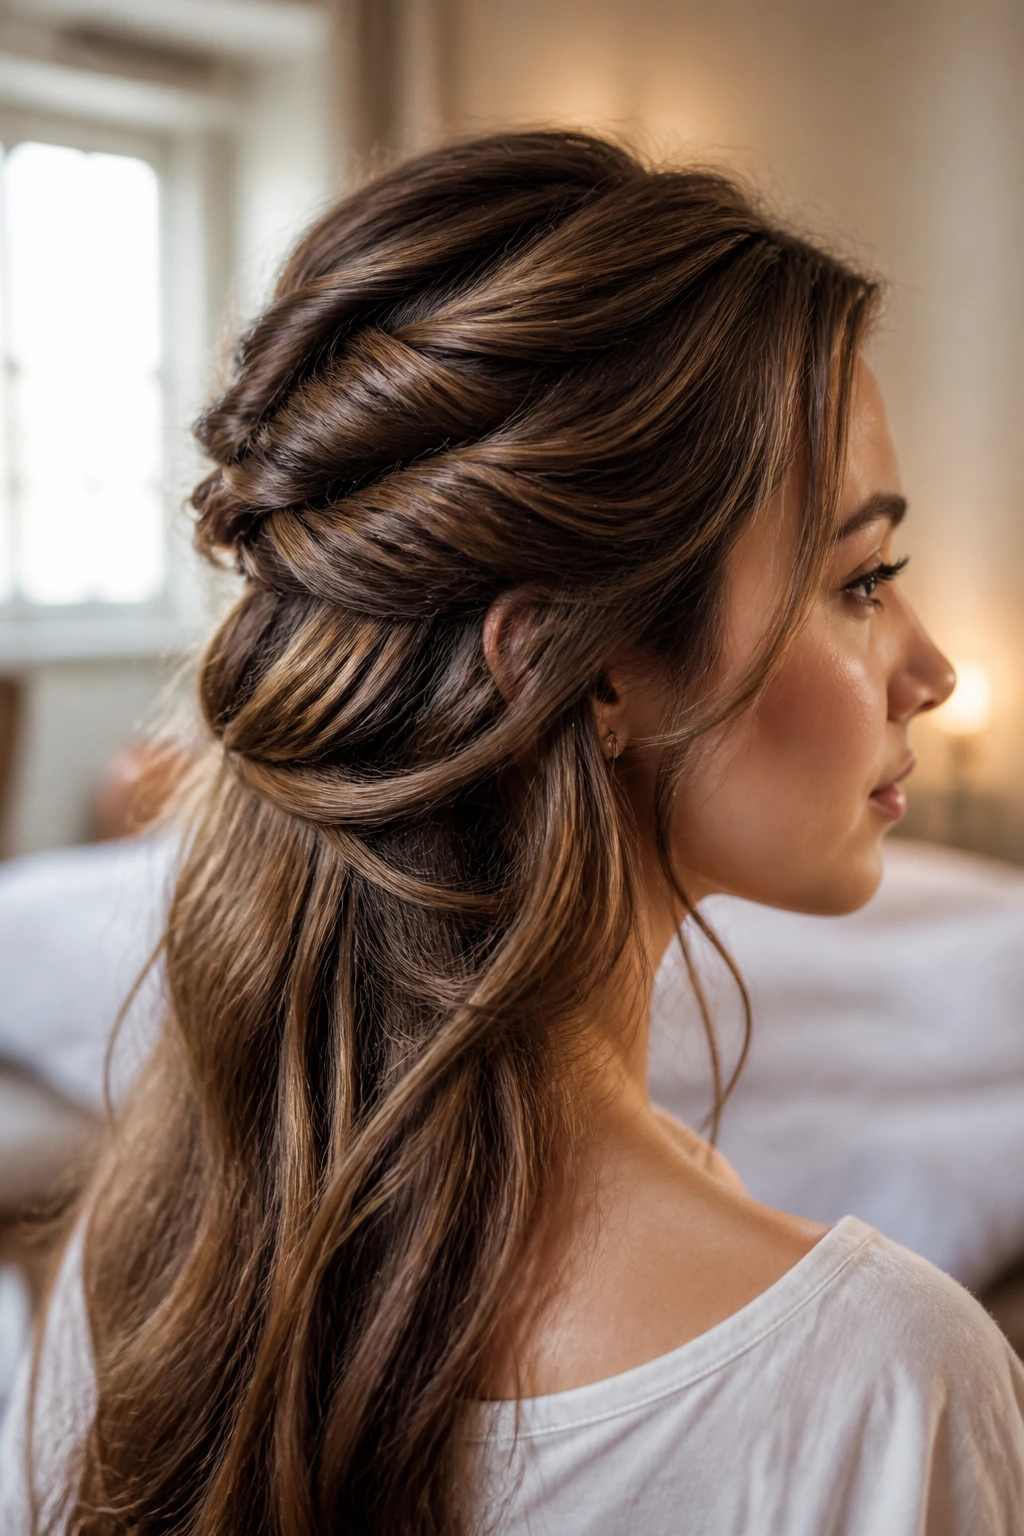
21. The Half-Up Twisted Crown
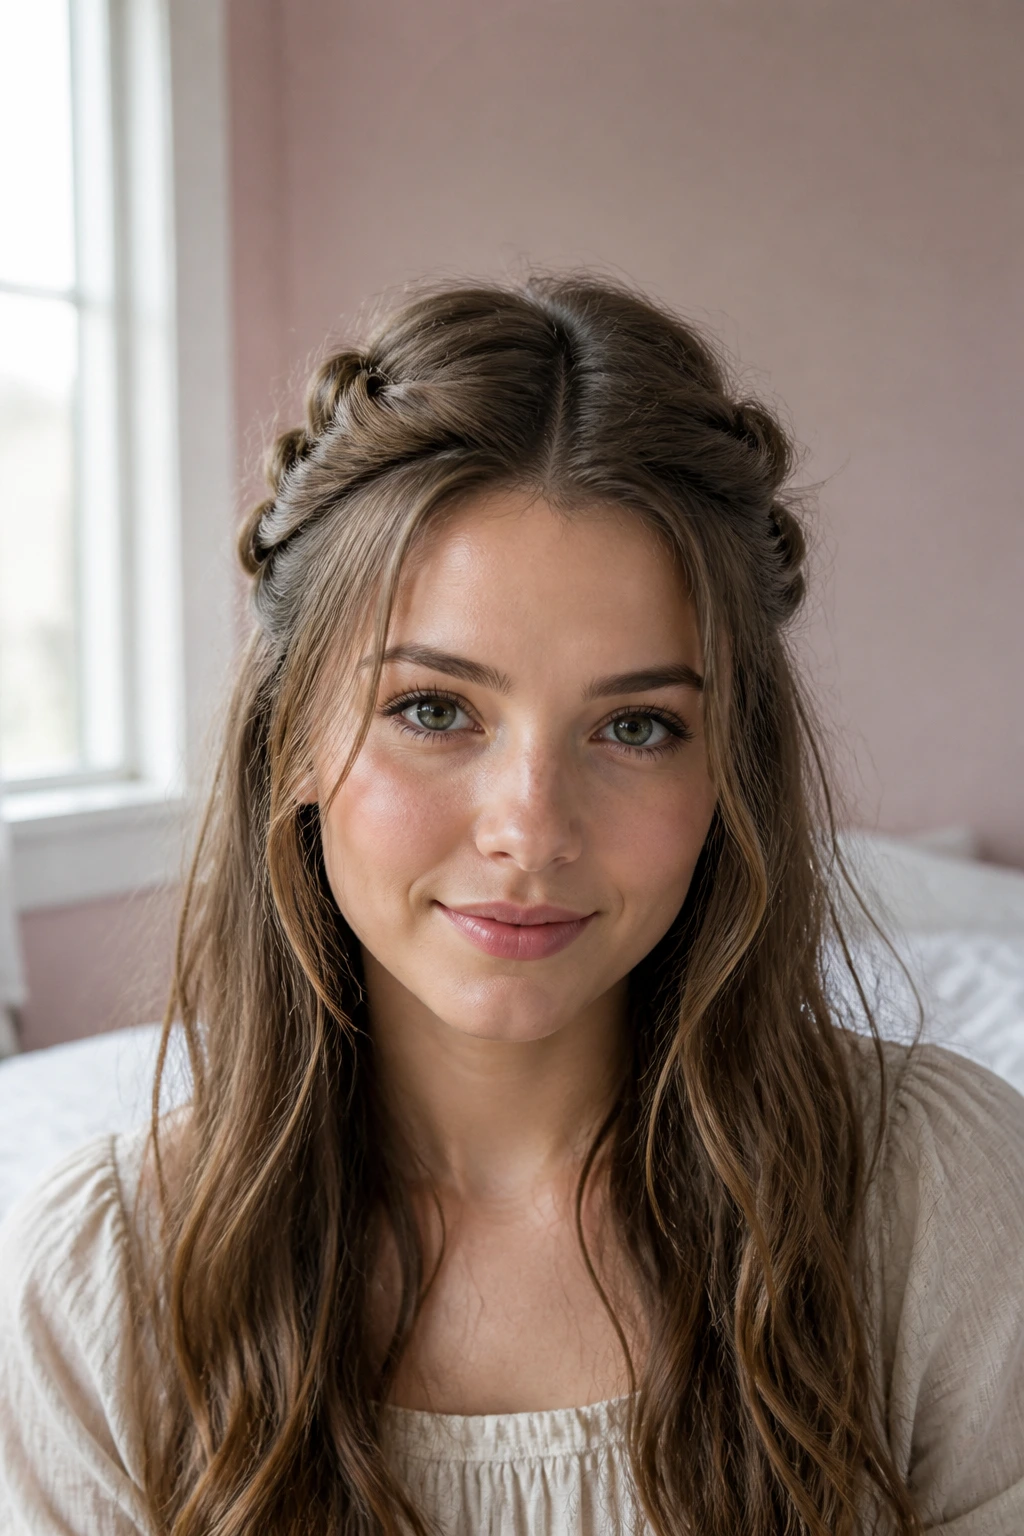
For a look that is soft and romantic, twist two sections from your temples back toward the center of your head. Instead of just pinning them down, overlap the twists and secure them with a larger hair clip or a cluster of pins. Allow the ends of the twists to blend in with your loose hair. This style is excellent for those days when you want to wear your hair down but need a little bit of interest at the crown to avoid a boring, flat look.
22. The Sleek Bun Base
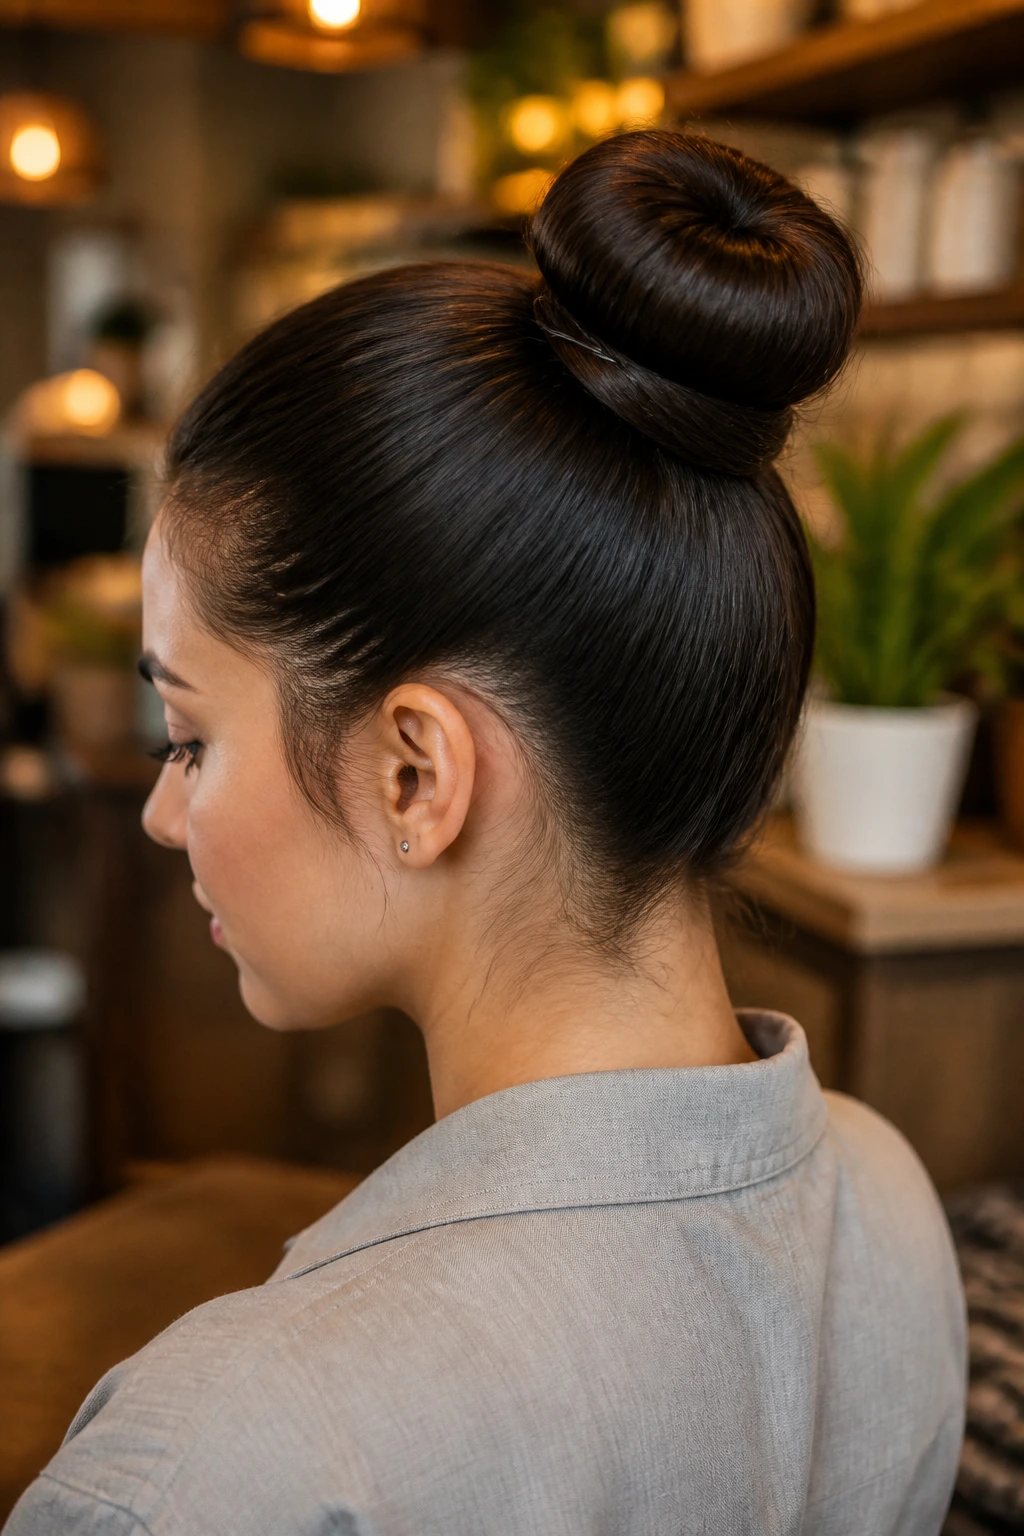
Are you wearing a sock bun or a donut? The problem with these styles is that the weight of the bun often pulls the hair at the nape of the neck loose. Solve this by placing two pins at the base of the bun, angled upward into the hair donut itself. This acts as an anchor, transferring the weight of the bun to the base of your skull rather than the delicate hair at your hairline. It makes wearing a high, heavy bun comfortable enough to last for eight hours or more.
23. The Geometric Part Pinning
This is a fun way to use pins as a decorative feature. Instead of pinning your hair to hide the pins, display them clearly. Create a part and pin each side back using a line of bright, colorful bobby pins. You can create triangles, squares, or just parallel lines. It’s a great way to express a bit of personality while keeping your hair strictly under control. This look is particularly effective if you have very thick hair that usually refuses to stay back with just one or two clips.
24. The Side-Tuck Braid
If you have a braid, you know that the end can look a bit messy. Take your braid, sweep it to the side, and tuck the end underneath the hair at the nape of your neck. Use a sturdy bobby pin to secure it in place. This makes the braid look like it simply disappears into your hair, creating a very clean, finished silhouette. It’s an ideal way to wear a braid when you are wearing a collared shirt or a hoodie, as it prevents the braid from catching on your clothes.
25. The Front-Layer Twist
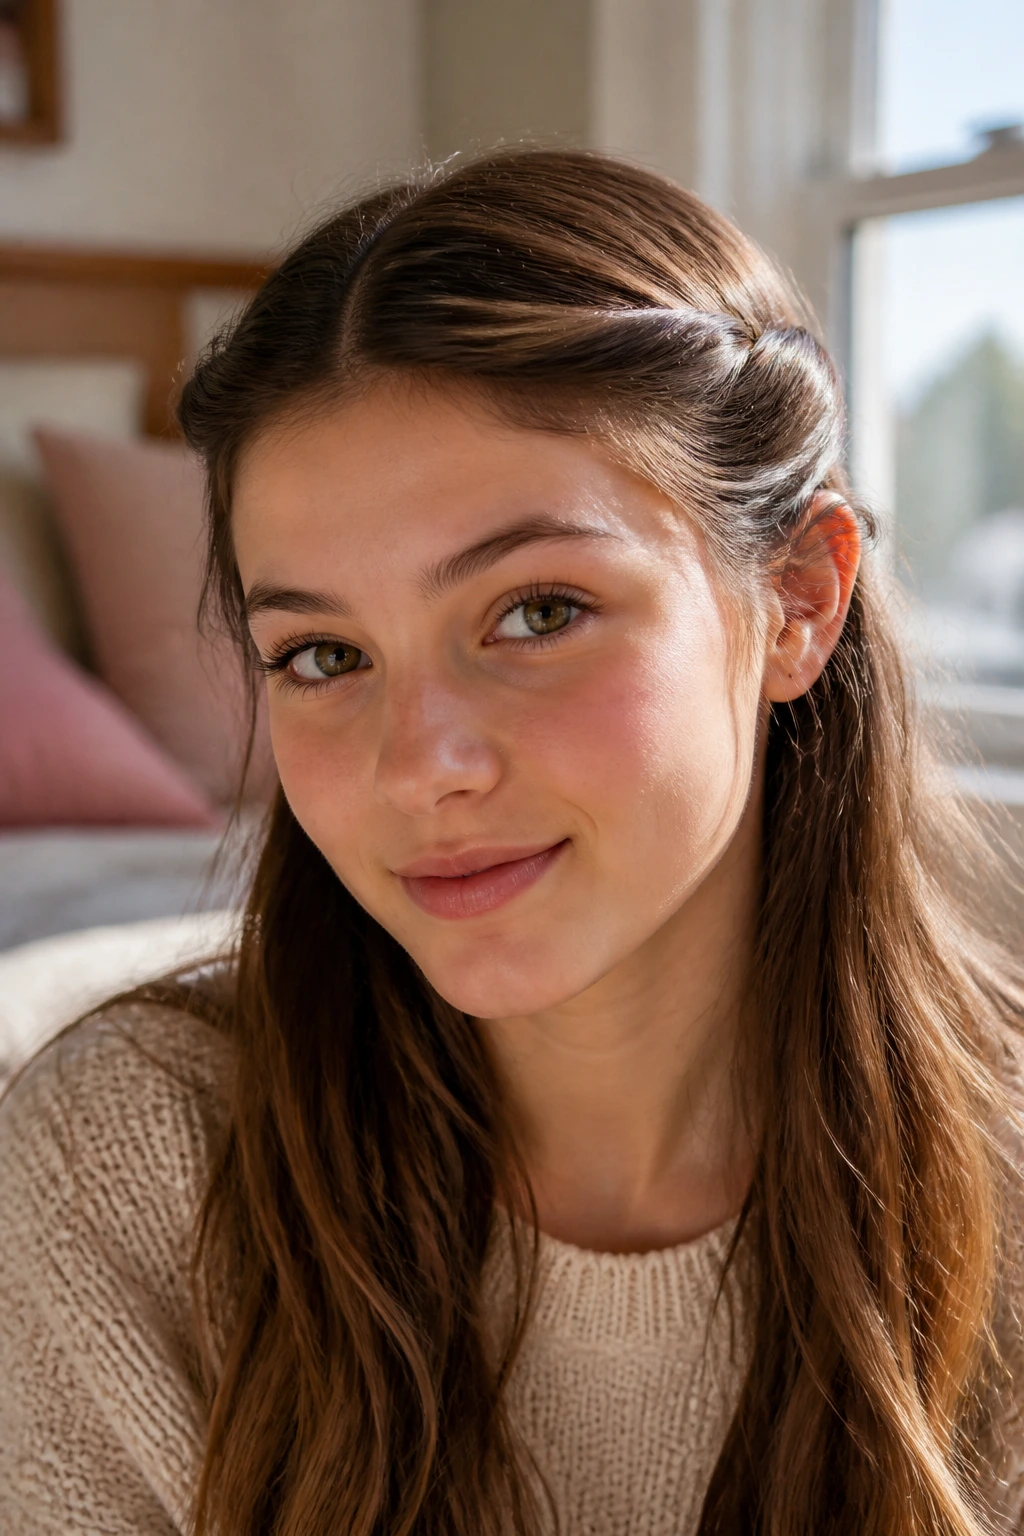
This is the quickest way to fix a bad hair day. Take the two front-most layers of your hair—the ones that frame your face—and twist them away from your face. Instead of bringing them to the back, pin them just above your ears, tucking the ends behind the next layer of hair. This leaves the rest of your hair free to hang loose while keeping the front perfectly controlled. It is a subtle style that doesn’t scream “I spent an hour on my hair,” but it definitely keeps you looking sharp.
26. The Stacked Bobby Pin Row
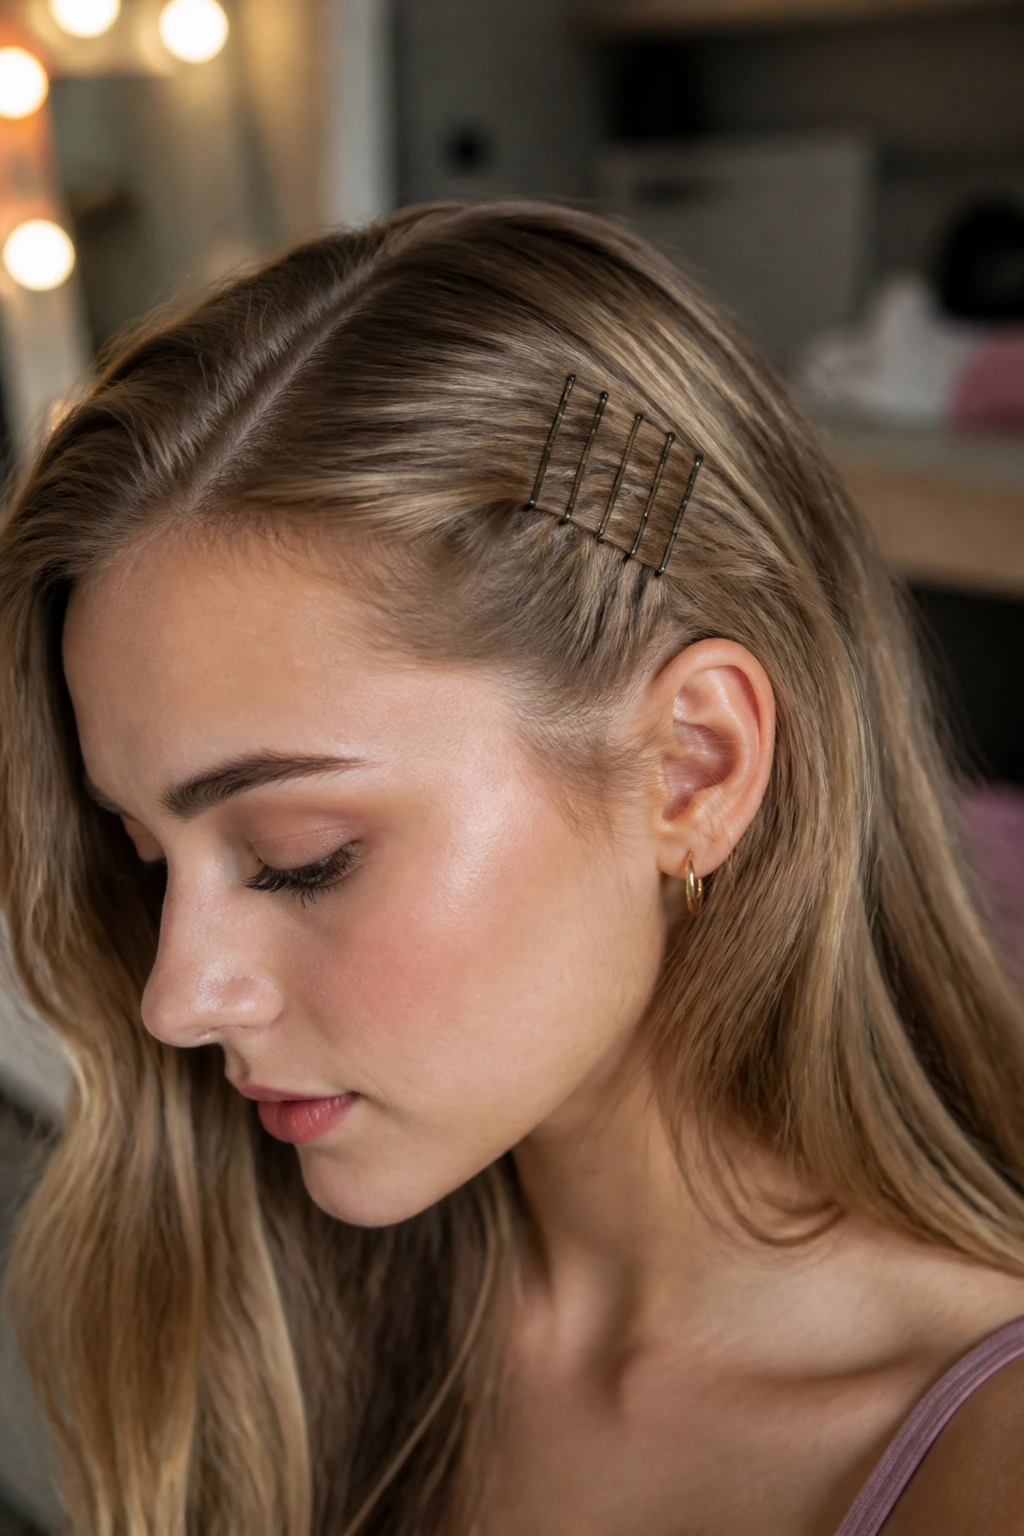
If you want to pull one side of your hair back entirely, don’t just use one pin. Use four or five in a row. Start from the front and move back, overlapping the pins slightly. By stacking them, you turn a functional requirement into a style choice. It provides an incredible amount of hold, making this one of the most reliable styles for gym days or busy extracurricular schedules. The more pins you use, the more secure the hair remains throughout the day.
27. The Messy Top Knot Anchor
Top knots are notorious for slipping. The secret to a secure top knot is to use a large, U-shaped hair pin rather than standard bobby pins. Start by twisting your hair into a coil. As you wrap the coil, push the U-pin through the outer edge of the bun, catching the hair at the scalp, and then pushing it back through the bun toward the center. Two of these pins are usually all you need to keep a top knot firmly in place for a full day of classes.
28. The Decorative Pin Cluster
Sometimes, you just need to keep one rogue layer out of your face. Instead of trying to hide the pin, turn it into a cluster. Use three pins of different sizes or colors to pin that one section back. By making the pin placement look intentional, you remove the “stumbled out of bed” vibe. It shows you have a sense of style, even if you are just trying to keep your hair from sticking to your lip gloss during a windy walk.
29. The Twisted Low-Ponytail Tuck
Gather your hair into a very low, loose ponytail at the nape of your neck. Divide the hair above the elastic into two sections to create a hole, then flip your ponytail through that hole. This creates a twisted effect at the base. To finish, take the tail of the ponytail, roll it upward, and pin it against the back of your head, hiding the elastic. This is a very elegant, professional look that requires almost no effort but yields a surprisingly sophisticated result.
30. The Braided Headband Tuck

If you have a headband but it is uncomfortable, create a “braided headband” using your own hair. Braid a thin section from behind your ear, pull it across the top of your head, and pin it behind the opposite ear. Repeat the process from the other side. You end up with two thin braids framing your face, which act like a headband but are much more secure and comfortable. This is a great way to keep your hair out of your face while adding a bit of detail.
31. The Vertical Pin Lift
If your hair is feeling limp at the roots, use your pins to create a bit of vertical volume. Take the hair at your crown, lift it straight up, and insert two pins vertically at the base, pushing them down toward the scalp. This creates a tiny, hidden “poof” of volume that stays in place all day. It is an old-school salon trick that works better than almost any root-lifting spray, especially if you have fine hair that struggles to maintain volume.
32. The Sleek “Pinned-Down” Part
For those days when you just want to look incredibly sharp and orderly, use a fine-tooth comb to create a razor-sharp part. Apply a tiny dab of hair gel to the front sections, comb them flat against your scalp, and secure them with tiny, invisible pins just above your ears. This is a very clean, minimalist look. It is excellent for keeping your focus high, as there isn’t a single stray hair to distract you from your work or your day.
Final Thoughts
At the end of the day, hair pins are the unsung heroes of a student’s morning routine. They are inexpensive, easy to tuck into a backpack, and capable of transforming a messy tangle into a style that looks intentionally curated. The secret to success with any of these looks is simply having the right tools on hand. Invest in a box of high-quality, non-slip bobby pins, and perhaps keep a small tin of them in your locker or bag.
You do not need to be a professional stylist to pull these off. It really just comes down to knowing how to anchor your hair so that it doesn’t move. Once you master the “X” pinning technique or learn how to tuck ends properly, you will find that your morning routine becomes significantly faster and less stressful. Pick a few of these styles, practice them once, and keep them in your rotation for when the alarm clock doesn’t go off quite as early as you had planned.